This article covers the steps to deploy Support Center using SCCM (ConfigMgr). The Support Center is a SCCM troubleshooting tool for resolving client errors, real-time log viewing, or translating error codes to messages on client computers.
Microsoft recommends using the Support Center tool for client troubleshooting, real-time log viewing, or capturing the state of a ConfigMgr client computer. The Support Center is a combination of many administrator troubleshooting tools. It includes many tools which are essential to troubleshoot SCCM client issues.
Support Center can be manually installed on computers where it is required. You can go through the following guide to manually install the Support Center tool and learn how to use it effectively. However, if you require it to be installed on multiple computers, you can use tools such as SCCM to package and deploy it.

About Support Center Tool
The goal of the support center is to reduce the challenges and frustration of SCCM admins when troubleshooting Configuration Manager client computers. That’s one of the important reasons why IT admins need the support center tool installed on their laptops. When a remote user reports an issue related to application installation or software center, you have to collect SCCM log files and other information to help troubleshoot the issue. The support engineer could accidentally forget a crucial log file and this would add more delay.
Tools included with Support Center
As mentioned earlier, the Support Center is a combination of several tools. Starting with SCCM version 2103, the Support Center is split into the following tools:
- Support Center Client Data Collector: This collects data from a device to view in the Support Center Viewer.
- Support Center Client Tools: The other Support Center troubleshooting functionality, except for collecting selected data.
When you install SCCM Support Center, the following tools are also installed.
- Support Center Viewer
- Support Center OneTrace
- Support Center Log File Viewer
Get the Support Center Installer
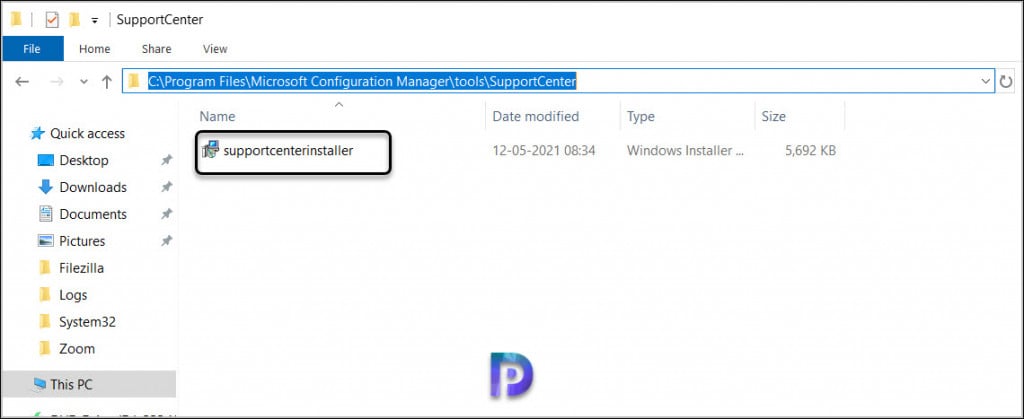
To package the Support Center as an application, you will require the installer. When you install Configuration Manager, the support center tools are also included. The support center installer is located on SCCM site server on the following path: cd.latest\SMSSETUP\Tools\SupportCenter\SupportCenterInstaller.msi. Alternatively, you can find the tools in C:\Program Files\Microsoft Configuration Manager\tools\SupportCenter.
To package the Support Center as an application in ConfigMgr, you must copy the supportcenterinstaller.msi to a shared folder on the SCCM server that is typically used as content location. In addition, you can also specify a logo for the support center during application creation, and this logo will appear in the Software Center for users.
Prerequisites for Support Center
The following prerequisites are required for installing the Support Center:
- Any Windows OS version supported by Configuration Manager. The Support Center cannot be installed on mobile devices or macOS.
- .NET Framework 4.5.2 or later is required on the computer where you run Support Center and its components.
Create Support Center Application in SCCM
Create a new application for Support Center in the SCCM console using the following steps:
- Launch the ConfigMgr console.
- Navigate to Software Library\Overview\Application Management\Applications.
- Right-click on the Applications node and select Create Application.
On the General window, specify the location of the Support Center installer (.msi file) and select Next.
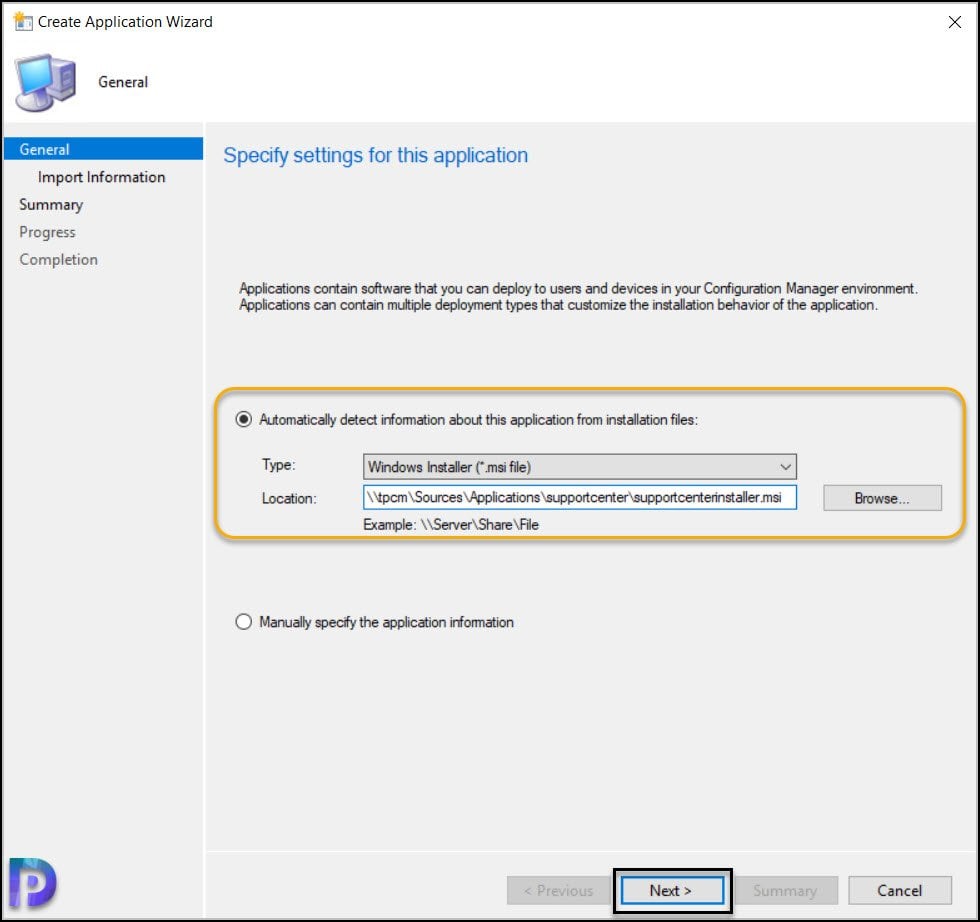
The Configuration Manager reads the information from the Support Center MSI installer and the required details are imported into SCCM. Click Next to continue.
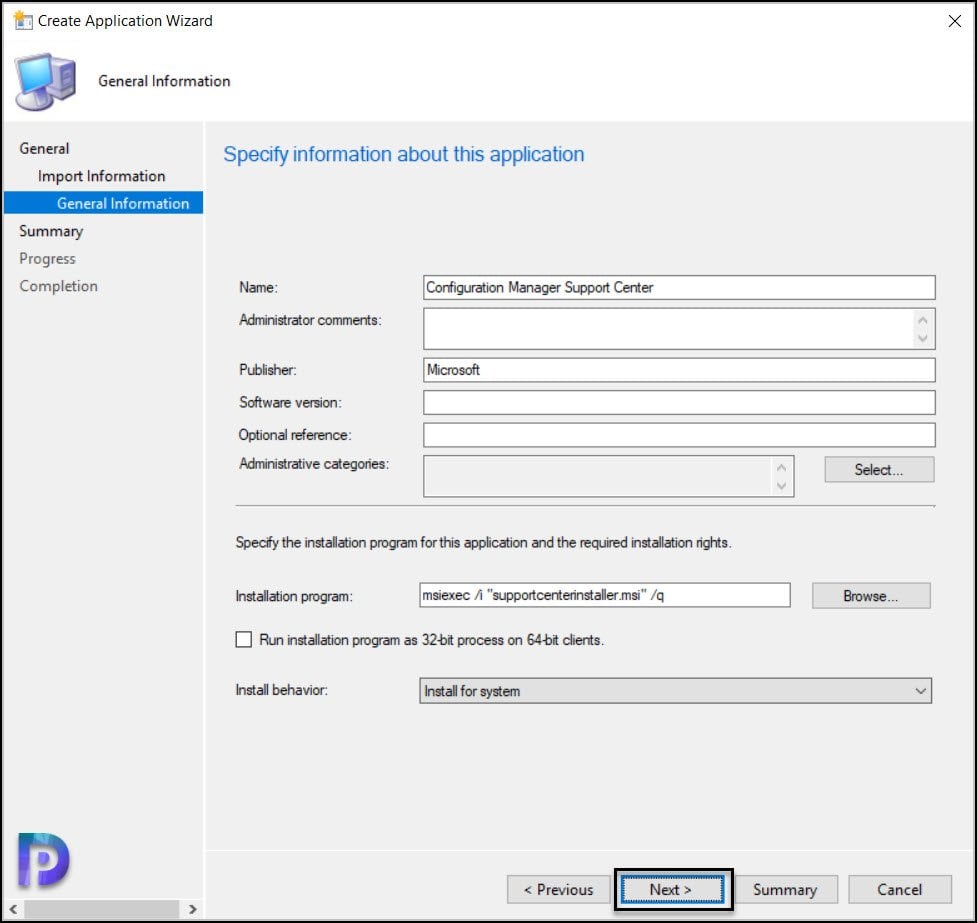
Specify the application name, for ex. Configuration Manager support center. You may specify other details such as Publisher, software version, administrative categories etc. The installation program is populated automatically from the supportcenterinstaller.msi file. Click Next.
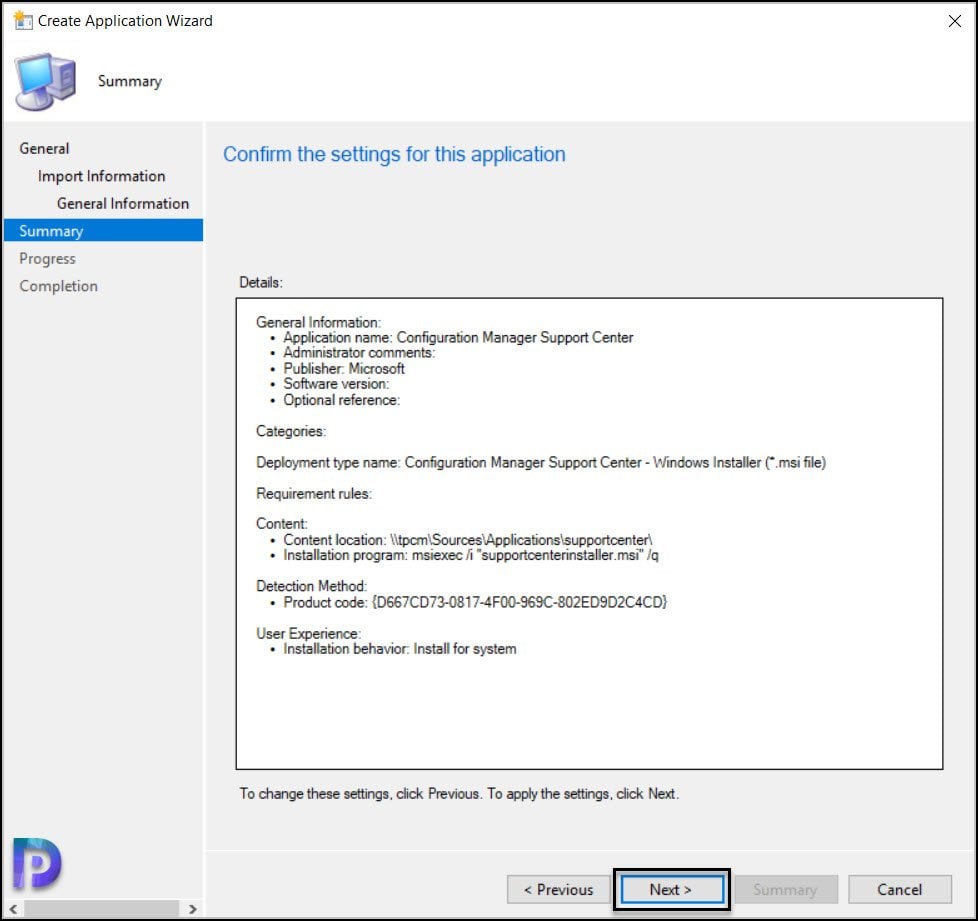
Review the application settings in the Summary window and click Next.
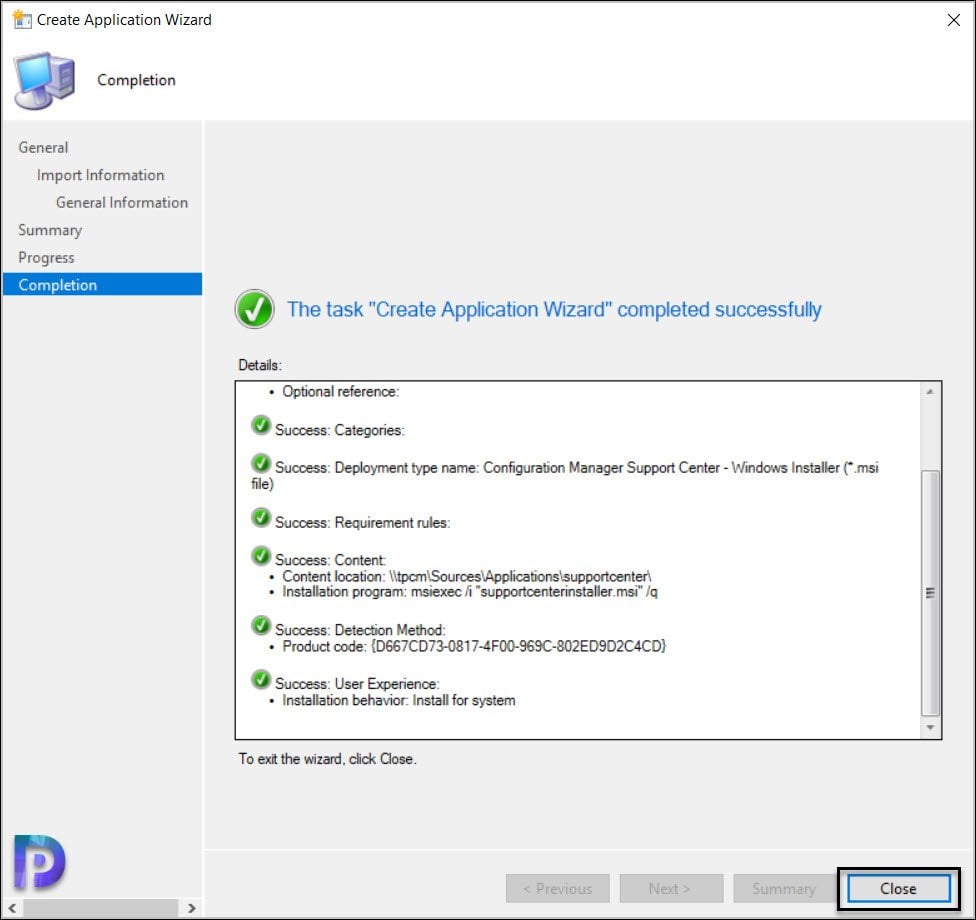
On the Completion window, click Close. This completes the steps to create the Support Center application in SCCM. The new Configuration Manager Support Center application now appears in the “Applications” node of the Configuration Manager console.
Assign Software Center Icon for Support Center Application
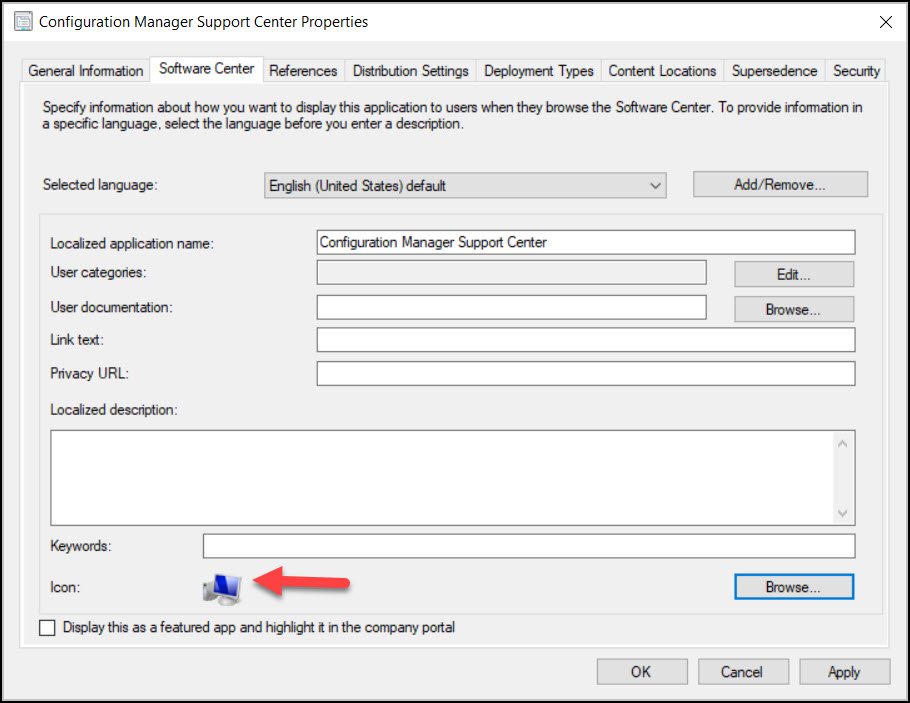
You can associate an icon with the Support Center application and this icon will be shown in the Software Center for users. To specify a software center icon for the Support Center application, go to application properties and select the Software Center tab. At the bottom, click Browse and specify the Support Center icon. Click Apply and OK to save the changes.
Deploy Support Center using SCCM | ConfigMgr
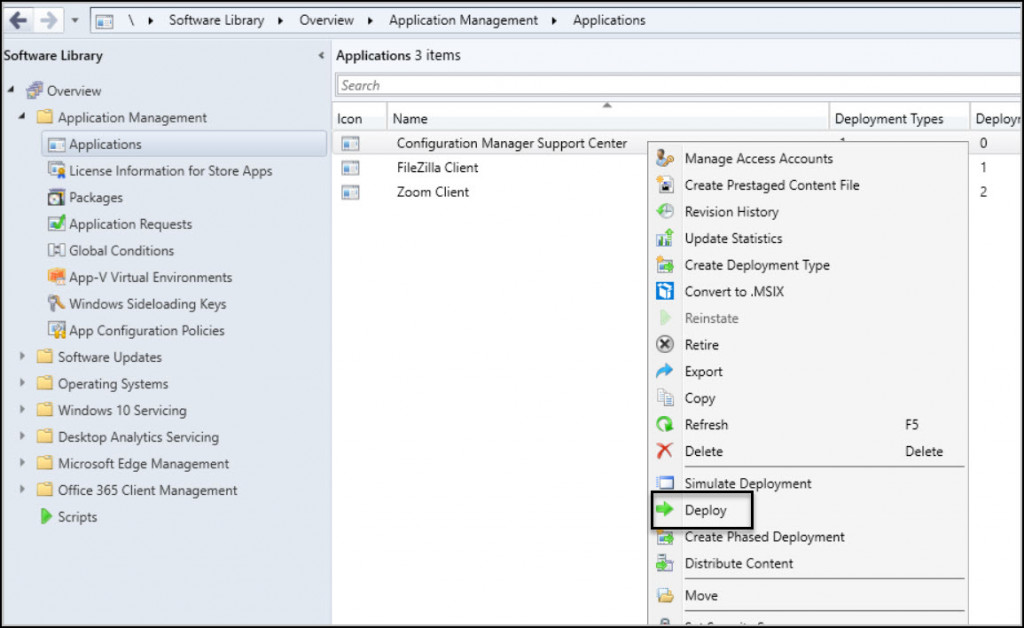
In this section, we will deploy Support Center using SCCM to a device collection. To deploy the Support Center application in ConfigMgr console, go to Software Library > Application Management > Application. Right-click on the Support Center application and select Deploy.
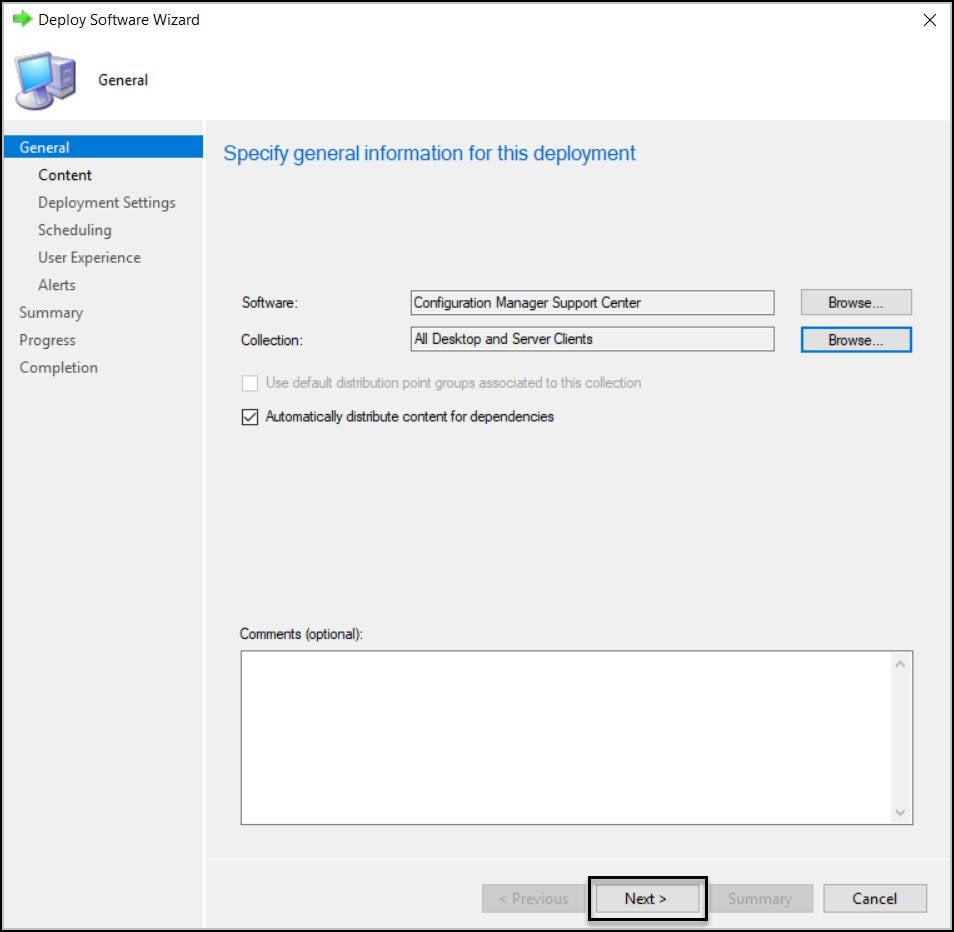
In the General window, click Browse and specify the device collection to which you want to deploy the support center application. Click Next.
On the Content page, click the Add button to specify the distribution points to which you would like to distribute the Support Center application content. You may also select distribution point groups. Click Next to continue.
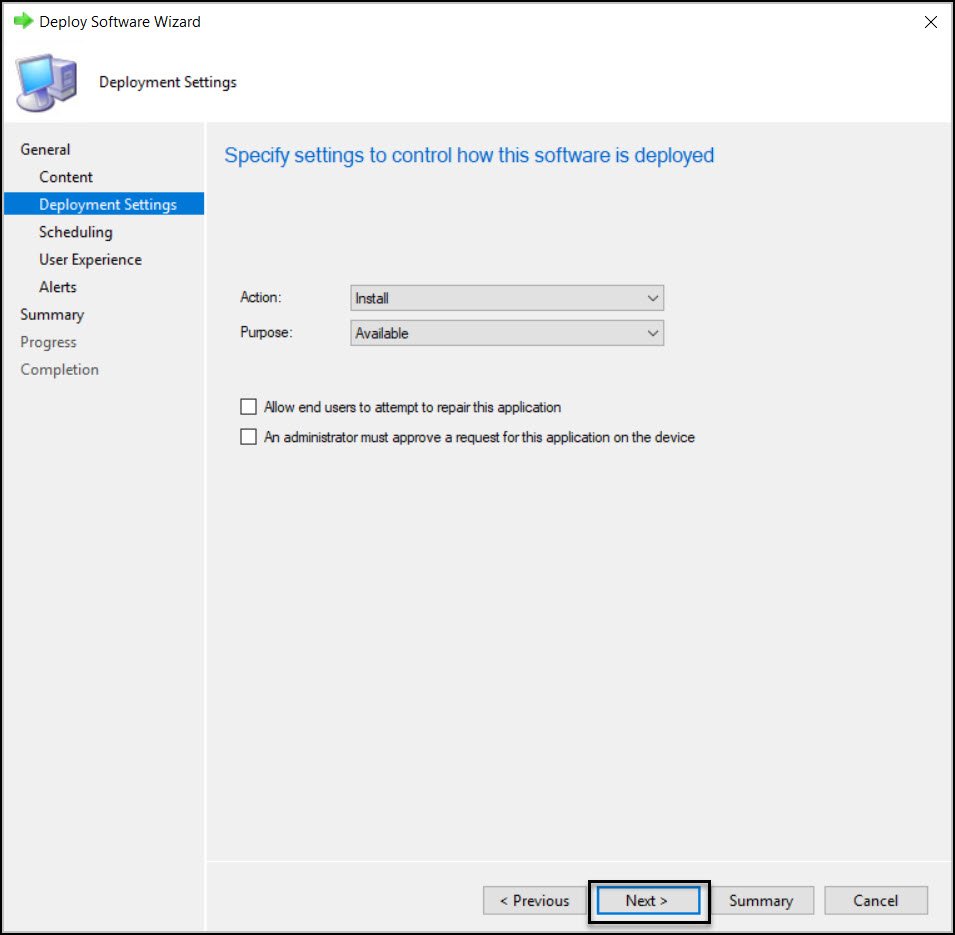
On the Deployment Settings window, specify the settings to control the deployment. Select the Action as Install and Purpose as Available. Learn the difference between Available and Required deployment in SCCM. Click Next.
Complete the remaining steps of the deployment software wizard and close it. The Support Center application is now distributed to the DP. You can check the content distribution status in SCCM console.
This completes the steps for Support Center deployment using SCCM. In the next step, we will test the installation of SupportCenter on computers using Software Center.

Test GoodSync Deployment on Client Computers
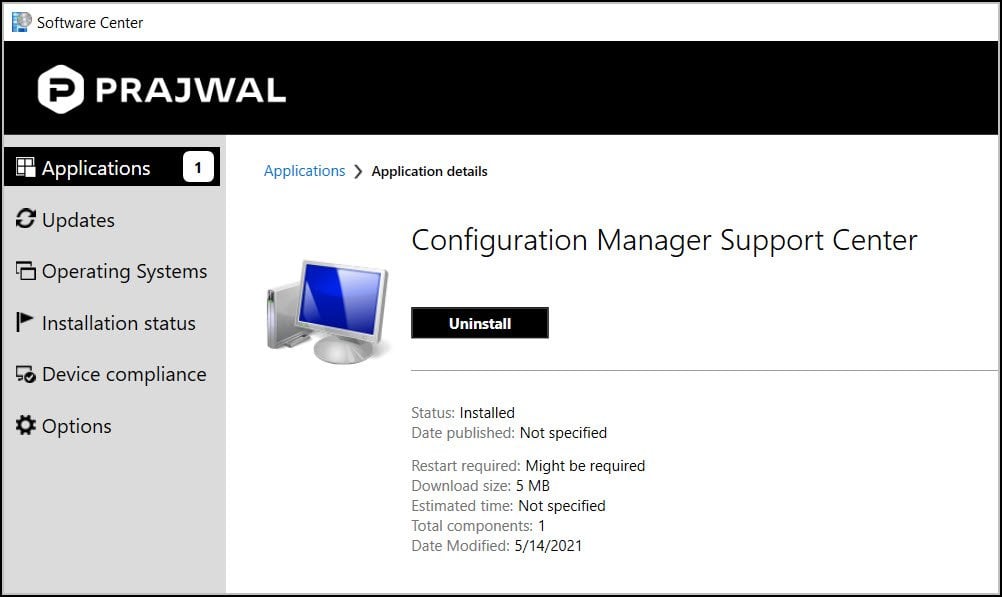
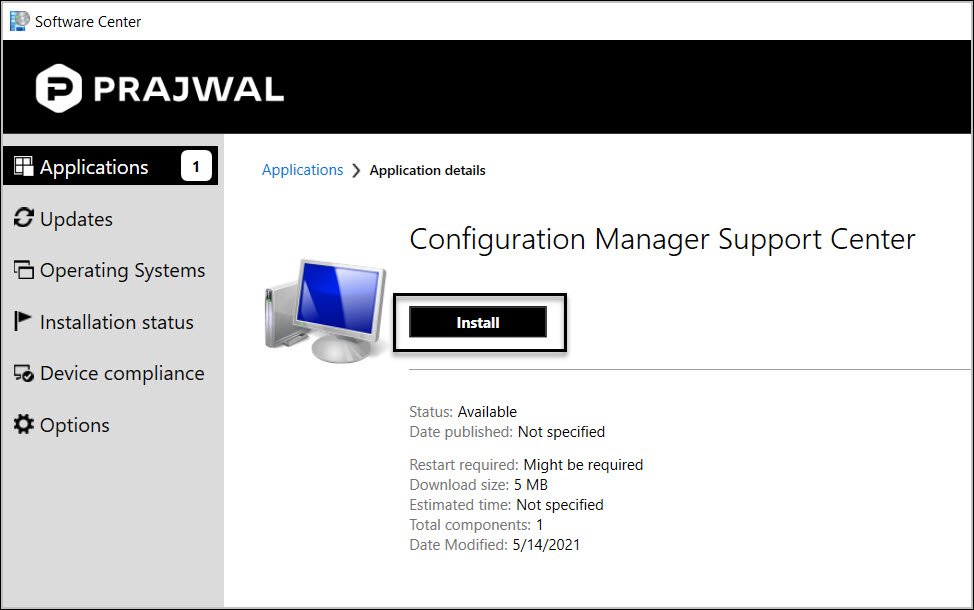
In this section, we will verify if the Support Center application installs correctly on the client computers. Log in to a client computer, and launch the Software center. Click on the Applications tab and select the Support Center application.
On the ConfigMgr Support Center application details page, click Install. The application is now downloaded from the local distribution point server for installation.
The support center installation is quick on the client computer. You can review the Support Center application installation progress by reviewing the AppEnforce.log. Any errors encountered during the application installation are recorded in the log file. To know the location of AppEnforce log file and other files, refer to the SCCM Log files. From the below screenshot, we see the SCCM Support Center application has been installed on the computer.