


This post covers the steps to deploy Windows Server 2019 using SCCM. Windows Server 2019 is the latest server operating system by Microsoft. I must say that after Windows Server 2012 R2, this is my favorite server operating system. My current SCCM 1810 lab is set up on Windows Server 2019 and so far it is the best server operating system by Microsoft.
You can download evaluation version of Windows Server 2019 from here. Windows Server 2019 includes the following new features :-
- Hybrid capabilities with Azure
- Enhanced security
- Faster app innovation
- Unprecedented hyper-converged scale
Steps to Deploy Windows Server 2019 Using SCCM
To make it easier to deploy Windows Server 2019, I will be breaking the complete deployment into steps. Windows Server 2019 is available in Standard and DataCenter editions. I will be deploying server 2019 DataCenter edition using SCCM 1810 in my lab setup.

You get two options while you install Windows Server 2019.
- Server Core – It’s a smaller installation that includes the core components of Windows Server and supports all server roles, but does not include a local graphical user interface (GUI).
- Server with Desktop Experience – This is the complete installation and includes a full GUI for customers.
In my lab setup, I have installed SCCM 1810. Ensure that you are using latest version of Windows ADK. My current lab setup includes ADK version 1809.
STEP 1 – Import Windows Server 2019 OS
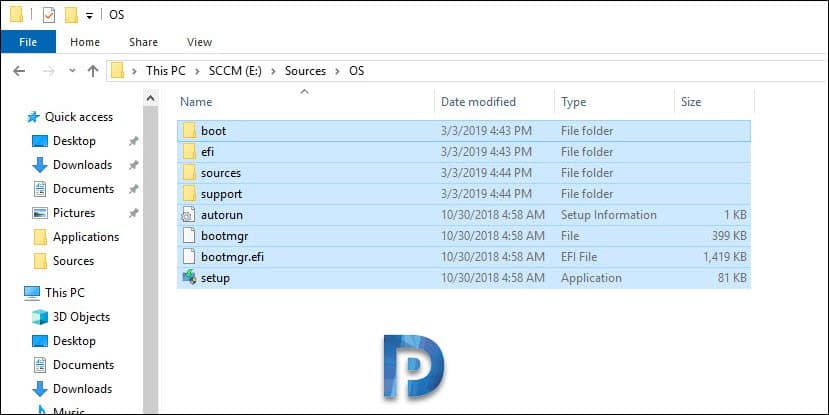
Let’s start by importing the Windows Server 2019 operating system in Configuration Manager. First of all, mount the Windows Server 2019 ISO. Copy all the files and paste the files in sources folder. This will make it easy for us to import it into the SCCM.
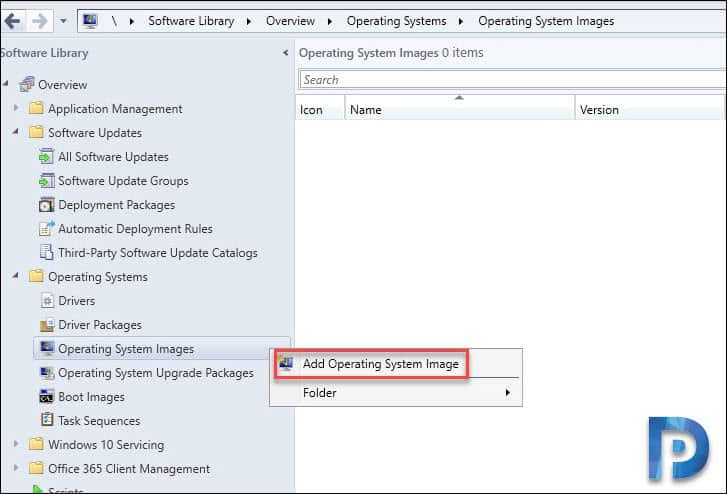
In the SCCM console, click Software Library > Operating Systems. Right click Operating System Images and click Add Operating System Image.
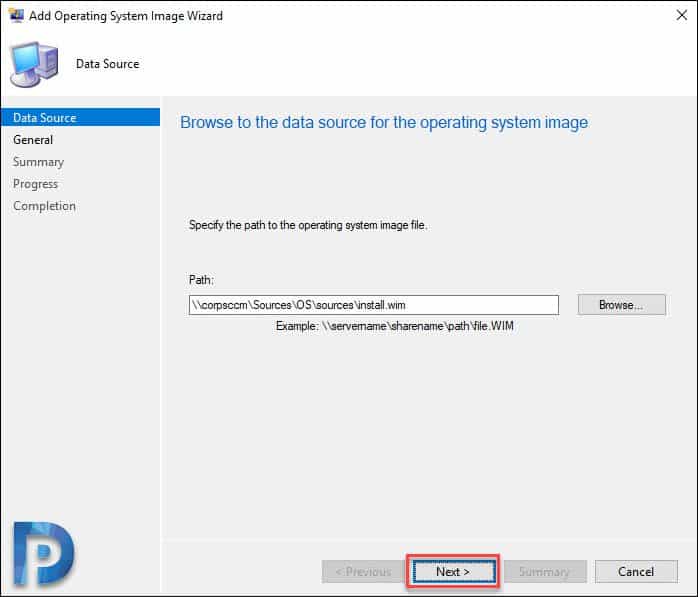
Specify the data source by providing the path to install.wim file. We need only the .wim file out of all the files inside that folder. The install.wim file is located under Sources folder of operating system media. Click Next.
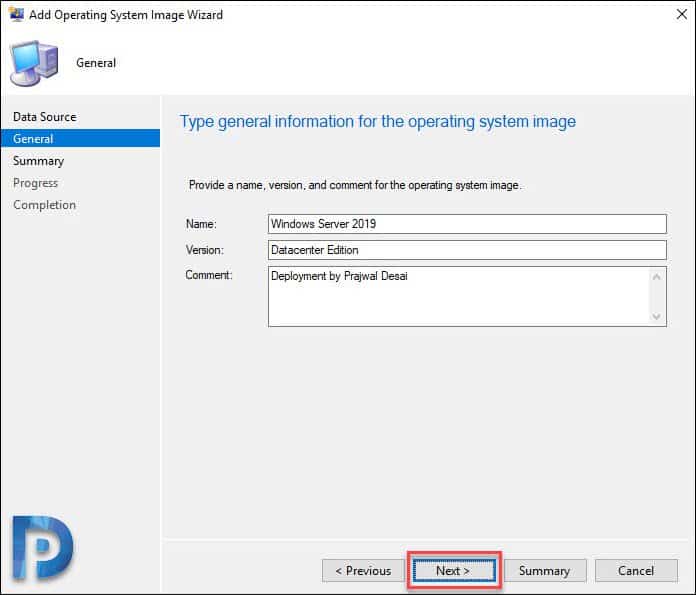
Specify Name, Version and Comment. Click Next.
Click Next on Summary Page.

Finally on Completion window, click Close.
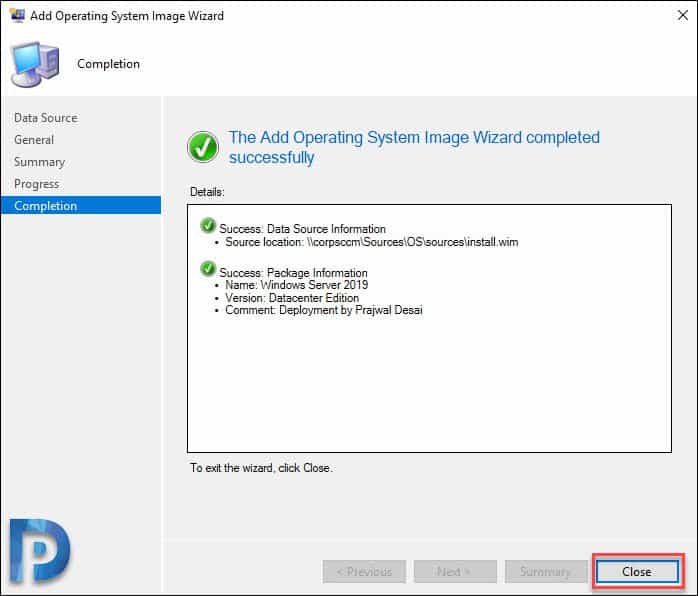
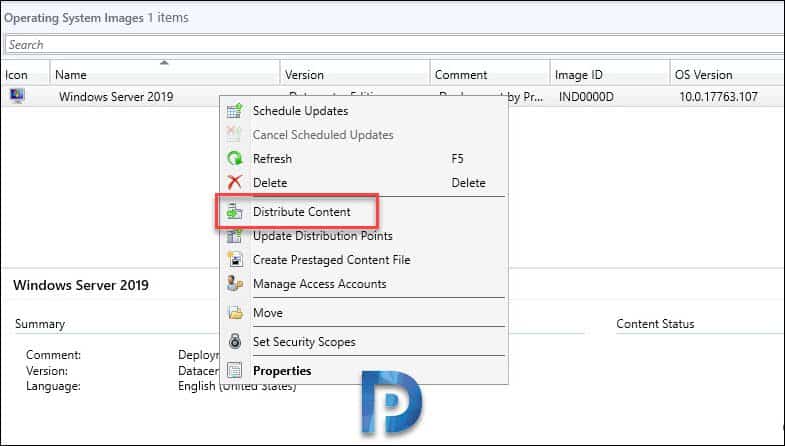
In the above steps, we successfully imported Windows Server 2019 operating system. Now you must distribute the content to distribution point(s). Right click Windows Server 2019 OS and click Distribute Content. In the next step, select the distribution points and complete the wizard. If you see Content Status as green, that confirms the content is available with distribution point.
STEP 2 – Create Windows Server 2019 SCCM Task Sequence
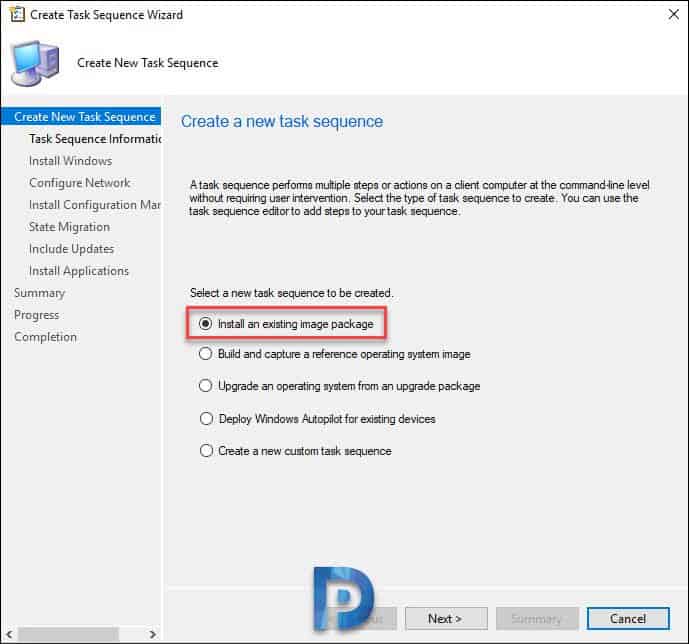
In this step we will create SCCM task sequence to deploy Windows Server 2019. Go to Software Library > Operating Systems > Task Sequences. Right click anywhere on the right pane and click Create Task sequence.
In the Create Task Sequence wizard, click Install an existing image package. Click Next.
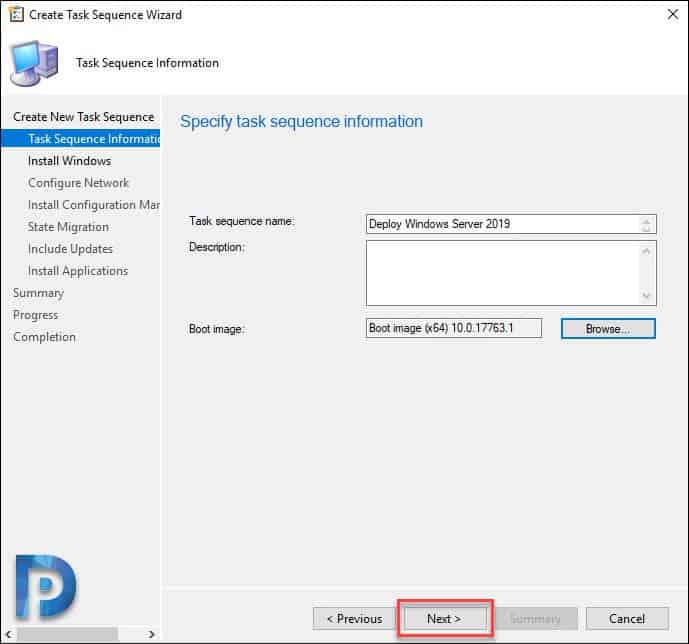
Specify Task sequence name and description. Click Browse and select 64-bit boot image. Click Next.
Specify the image package which is Windows Server 2019. Again you might see two options, Datacenter and Standard. Based on your requirement select the OS edition.
Select partition and format target computer before installing the operating system. Uncheck Configure task sequence for use with BitLocker.
Licensing – You may specify the product key or if you have KMS server that activates the OS, leave it blank.
For local admin password, there are two options.
- Randomly generate the local admin password and disable account on all supported platforms.
- Enable the account and specify the local admin password.
Both the options are self-explanatory. Since I am deploying the OS in lab setup, I will be going with second option. Click Next.

You can either join the machine to workgroup or join it to domain. If you are joining it to the domain, select the domain and domain OU. Specify an account that has enough permissions to join this client to domain. Click Next.

Click Next.
We will not capture any user settings, so click Next.

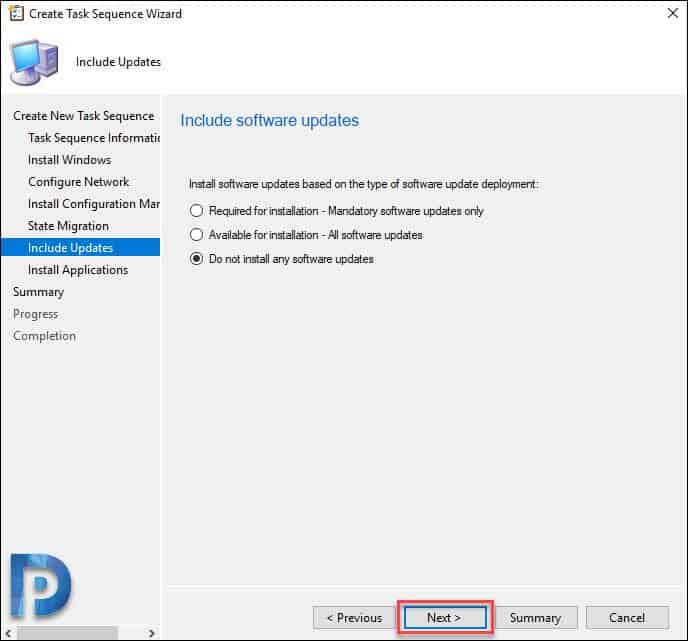
At this point, I am selecting do not install any software updates. Click Next.
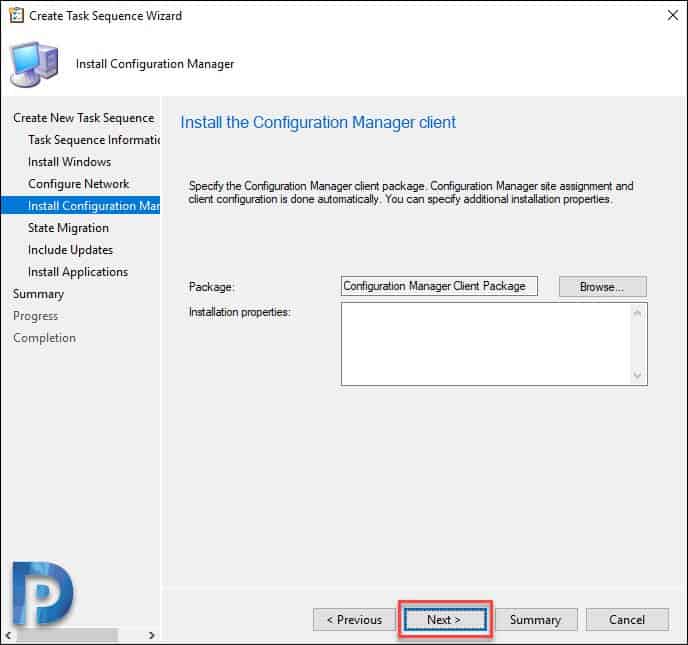
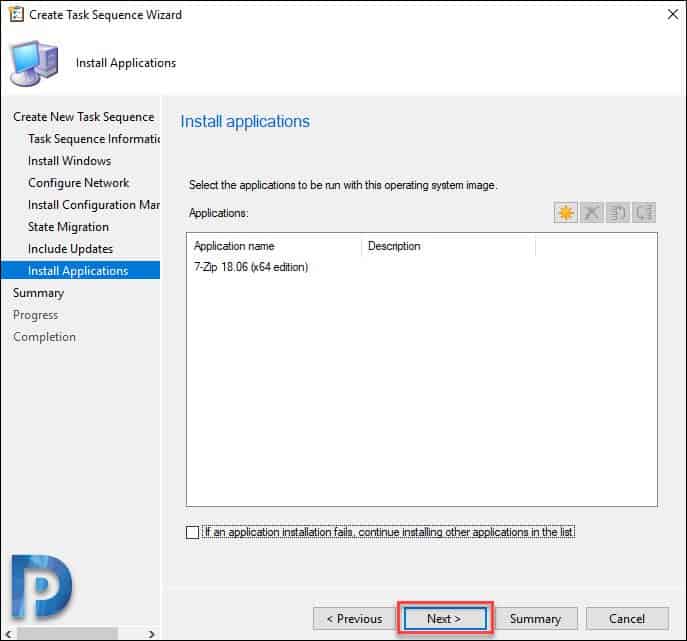
Select if you wish to deploy any applications along with operating system. Click Next.
On Summary page, verify all the details. Click Next. Click Close.
STEP 3 – Deploy Windows Server 2019 Task Sequence
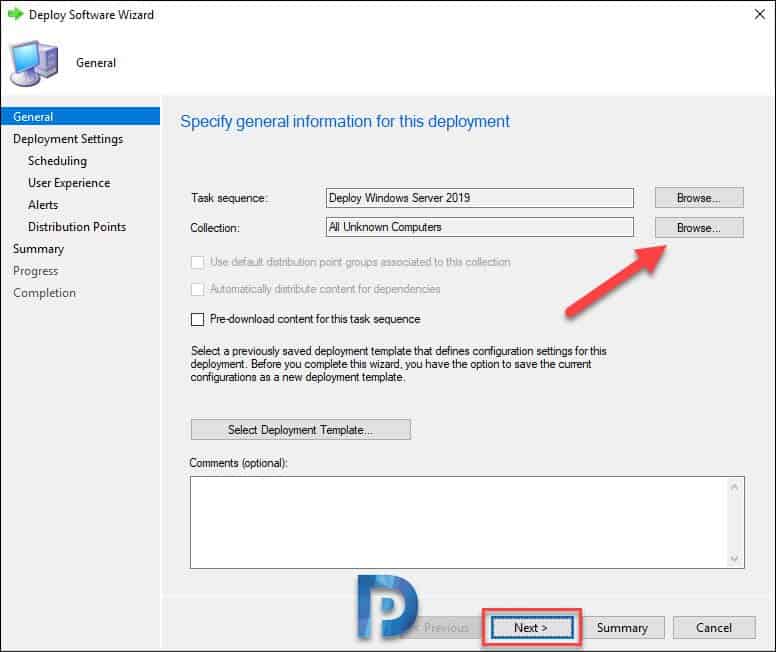
In the above step, we created Windows Server 2019 SCCM task sequence. We will now deploy the task sequence. Right click Windows Server 2019 SCCM task sequence and click Deploy.

Click Browse and select the collection. Click Next.
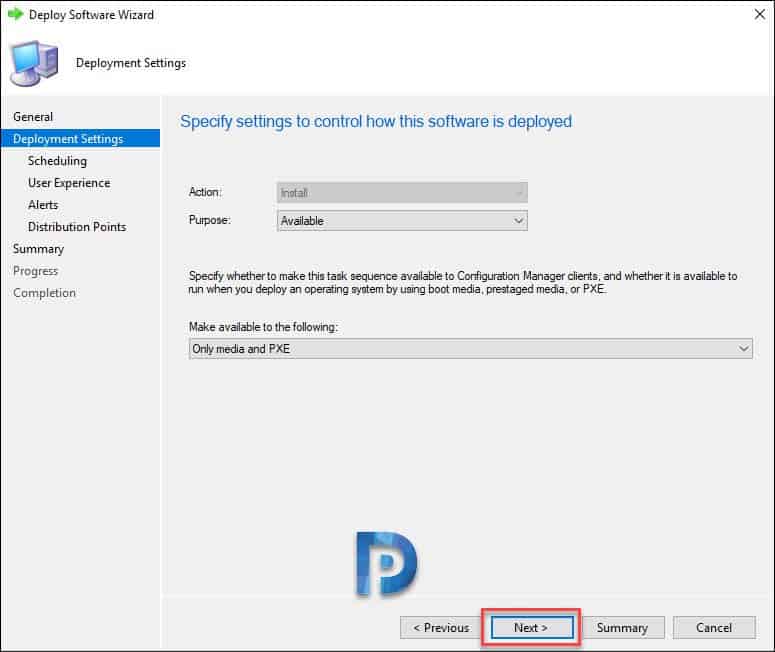
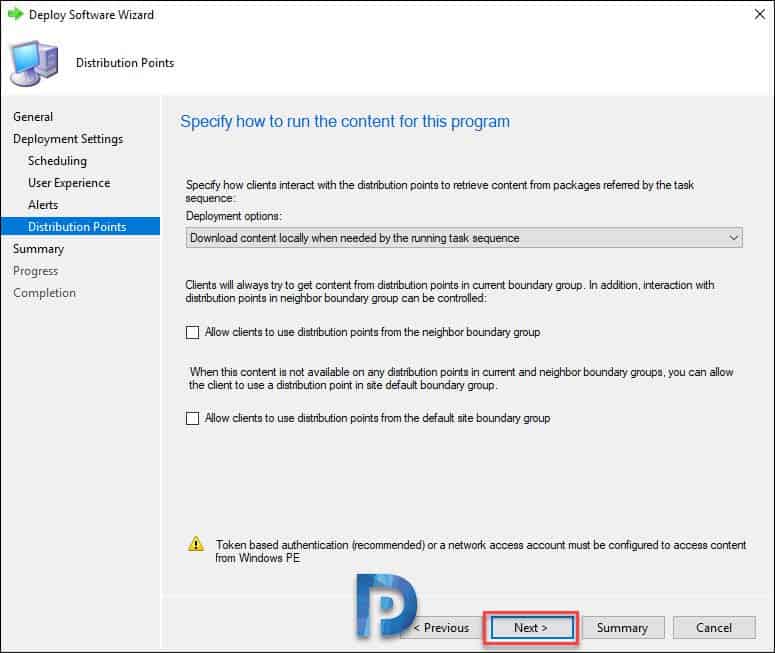
Under Deployment Settings, ensure the action is Install and purpose is Available. Click the drop-down and select Only Media and PXE. Click Next.
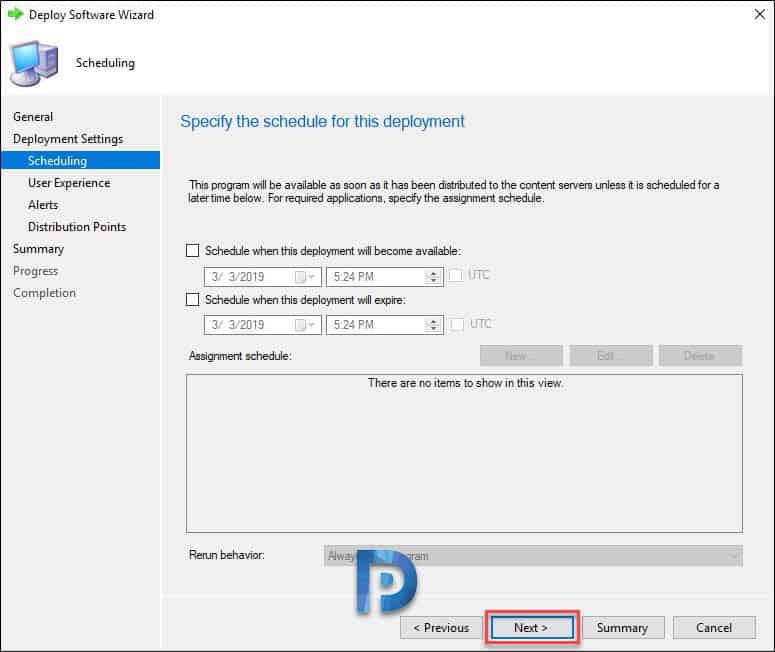
You can schedule the deployment by selecting the date and time. In addition to that you can also schedule when the deployment will expire. Click Next.
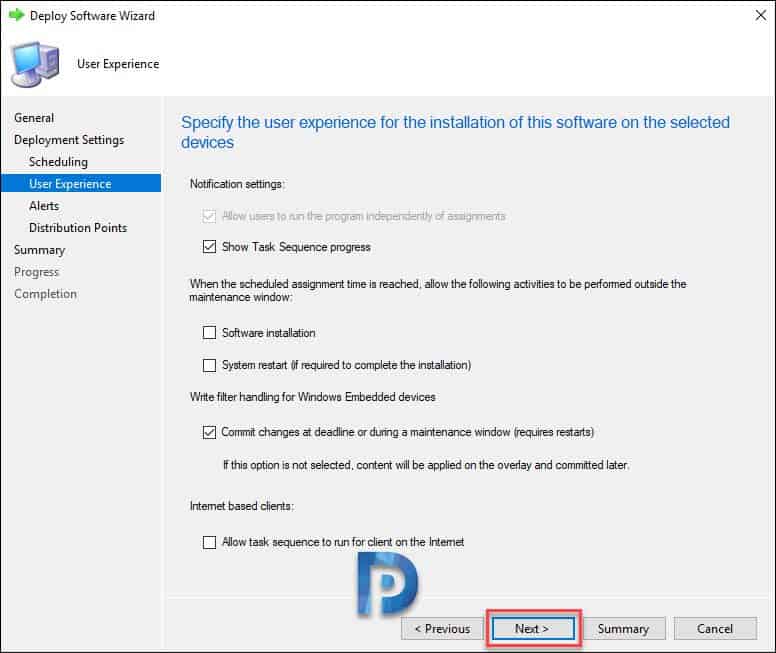
Making no changes to any settings, click Next.
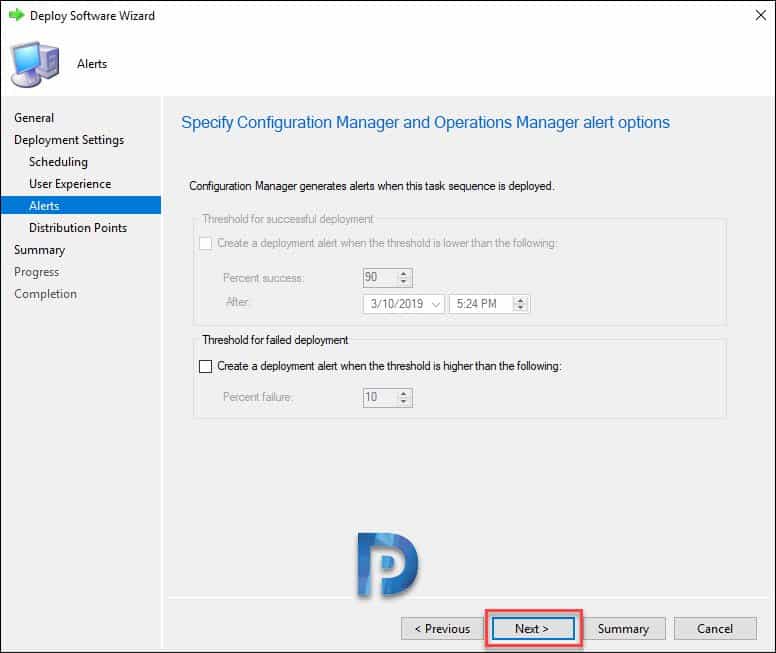
Click Next.
Nothing to select anything here, click Next.
On the summary page, verify the details and click Next.

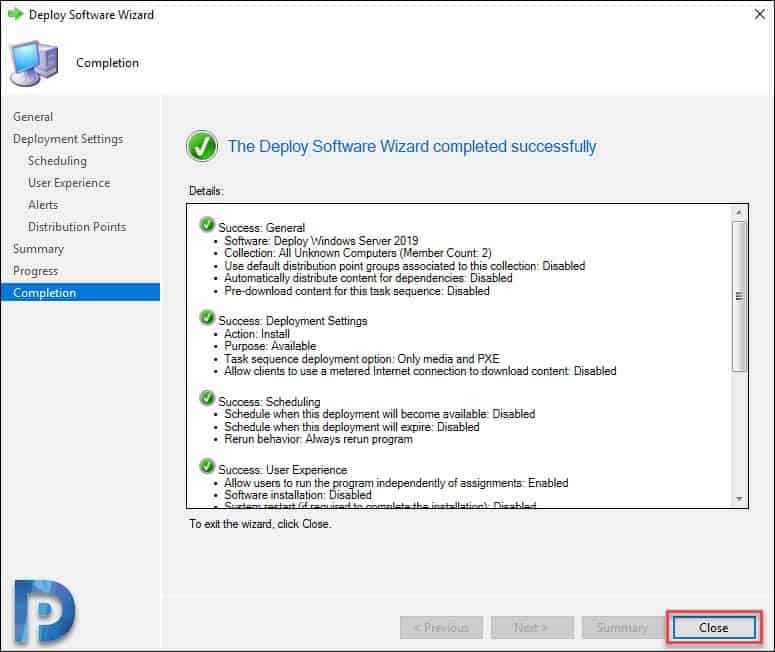
On Completion page, click Close.
STEP 4 – Deploy Windows Server 2019 Using SCCM
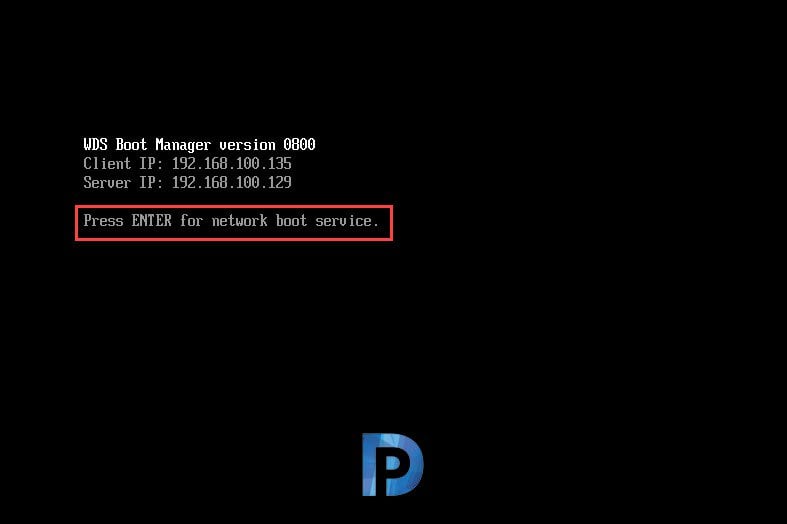
Now we are ready to deploy Windows Server 2019 using SCCM. In my lab setup, I have created a VM with no operating system. The VM is set to boot from network. Press Enter to network boot.
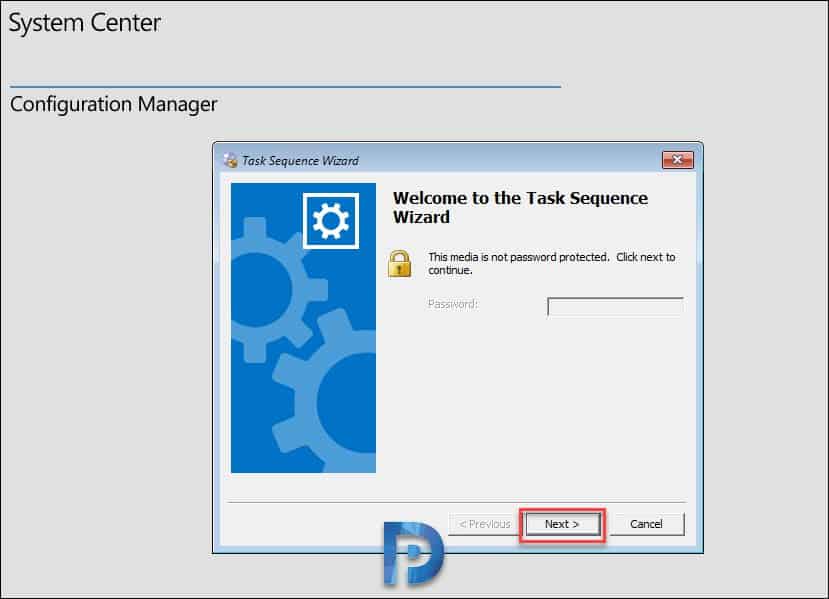
The boot image is downloaded first. On the task sequence welcome page, click Next.
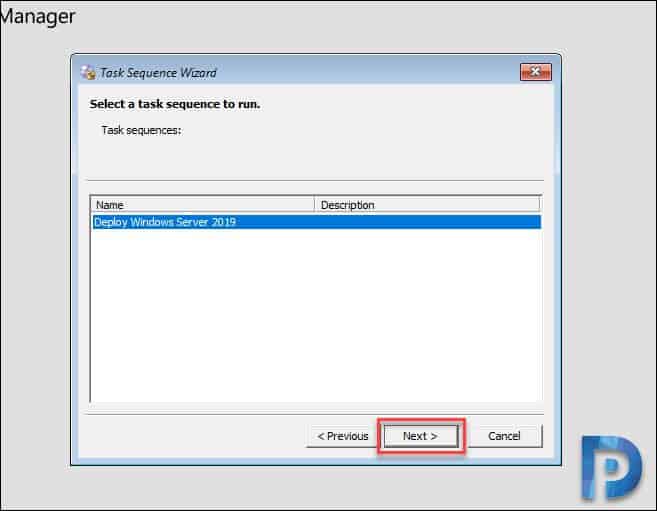
Select the Windows Server 2019 task sequence and click Next.
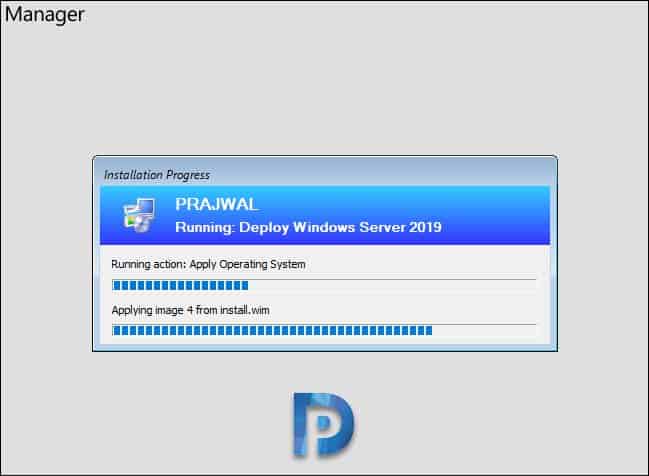
The task sequence execution begins. The wizard is now downloading install.wim file.

We are now at Applying Operating System image step.
The operating system is installed, the wizard is now installing the selected applications.

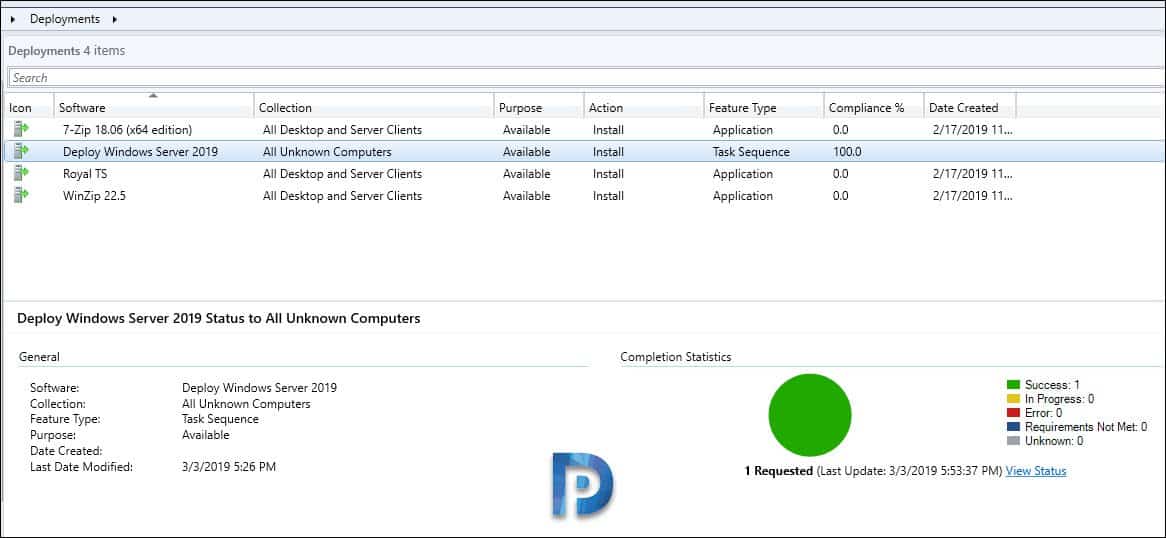
You can also go the deployments under Monitoring and verify the installation status. We see that we had a successful deployment of Windows Server 2019 using SCCM 1810.

My Task sequence keeps failing after setup windows and configmgr. Server reboots and after the reboot it will’ not continue. This happening only in UEFI. With Bios, it works. On a Hyperv VM it works both ways. It also reboots but after the reboot, the Task sequence is running in background. My SCCM is on v.2010. Any ideas?
Good afternoon, could you help me with the error below
Windows could not parse or process the unattend answer file for pass [specialize]. The settings specified in the answer file cannot be applied. The error was detected while processing settings for component [Microsoft-Windows-Shell-Setup].
First thanks for sharing knowledge. I am not able to put the machine in the domain even specifying the account of the location correctly but it does not enter the Domain. need to perform some configuration in AD
Do you have an article based on Windows Server In-Place upgrade via task sequence?
Hi,
Whats the deal with “wds boot manager version 0800” On “Deploy-Windows-Server-2019-Using-SCCM-Snap27.jpg”.
I never have see this before version 1903 is this new?, also the behavior is different now i need to press enter before its starts PXE boot normaly it was just F12 to boot in (secure boot ) UEFI mode.
Hello Prajwal a really useful guide thankyou.
Can you help me with something please that’s really bugging me. I have done the above build with success, but its installing with “en-US” I.e. language / keyboard / display settings. So at the moment any time and efficiency savings of using this is being wasted by having to go in and hack about with the language settings.
I need it to install everything as “en-GB”.
Do I use a “Answer File” to achieve this? Does anyone have a working one I could try, because no matter how many I try its never worked for me. I literally just need it to say use en-GB. I had the same issue when deploying Windows 10 but found that you could download from Microsoft a “International English” version which defaults to en-GB (but no such thing with 2016/2019).
Any help would be really appreciated thankyou.
Richard
Hi!
You might want to have a look at “Deploy-Windows-Server-2019-Using-SCCM-Snap16.jpg” and “Deploy-Windows-Server-2019-Using-SCCM-Snap17.jpg”
Product key…
Apologies. Thank you so much for the info.