This post shows the steps to deploy Windows 7 using MDT (Microsoft Deployment Toolkit). This post is a continuation of my previous post on MDT. In the first part we saw the steps to capture Windows 7 OS using MDT. In the second part we saw the steps to import captured WIM file into MDT. You can refer to both of the parts by clicking the links below.
After you have performed all the steps mentioned in both the parts, you are ready to deploy Windows 7 using MDT.
Deploy Windows 7 Using MDT (Microsoft Deployment Toolkit)
So let’s go through the steps to deploy Windows 7 using MDT. In other words, deploy a captured WIM file and re-image a VM. In the deployment workbench, create a new Task Sequence. Specify Task sequence ID and TS name. Click Next.
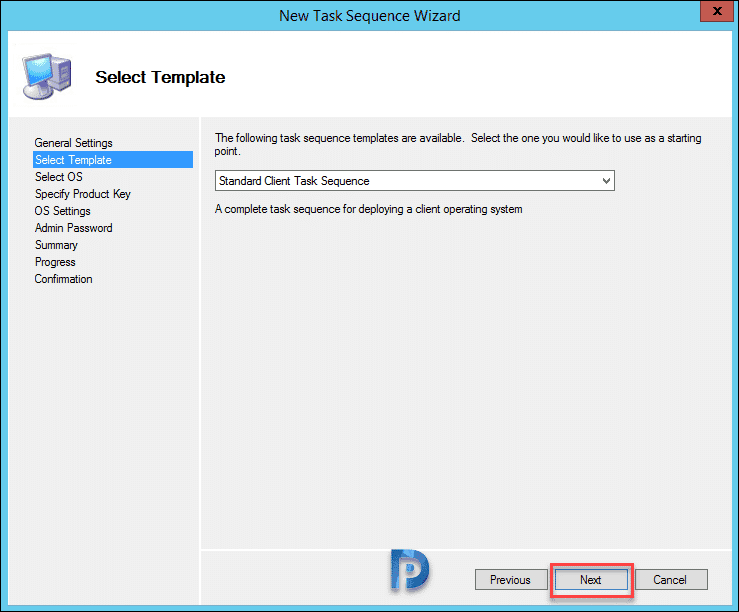
 We must select a task sequence template here. Click the drop-down and select Standard Client Task Sequence. Hit Next.
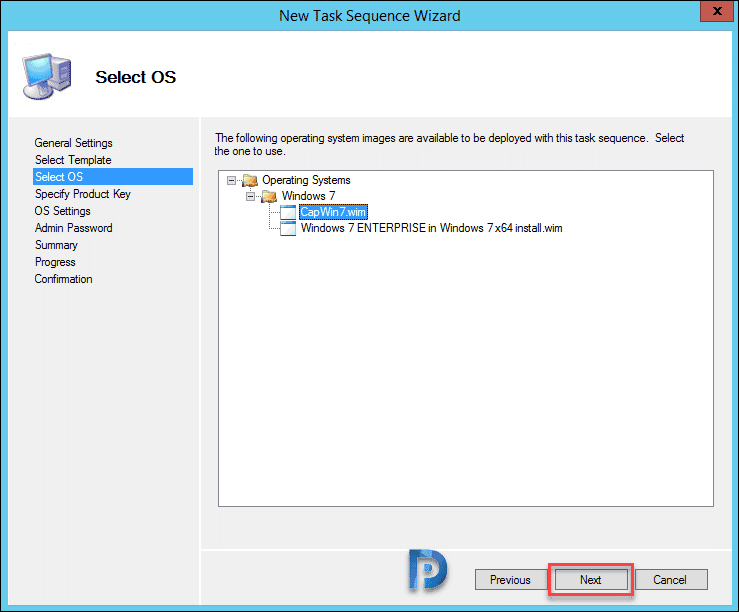
 Select the WIM file. This is the WIM file that we captured (refer to the Part 1 post mentioned above). Click Next.
 Select Do not specify a product key at this time. Click Next.
 Specify OS settings such as name, organization etc. Click Next.
 Select Do not specify an Administrator password at this time. Click Next.
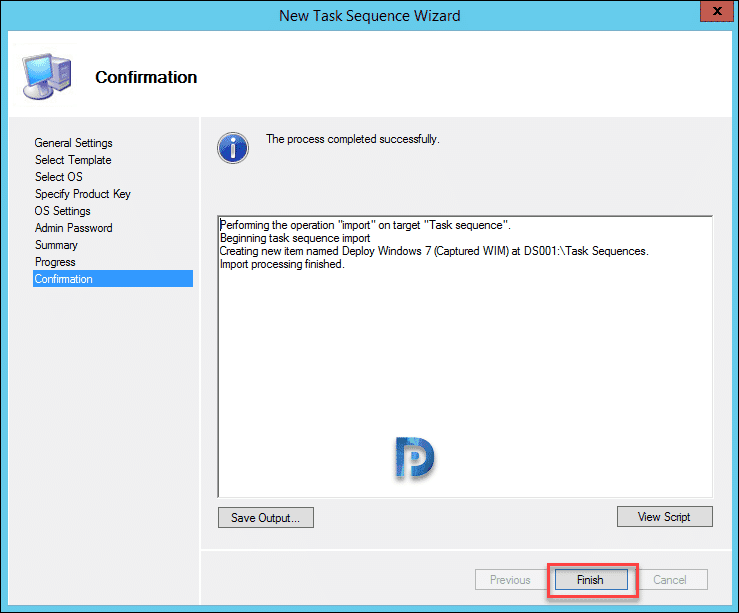
 On Summary and Progress page click Next. Finally on the Confirmation page click Finish. Right click MDT Deployment Share and update the deployment share.
Begin to Deploy Windows 7 Using MDT
In the above steps we created a task sequence and selected our WIM file for deployment. We will now begin to deploy Windows 7 using MDT. In my lab I have a blank VM ready. On the machine that we plan to image, we need to mount the boot image. Configure the VM to boot from ISO file via BIOS settings. You can also initiate deployment by using Windows Deployment Services. In addition you must load the boot images in WDS to begin the deployment. Since we aren’t using WDS here, we will proceed with mounting the boot images manually on target computer.
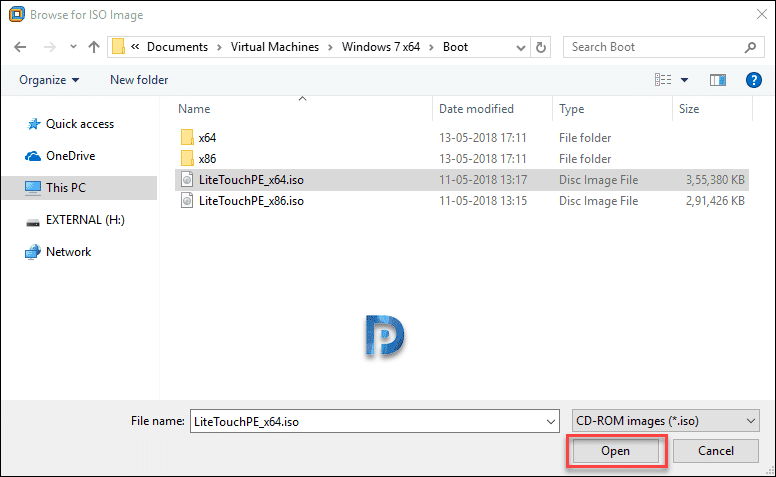
The boot images are found inside Boot folder (DeploymentShare$\Boot). If it’s a physical computer that you want to image, you can burn the ISO file to a CD or DVD first. Then use the CD/DVD and boot from it to start imaging process.
There are 2 boot image files that are created when you update deployment share.
- LiteTouchPE_x64.iso – To target 64-bit computers.
- LiteTouchPE_x86.iso – To target 32-bit computers.
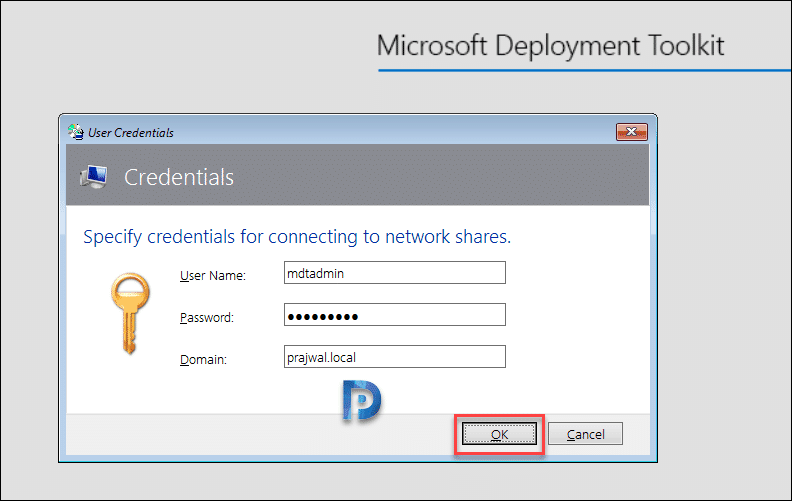
 Let the VM boot through ISO file. You will be now asked to enter credentials to connect network shares. Enter the username and password. Click OK.
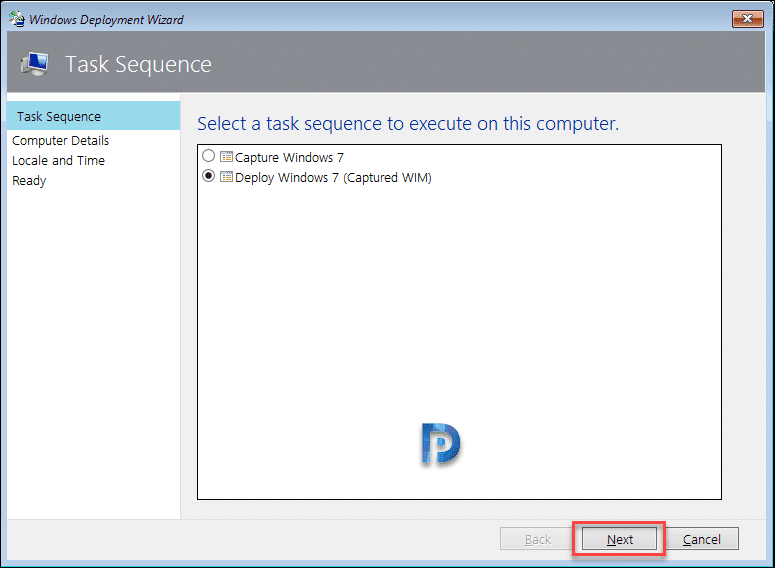
 Select the task sequence that you just created. Click Next.
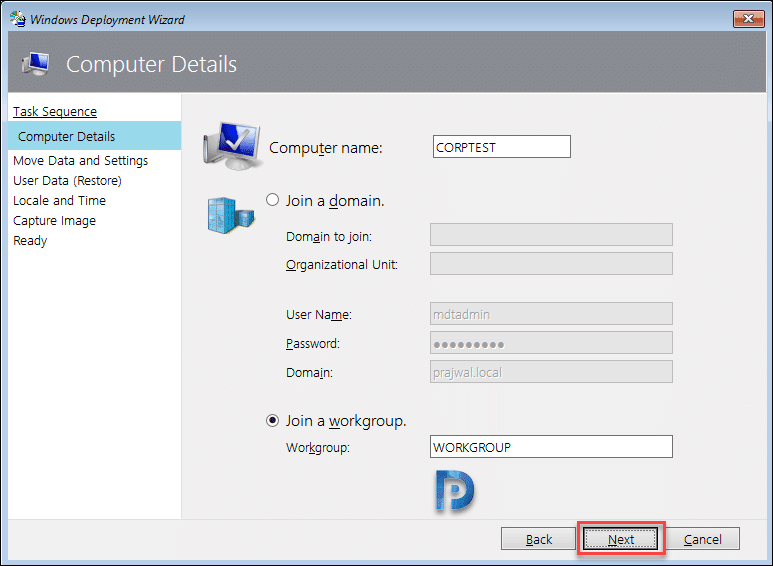
 In this step you specify computer details. Specify computer name. Choose whether you want to join this computer to domain. Else choose to join a workgroup. Click Next.
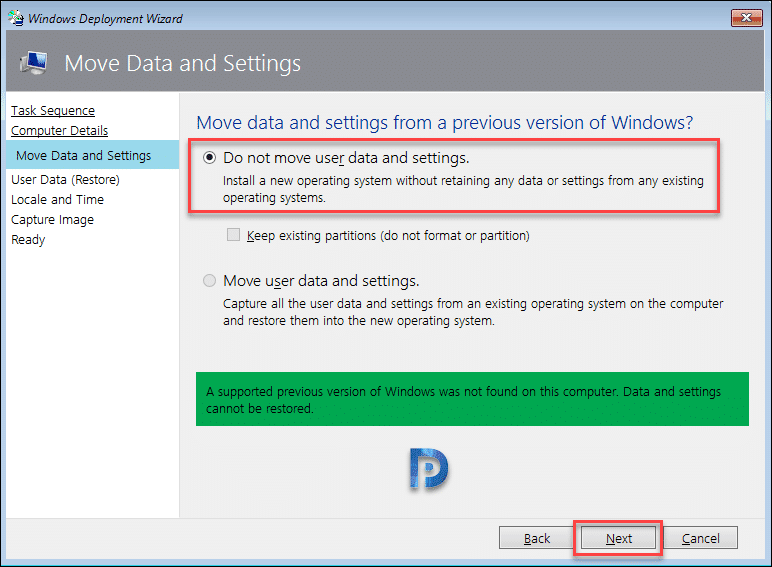
 Select Do not move user data and settings and click Next.
 Select Do not restore user data and settings. Click Next.
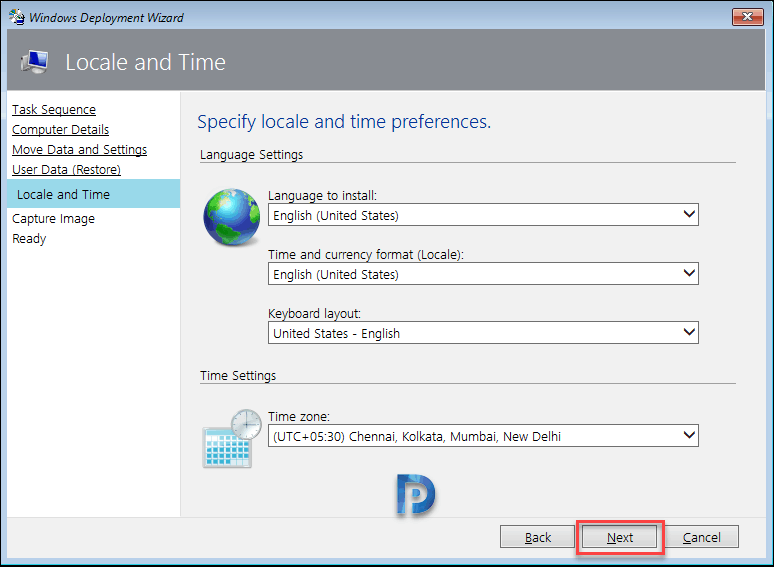
 Specify local and time and choose the settings appropriately. Hit Next.
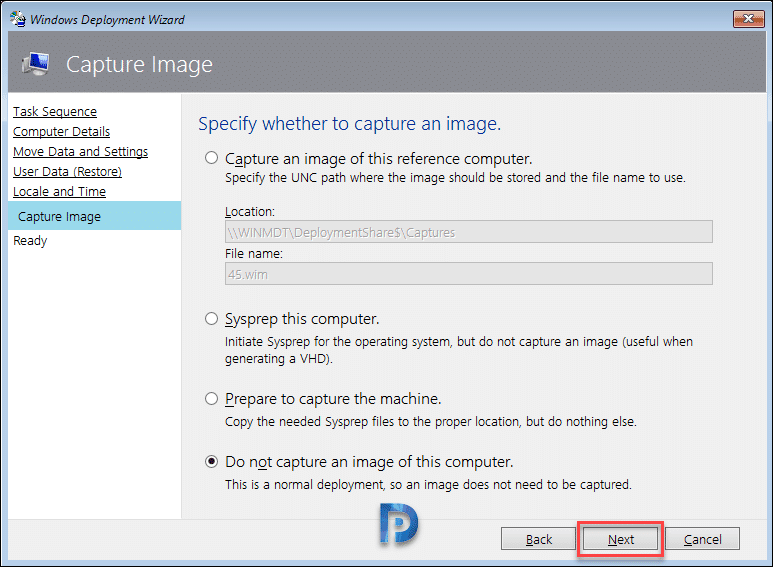
 This is an important step. Do not select capture an image of this reference computer because that’s not what we want. What we plan to do here is deploy captured WIM file using MDT. So select Do not capture an image of this computer. Click Next.
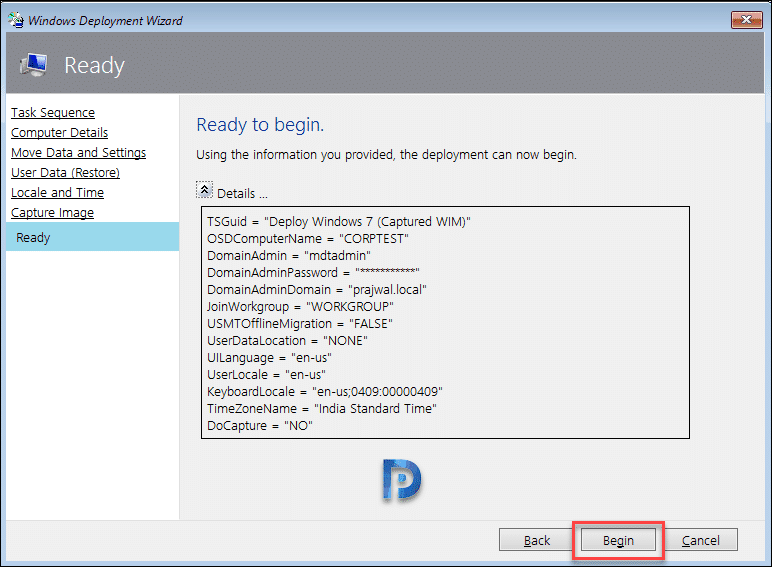
 So are you ready to begin ?. Hit Begin.
 On the test VM, wait for the TS to load and execute the steps. Finally you should see a message “Operating system deployment completed successfully“. Click Finish.




Win 7 installs fine on VM but fail to start on physical devices.