


This post details the steps to capture Windows 7 using MDT. I am sure for some of you, MDT is quite old now. You may have switched to using SCCM completely for imaging enterprise systems. Microsoft Deployment Toolkit (MDT) is a solution accelerator for operating system and application deployment. But for some of us including me, we learnt a lot of imaging concepts through MDT.
Even today many organizations use MDT to deploy images. MDT is integrated with SCCM which adds many enhancements to SCCM. There are lot tasks that you perform with MDT related to OS deployment.
There was a requirement for an imaging solution for one of the remote sites. While SCCM was present in the setup, the computers imaged had to be part of workgroup. In the remote site the VM’s were imaged by local IT guys. The machines were not part of any domain. Post the installation, the end users carried out some software testing. Once the testing was over, the VM was re-imaged and some other testing was carried out.

The remote site required an imaging solution so as to reduce deployment time and manual work of IT. To my knowledge MDT fits well in such scenarios. I guess some of you might have alternate thoughts or suggestions on this but I chose MDT in this scenario.
Capture Windows 7 Using MDT (Microsoft Deployment Toolkit)
The process to capture Windows 7 using MDT is very simple. Most of all I have covered the OS deployment using MDT in Part 1 and Part 2. That was an old post but still works well. In this post we will capture an existing Windows 7 VM using MDT. The VM is installed with all the required softwares and language packs. Since this is a VM I need not worry much about adding the drivers.
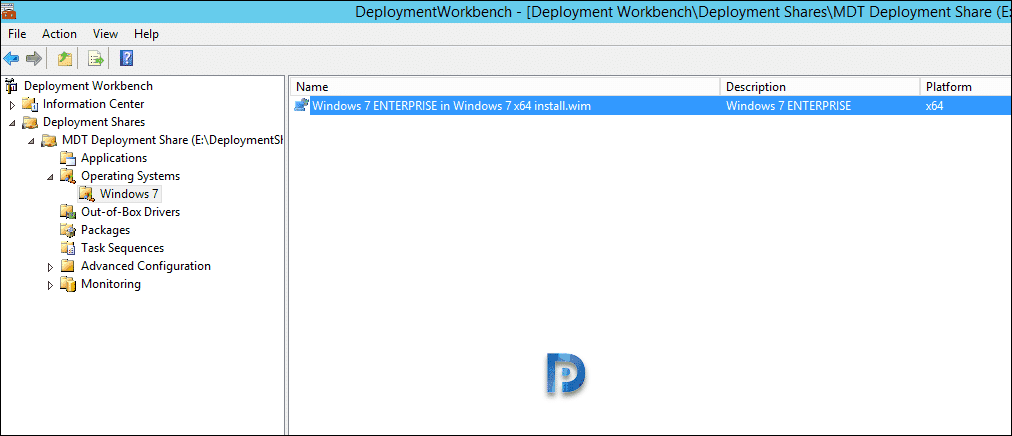
I won’t be covering the installation of MDT in this post. First of all launch the deployment workbench and import the Windows 7 OS first.
Right click Task Sequences and create a new TS. Specify Task Sequence ID and task sequence name. Click Next.

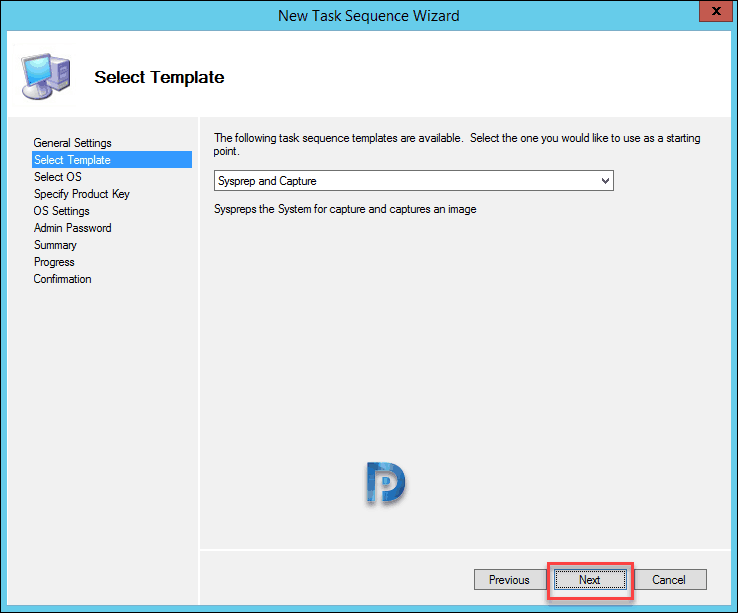
You must select a template to proceed. Click the drop-down and select Sysprep and Capture. Click Next.
Select in the OS in the next step. Click Next.

Select Do not specify a product key at this time. Click Next.

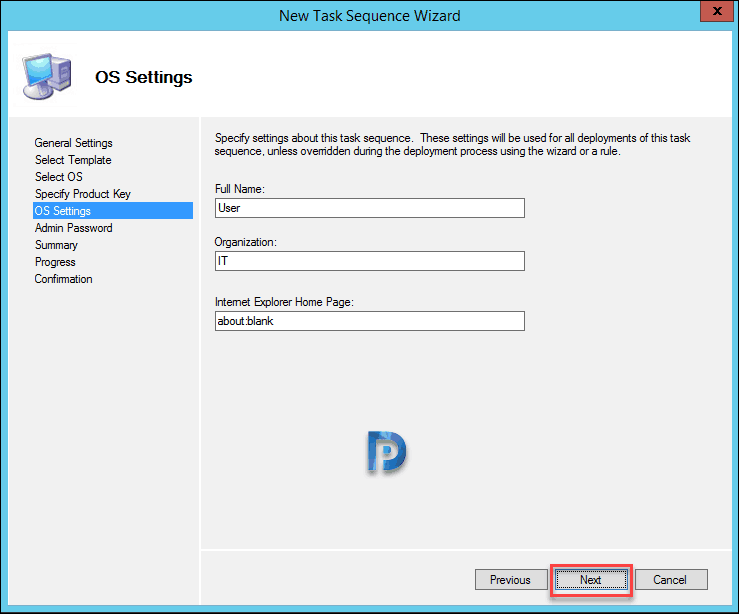
Specify user name, organization and click Next.
For now select Do not specify an Administrator password at this time. Click Next.

Finally click Finish on the confirmation window. You have successfully created a task sequence.

Begin the Capture Process
Login to the machine (VM) where you want to run the sysprep and capture. Connect to \\serverfqdn\deploymentshare$ and open scripts folder. Authenticate with the creds to connect to deployment share. Post successful authentication, you should see the folders within deployment share. From the scripts folder locate and run Litetouch VBScript script file.

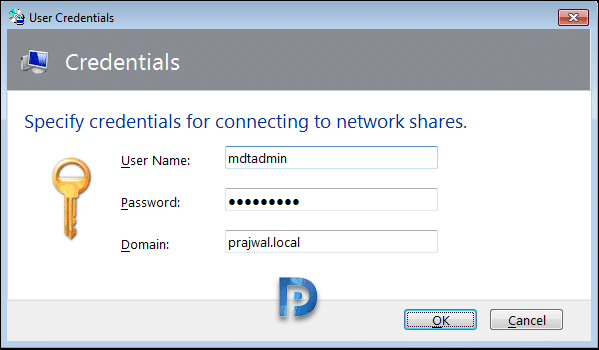
Specify the credentials to connect to network shares.
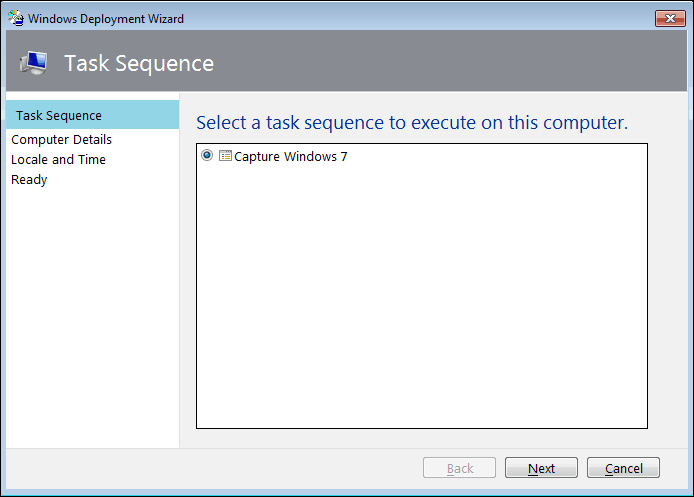
Select the task sequence and click Next.
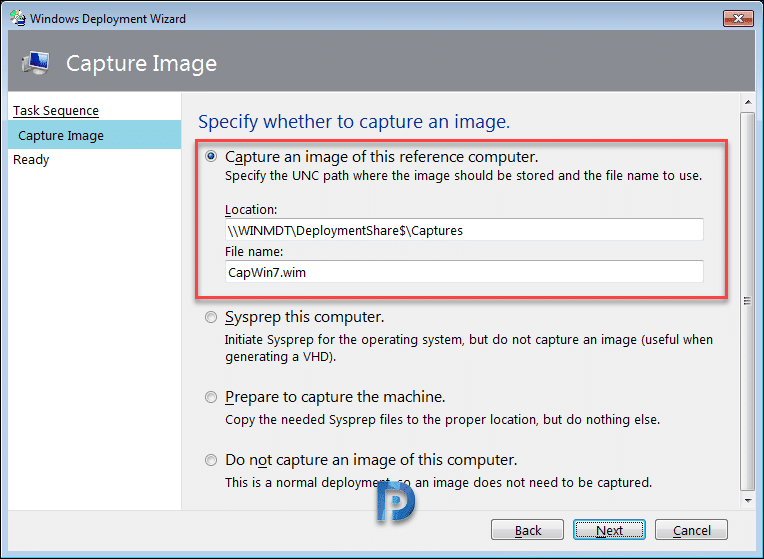
To capture an image select the first option. Capture an image of this reference computer. The location would be picked up automatically. Specify a valid file name. Click Next.
Great so you are ready to capture Windows 7 now.

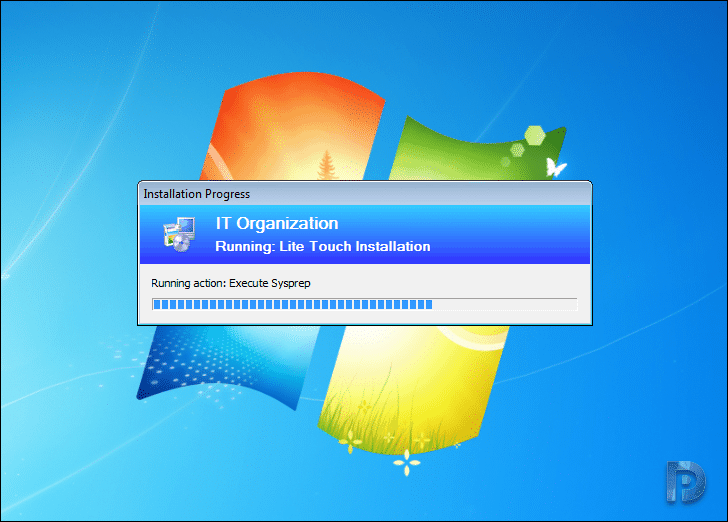
Wait for the task sequence to run and perform the sysprep. You machine will be restarted during this process.
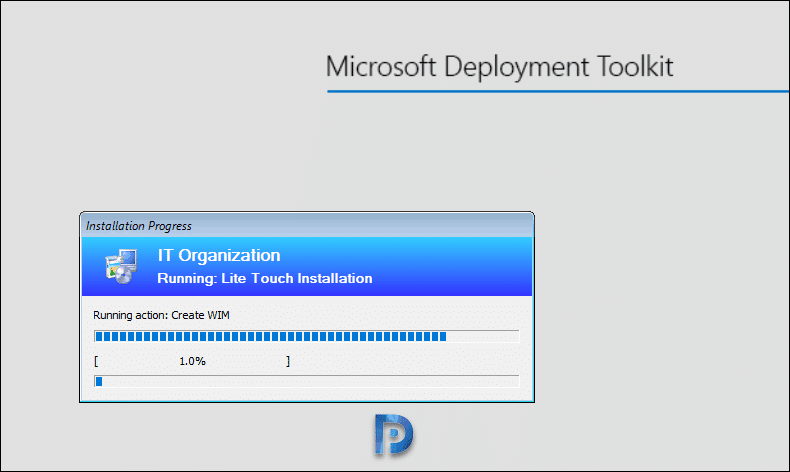
The capture process creates a WIM file.
Once the capture is complete you will see the completion message. Operating system deployment completed successfully. Click Finish to close the deployment summary window.
 You will find the wim file inside Captures folder within deployment share directory. You can now use this captured wim file to deploy OS or image other VM’s.

how long does it take to capture an image?
Unattended.xml file editing is not required??
You can edit it if required.
Hi Prajwal,
Editing of unattended.xml file is not required ??
I have installed the MDT on our ConfigMgr and wondering if this process will also work with Windows 10?
If you have integrated MDT with ConfigMgr, you can use ConfigMgr to manage the deployment.