In my previous post, I showed the steps to install Data Warehouse service point role. At the end of same post, i mentioned about an error while accessing Data Warehouse reports. In this post I will present a workaround for SCCM data warehouse reports error. First of all, let me tell you that this is a known issue and is already documented here.
When you install Data Warehouse role, you will notice an error when you open any Data Warehouse reports. This is a known issue and even I experienced the same in my lab setup. Since the error can be fixed using a simple workaround, we will see how to do that.
SCCM Data Warehouse Reports Error
When you install Data Warehouse service point role, under reports you will find several data warehouse reports.
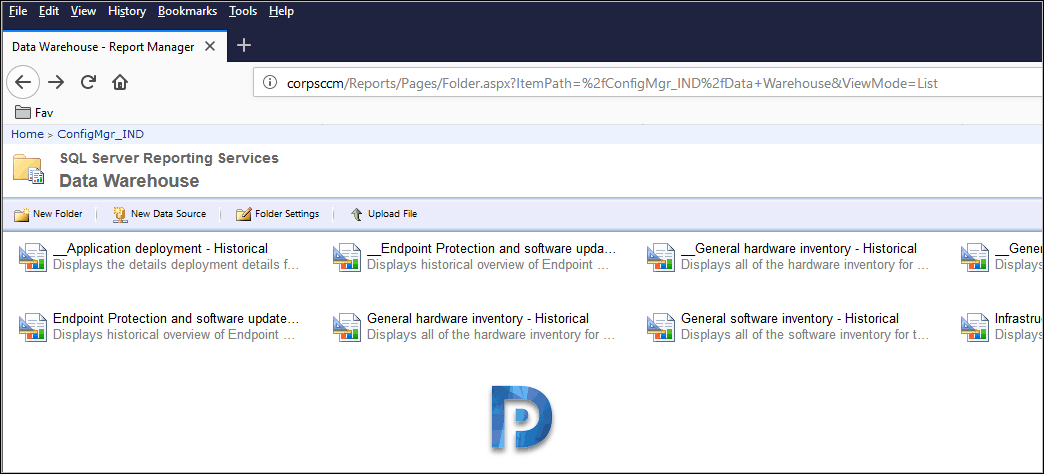 However when you try to run any report, you will see the below error.
An error has occurred during report processing. (rsProcessingAborted). Cannot create a connection to data source ‘AutoGen__39B693BB_524B_47DF_9FDB_9000C3118E82_’. (rsErrorOpeningConnection). A connection was successfully established with the server, but then an error occurred during the pre-login handshake. (provider: SSL Provider, error: 0). The certificate chain was issued by an authority that is not trusted.)
Workaround for SCCM Data Warehouse Reports Error
Following are the steps that are part of this workaround to fix the SCCM Data Warehouse reports error.
Step 1 – Create Self-Signed Certificate
You must perform the below steps on the computer that hosts the data warehouse database.
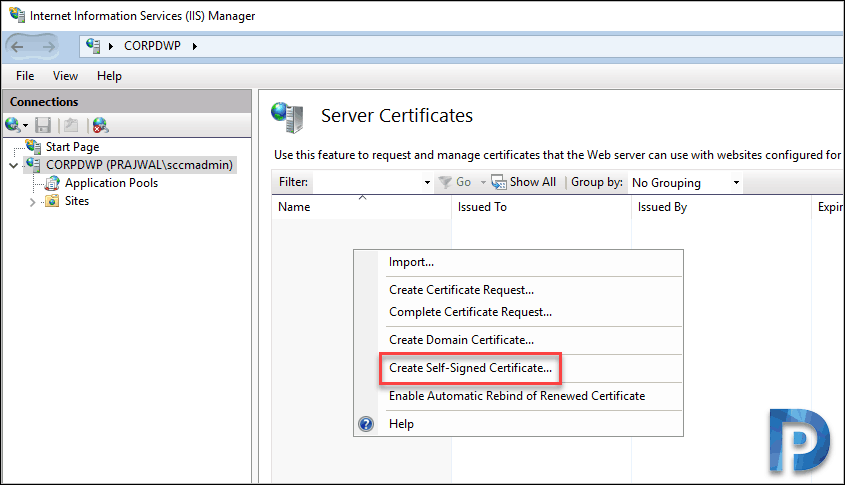
- Open IIS.
- Click Server Certificates.
- On the right pane, right-click and then click Create Self-Signed Certificate.
In this step specify a friendly name for the Certificate. You can specify it as “Data Warehouse SQL Server Identification Certificate”. Select the certificate store as Personal. Click OK.
Step 2 – Assign Data Warehouse SQL Server Identification Certificate
- Launch SQL Server Configuration Manager.
- Expand SQL Server Network Configuration.
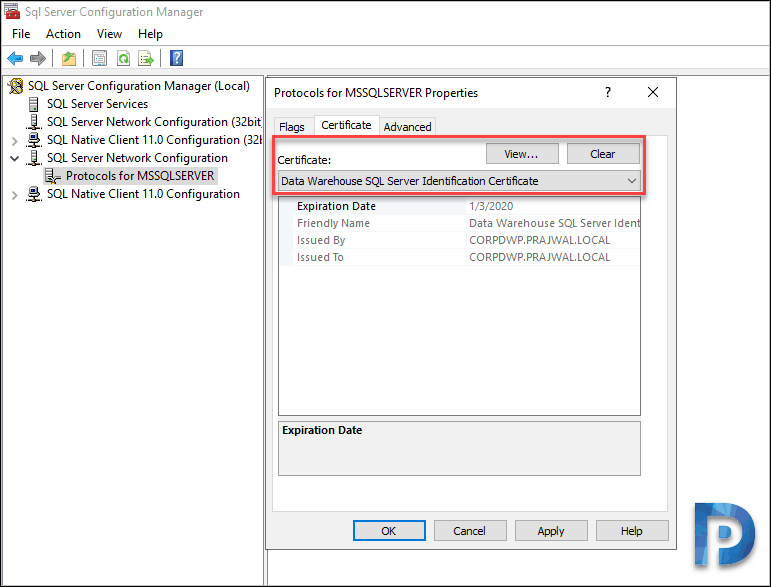
- Right-click Protocols for MSSQLSERVER and select Properties.
- Under Protocols for MSSQLSERVER properties, click Certificate tab.
- Select Data Warehouse SQL Server Identification Certificate as the certificate.
- Click Apply and OK.
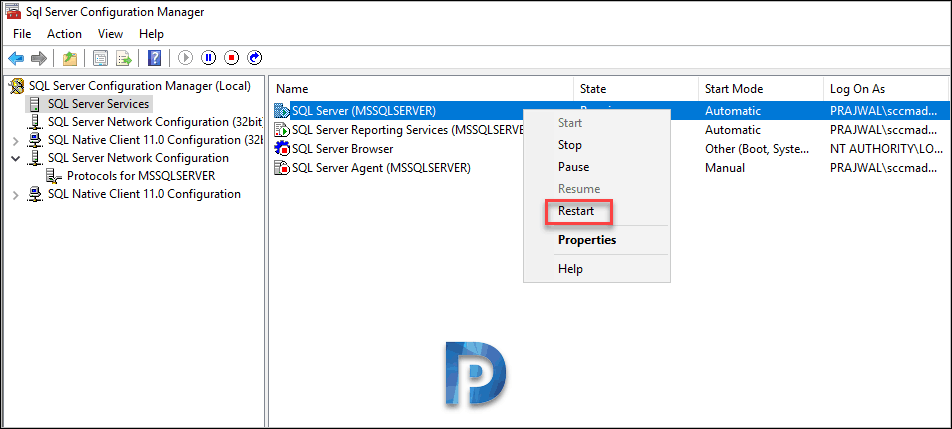
In SQL Server Configuration Manager, click SQL Server Services. Restart the SQL Server service and SQL Server Reporting Service.
Step 3 – Export the Data Warehouse SQL Server Identification Certificate
On the computer where you hosted the Data Warehouse DB, perform the below steps.
- Open the Microsoft Management Console (MMC).
- Add the Certificates snap-in.
- Select Computer account of the local machine.
- Expand the Personal folder, and select Certificates.
- Right click and export the Data Warehouse SQL Server Identification Certificate.
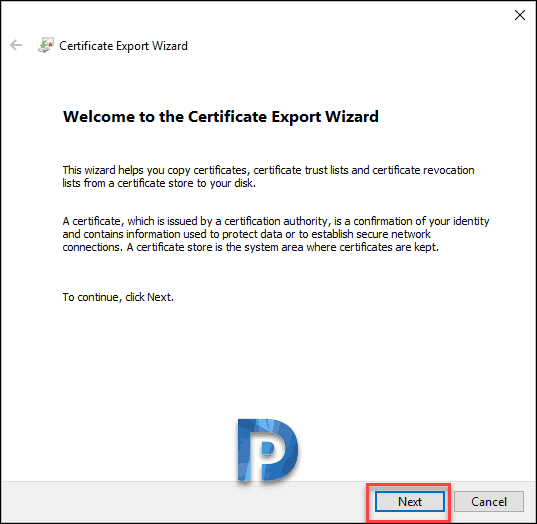
On the certificate export wizard welcome page, click Next.
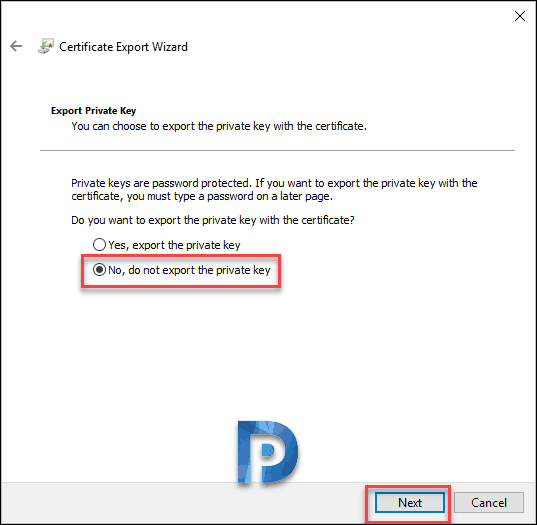
Select No, do not export the private key. Click Next.
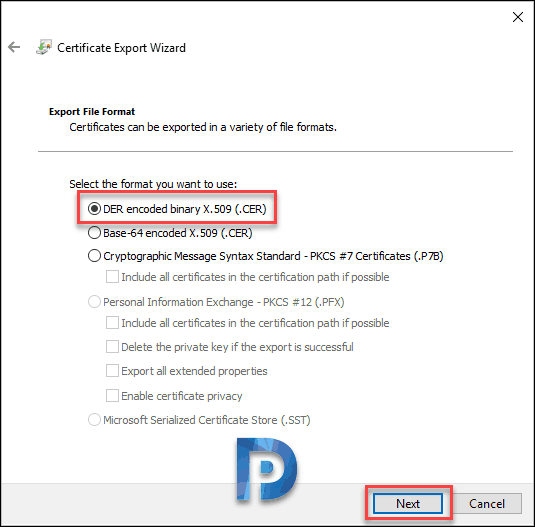
Select the format as DER encoded binary X.509 (.CER). Click Next.
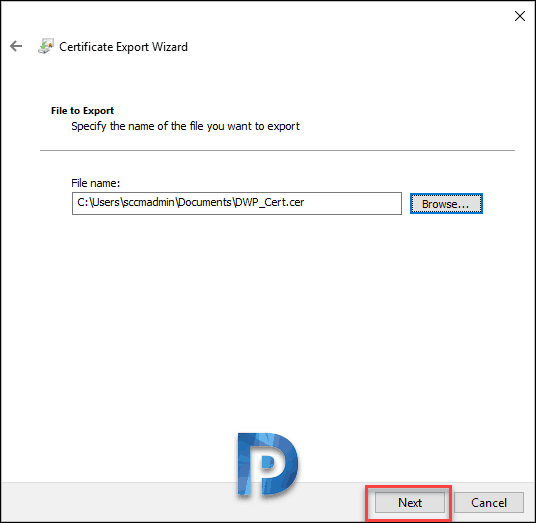
Now click Browse and save a certificate with a name. Click Next.
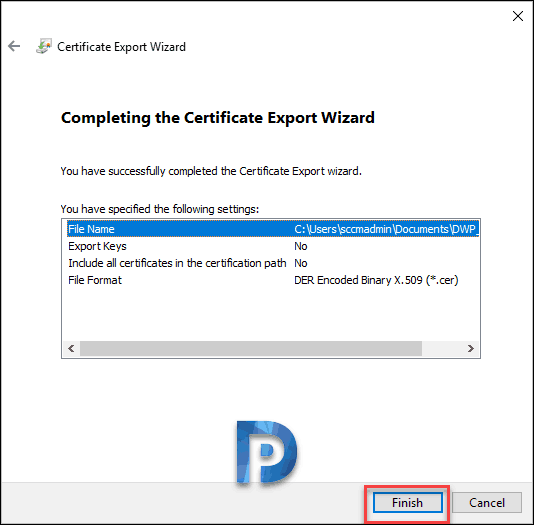
We have successfully exported the certificate. Click Finish.
Step 4 – Import Data Warehouse SQL Server Identification Certificate
Very Important – Perform the below steps on the computer that hosts SQL Server Reporting Services.
- Open the MMC.
- Add the Certificates snap-in.
- Select Computer account.
- Expand Trusted Root Certificate Authorities folder.
- Right click Certificates > All Tasks > Import.
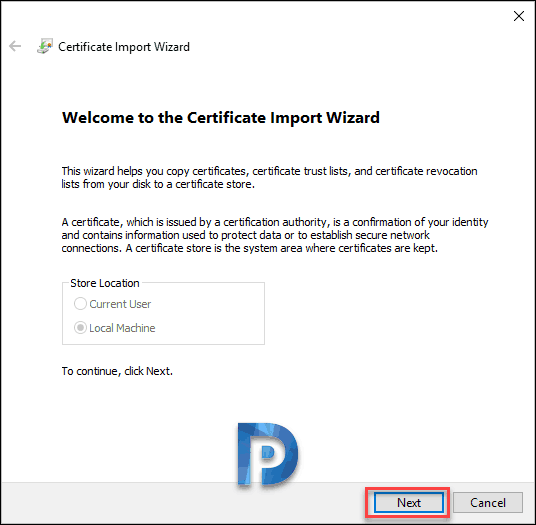
Click Next on Certificate import wizard.
Select the certificate that you exported in Step 3. Click Next.
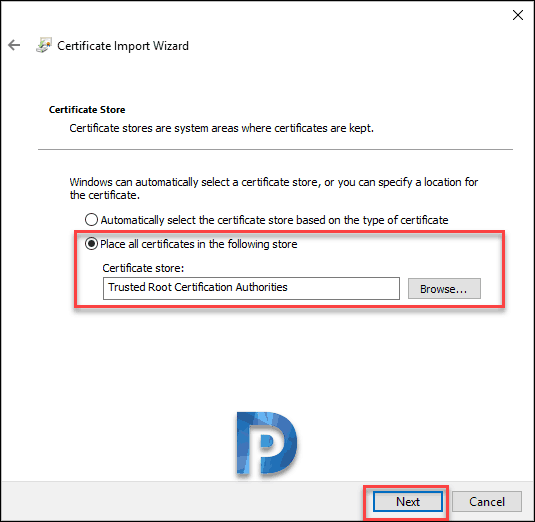
Ensure the certification store is Trusted Root Certification Authorities. Click Next.
Click Finish.
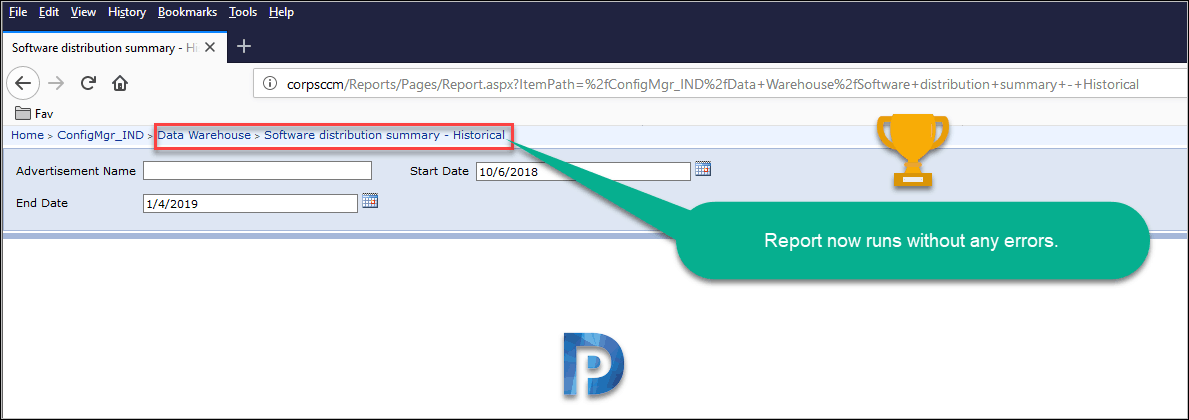
Run the Data Warehouse reports now and there should be no error displayed.








hi all,
my special thank you to Prajwal Desai for hte support and guidance.
we have completed the integration in separated components.
you are Star sir…
thank you
Thanks for this info, its great however there is a step missing.. The step is to add the service account permissions on the security settings of the certificate “read” permissions then the SQL service will start. otherwise when selecting the certificate in the SQL Service under SSRS CM the SQL service will not start
Thanks for your advise, it worked like a gem
Glad to hear that 🙂
Hello Prajwal,
Thank you for this article. Could you update it to include adding the service account permissions? We had to create a ticket with Microsoft to help us fix this.
Thanks for these informations.
For my part I had the same error, I just edited via the reportbuilder one of the reports and did a database check (in success) after that I was able to launch the report and the other reports (that I did not edit).
This is Interesting, Alban. I just read this since I need to do a workaround where the server hosting my SCCM DW database does not have IIS installed. Can you share the steps you made for this?