

In this post, I will cover multiple solutions to fix Microsoft Print to PDF missing on your Windows 11/10 PC. If you’re encountering issues converting your webpages to PDF or if the Microsoft PDF Printer is missing or malfunctioning, consider these solutions.
Microsoft Print to PDF is a built-in virtual printer in Windows 11/10 that allows you to create PDF files from any printable document or webpage without requiring third-party software. It uses a printer driver built into Windows and appears in apps as a printer option, just like a normal printer.
Occasionally, a faulty Windows update or certain third-party drivers can disrupt the functionality of the Microsoft Print to PDF feature. Some Windows 11 24H2 devices experienced the absence of the Microsoft Print to PDF feature, which was addressed by Microsoft through the release of the KB5043178 update.
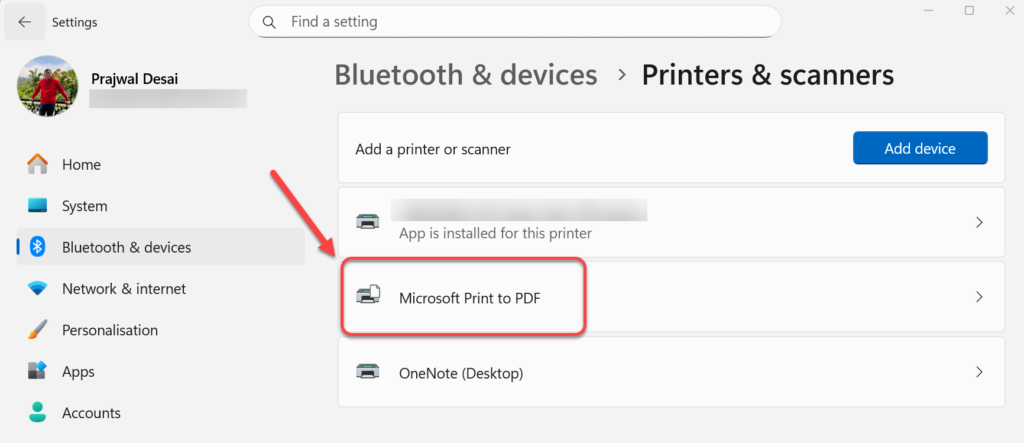
To check if Microsoft Print to PDF is installed on your Windows 11 PC, open the Settings app and navigate to Bluetooth & Devices > Printers & Scanners. If you don’t find the Microsoft Print to PDF listed here, go ahead and try the solutions covered in this guide.
Solution 1: Re-Enable Microsoft Print to PDF Printer via Windows Features
The recommended way to resolve the missing Microsoft Print to PDF printer feature is to re-enable the feature via Windows Features. Here is how it is done.
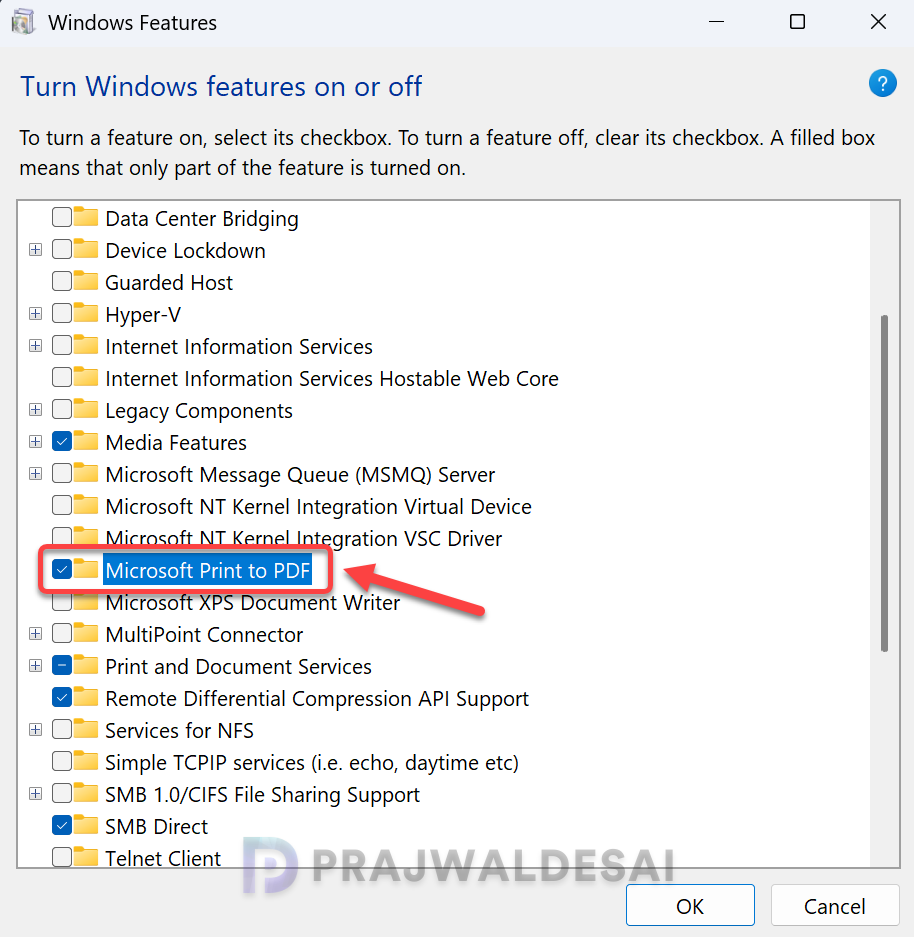
- Press the Windows + R to open the Run. Type in OptionalFeatures.exe, and press the Enter key.
- In the Turn Windows features on or off window, scroll down and uncheck the Microsoft Print to PDF feature and click OK to remove it.
- To reinstall the feature, go back to the Turn Windows features on or off window and select the Microsoft Print to PDF. Click OK to apply the changes. Your Microsoft PDF printer should be available on your computer now.
Solution 2: Manage Microsoft Print to PDF using Device Manager
On your Windows 11 PC, right-click on the Start icon and select Device Manager. You may also press Win + R, type devmgmt.msc, and press Enter to launch it. Expand the print queues, and here you should find the Microsoft Print to PDF printer.
Since Microsoft Print to PDF is a built-in virtual printer, you can use Device Manager to perform the following actions.
- Update driver: Updates the necessary drivers required for the Microsoft Print to PDF feature.
- Disable device: Disables the virtual printer on the entire Windows 11 PC.
- Uninstall device: Removes the Microsoft Print to PDF printer.

If the Microsoft Print to PDF printer keeps crashing, try opening Device Manager and updating its drivers. If the issue persists, uninstall the printer and reinstall it, following additional solutions outlined in this guide.
Solution 3: Install/Reinstall Microsoft Print to PDF via Command Prompt
If the Microsoft Print to PDF feature is still missing after trying the above solutions, you can uninstall and reinstall it using the Command Prompt. I will utilize DISM (Deployment Image Servicing and Management) to uninstall the Microsoft Print to PDF feature and then reinstall it.
Click the Start button or the search icon on the taskbar. Type CMD or Command Prompt in the search bar and select Run as administrator. Run the below command to disable or uninstall the Microsoft Print to PDF feature on your Windows PC.
dism /Online /Disable-Feature /FeatureName:"Printing-PrintToPDFServices-Features" /NoRestart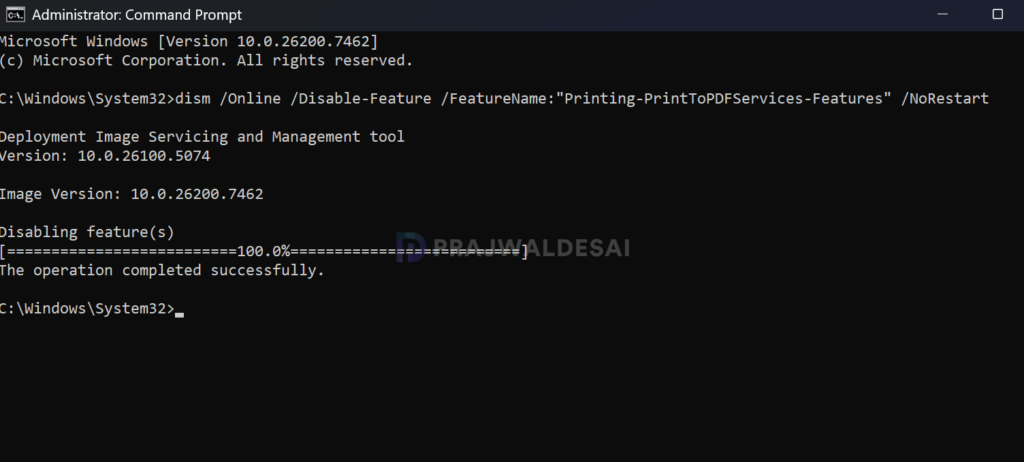
Run the below command to enable or install the Microsoft Print to PDF on your Windows PC.
dism /Online /Enable-Feature /FeatureName:"Printing-PrintToPDFServices-Features" /NoRestart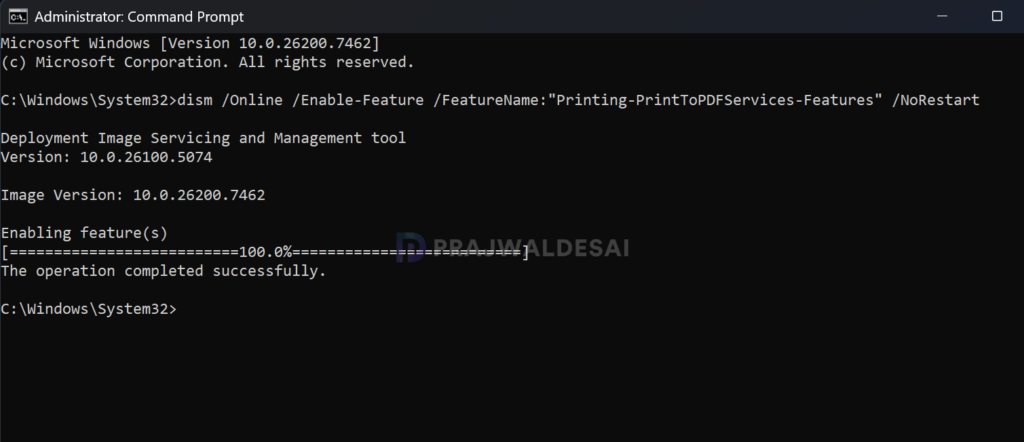
To check if the Microsoft Print to PDF is installed, navigate to Settings > Bluetooth & Devices > Printers & Scanners. Sometimes, restarting your computer may be necessary for the changes to take effect.
Solution 4: Reinstall Microsoft Print to PDF Feature via PowerShell
Disabling and reinstalling the Microsoft Print to PDF feature on your Windows 11 computer is simple with PowerShell. On your Windows 11 PC, click Start and type “PowerShell“. Select Windows PowerShell and choose Run as Administrator.
Run the below PowerShell command to disable the Microsoft Print to PDF feature on your Windows 11 PC.
Disable-WindowsOptionalFeature -online -FeatureName Printing-PrintToPDFServices-Features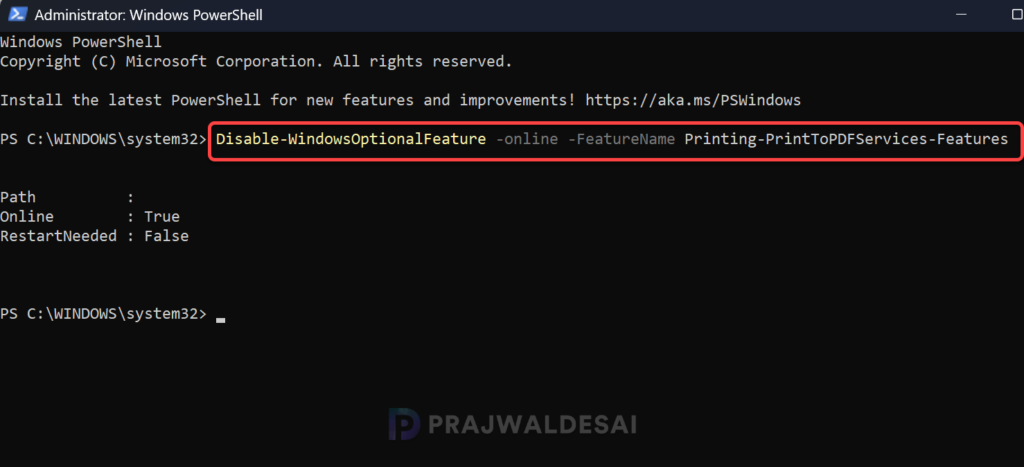
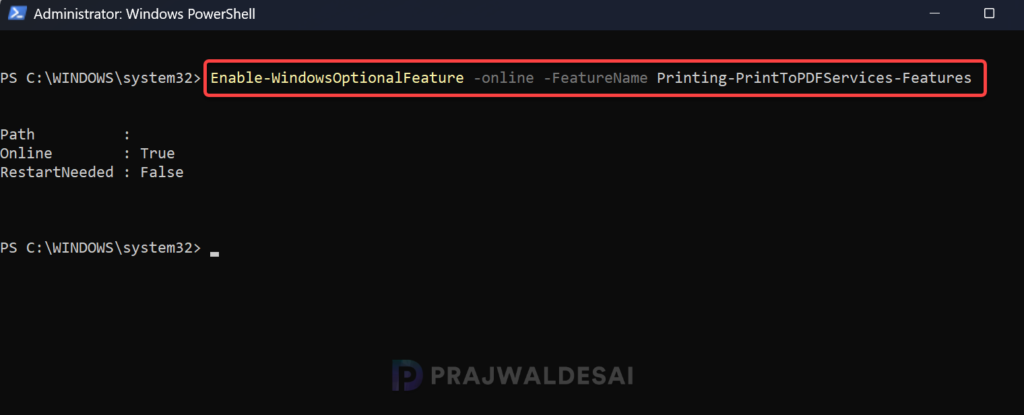
Run the below PowerShell command to enable or reinstall the Microsoft Print to PDF feature on your Windows 11 PC.
Enable-WindowsOptionalFeature -online -FeatureName Printing-PrintToPDFServices-FeaturesAfter running the command, navigate to Settings > Bluetooth & Devices > Printers & Scanners and confirm if Microsoft Print to PDF shows up in the list.
Solution 5: Manually Install Microsoft Print to PDF Driver
If the Microsoft Print to PDF printer is missing and cannot be reinstalled through the Add Printer wizard, you can fix it by manually installing the prnms009.inf driver. This file contains the drivers for the Microsoft Print to PDF printer and is located in the C:\WINDOWS\System32\DriverStore\FileRepository folder.
To get the complete driver path of prnms009.inf on your Windows 11 PC, navigate to Settings > Bluetooth & Devices > Printers & Scanners. Under Related Settings, select Print Server properties.
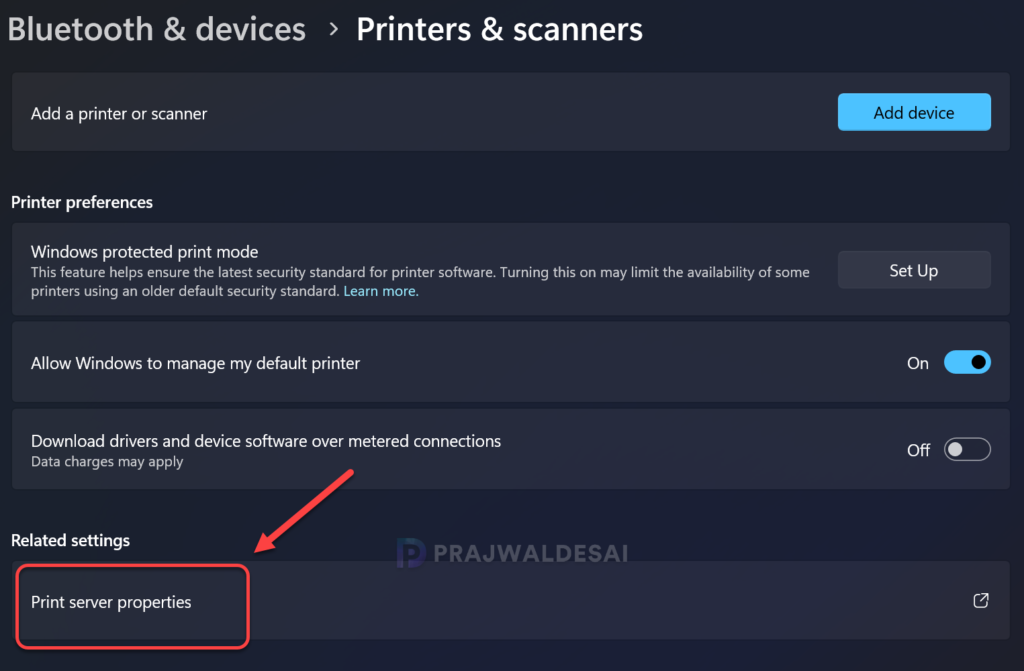
In the Print Server Properties window, select the Drivers tab. From the list of installed printer drivers, select Microsoft Print to PDF and click Properties.

In the Driver Properties window, copy the driver path for prnms009.inf. For example, in my case, the below path is where the prnms009.inf driver is located.
C:\Windows\System32\DriverStore\FileRepository\prnms009.inf_amd64_8cdc889b3f73e3da
Open the File Explorer and navigate to the prnms009.inf driver path. Right-click the prnms009.inf file and select Install. Congratulations, you’ve successfully installed the Microsoft Print to PDF virtual printer driver that is required for exporting webpages to PDF.

Solution 6: Run System File Checker (SFC)
To resolve the issue of Microsoft Print to PDF being missing, you can run the System File Checker scan. Start by opening Command Prompt with administrator privileges. Then, type “sfc /scannow” and press Enter. Allow the scan to detect and repair any corrupted files. Once the process is complete, restart your computer.
