In this article, you’ll learn how to install Microsoft Loopback adapter in Windows XP. The Microsoft Loopback adapter is a testing tool for a virtual network environment where network access is not available.
The Microsoft Loopback Adapter is basically a virtual network card and acts as if you had another physical network card in your machine.
You must use the Loopback adapter if there are conflicts with a network adapter or with a network adapter driver. You can bind network clients, protocols, and other network configuration items to the Loopback adapter, and you can install the network adapter driver or network adapter later while retaining the network configuration information.
How To Install Microsoft Loopback Adapter In Windows XP
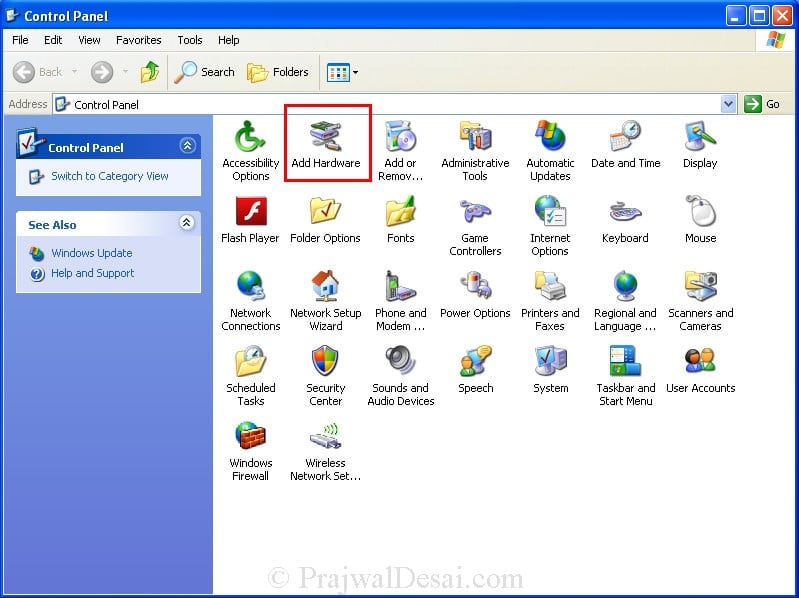
To install the Loopback adapter in Windows XP machine, click on Start, Control Panel, double click Add Hardware.
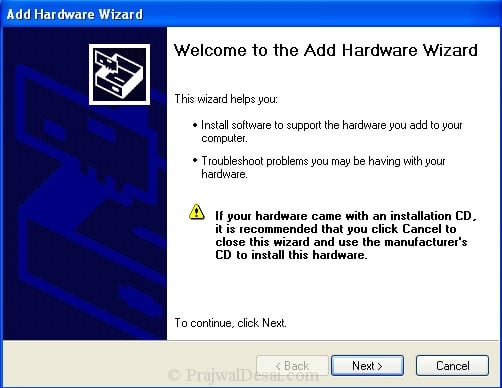
The Add Hardware Wizard is launched, click on Next.
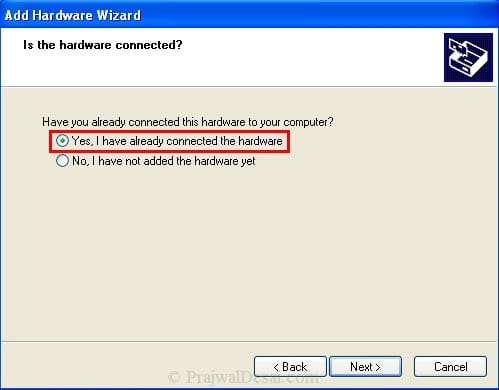
Select Yes, I have already connected the hardware. Click Next.
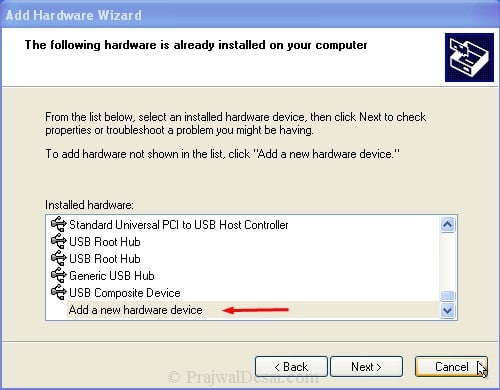
From the list of hardware devices listed, click on Add a new hardware device. Click Next.
Select the option Install the hardware that i manually select from a list (Advanced). Click on Next.
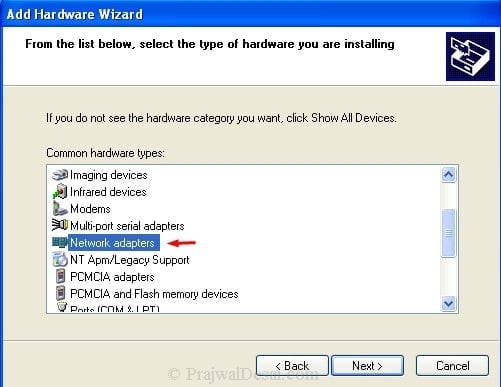
Click on Network Adapters. Click Next.
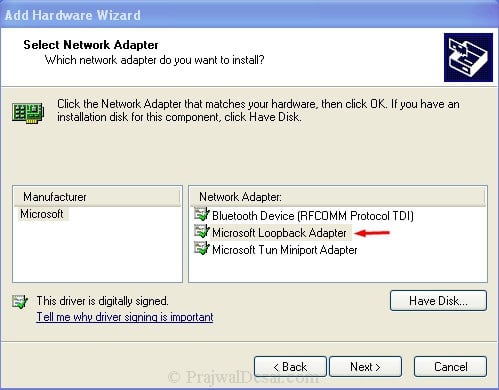
Select the Manufacturer as Microsoft and Network adapter as Microsoft Loopback Adapter. Click Next.
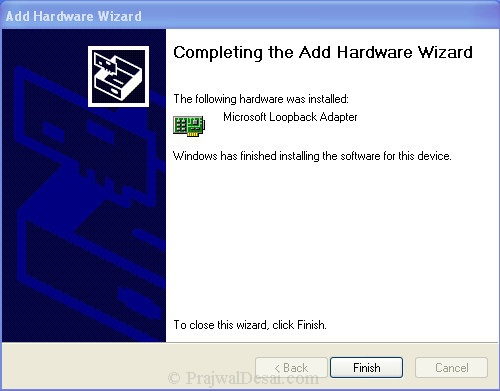
The Loopback adapter has been installed now. Click Finish.
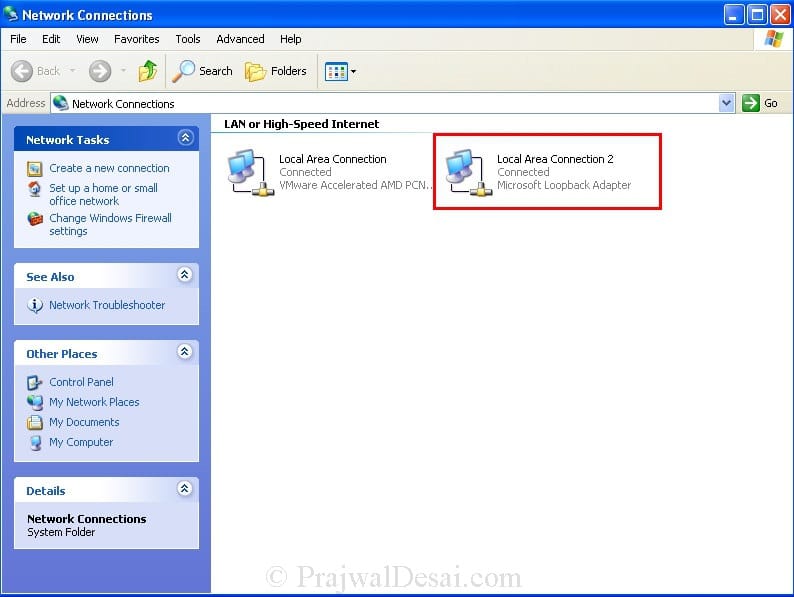
Under the network connections, you must find the new adapter “Microsoft Loopback Adapter“.
Note: By default, TCP/IP properties are configured to use DHCP. When you install a Loopback adapter it is set to take IP from the DHCP server, if the DHCP server is not found then the adapter gets autonet address (169.254.x.x/16) because the adapter is not actually connected to any physical media.





Hi prajwal,
My desktop’s lan card and sound card are not working and I’ve connected a sound card on the extra slot of the mother board. I don’t have any other slots for additional lan card.
So my question is how to connect my machine to internet now.
Thanks in advance.
A lan card needs to be on motherboard to connect to internet.
Hi Prajwal,
Need your help, could you please tell me. How to capture Windows xp usine ImageX.exe and deploy the wim file (Windows XP) through Windows Deployment Services.
Regards,
Jayanth
@Jayanth – Sure, will do that very soon..
Hi … how to use loopback adapter. i have installed it but its only sending packets not reciving any packet. and shows limited or no connectivity to LAN