


This guide shows how to install Enterprise Root Certificate Authority. By setting up the enterprise Root CA role service of Active Directory Certificate Services (AD CS), you can configure your Windows server to act as a CA.
A certification authority (CA) is responsible for attesting to the identity of users, computers, and organizations. The CA authenticates an entity and vouches for that identity by issuing a digitally signed certificate. The CA can also manage, revoke, and renew certificates.
If you’re deploying PKI certificates for Configuration Manager, its not a simple task. To generate certificates, you will first need a Root Certificate Authority. Installing Enterprise Root Certificate Authority is not something you will probably do frequently. That’s because once you set it up in your organization, you don’t need to do it again.

Membership in both the Enterprise Admins and the root domain’s Domain Admins group is the minimum required to complete this procedure. Let’s look at the steps for setting up a new enterprise root certificate authority.
Install Enterprise Root Certificate Authority
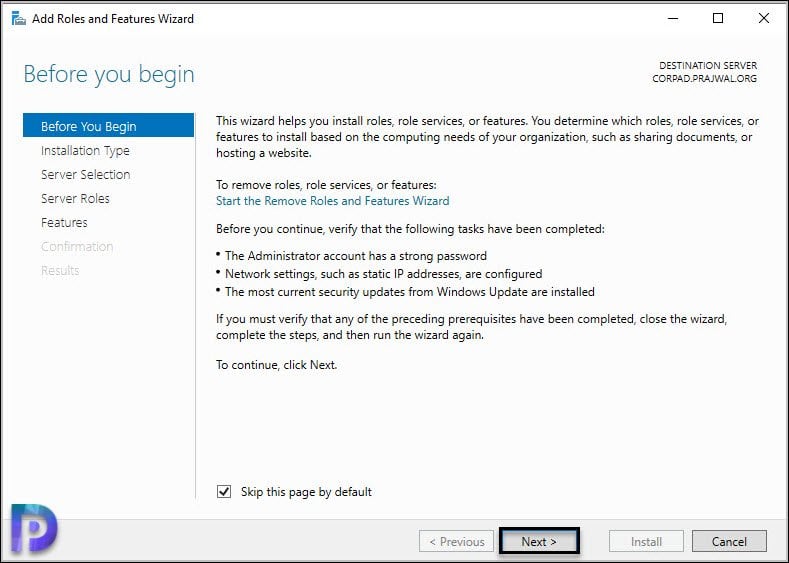
To set up an enterprise root certificate authority, you must first install ADCS and the CA role on the server. Sign in to your server as domain administrator and launch the Server Manager. On the dashboard, select Manage > Add Roles and Features. Click Next.
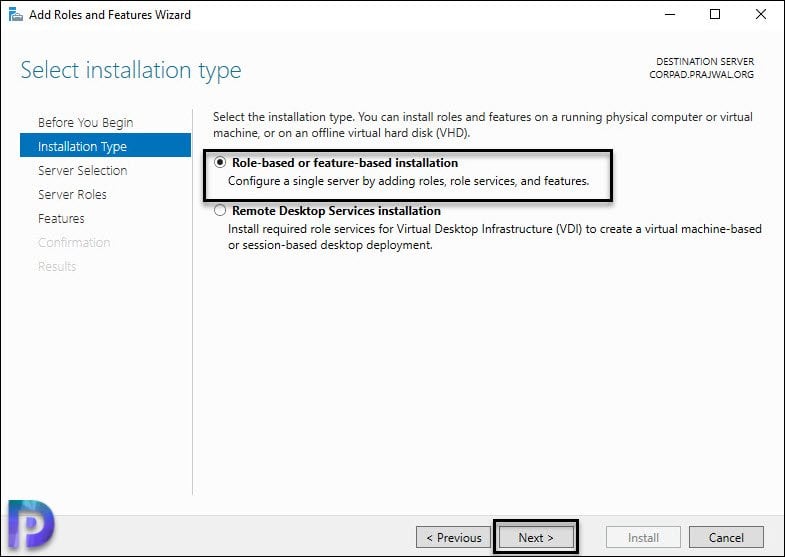
On the Installation Type page, select Role-based or feature-based installation. Click Next.
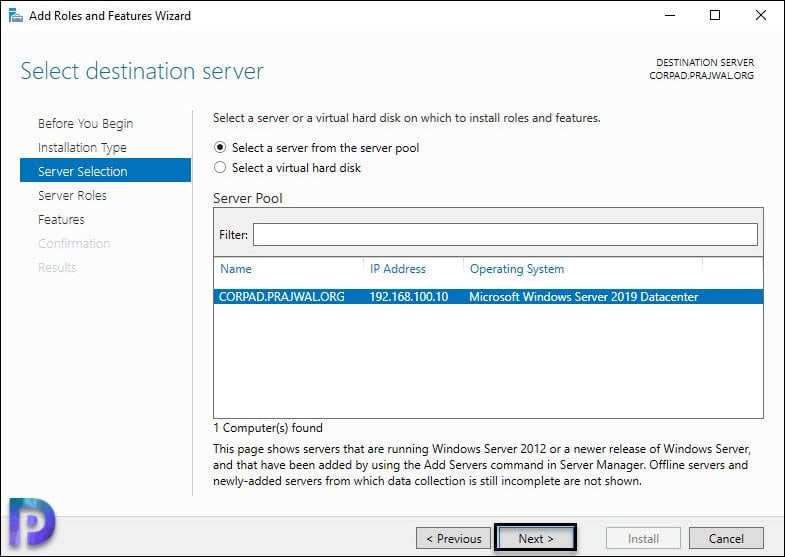
On the Server Selection page, ensure the selected server is the correct one. Click Next.
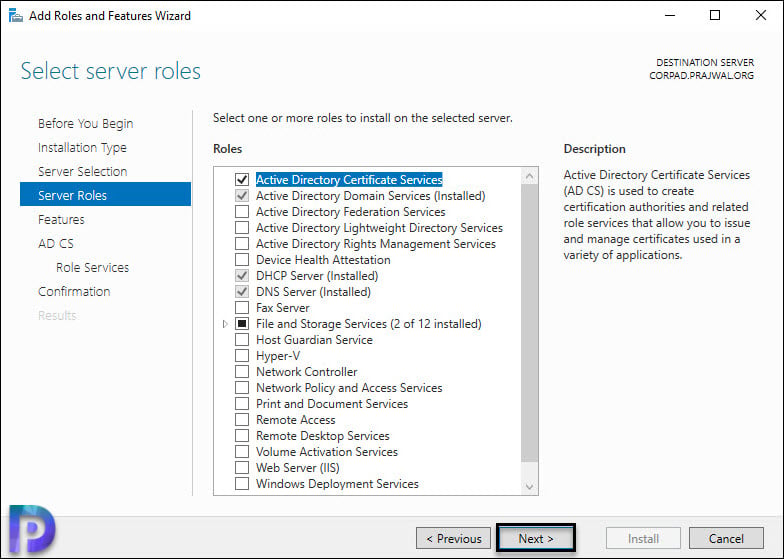
From the list of Server Roles, select Active Directory Certificate Services. Click Next.
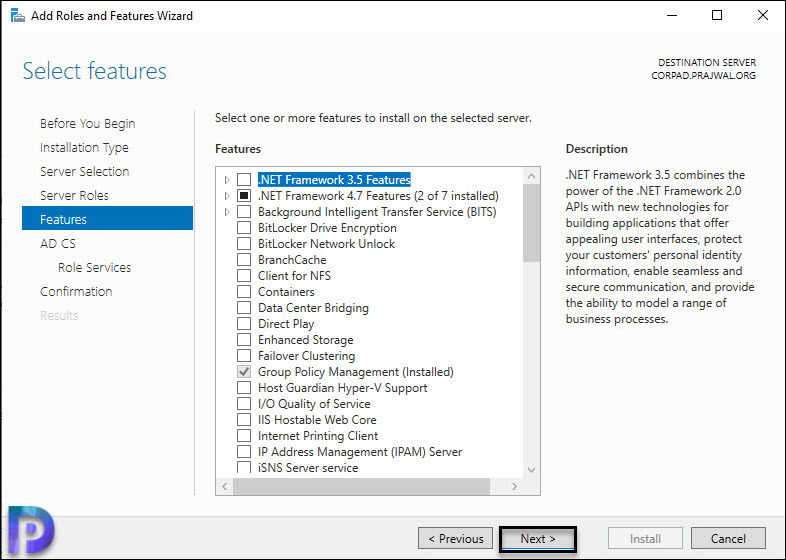
You don’t have to add any new features, so click Next on the Select Features page.
You are about to install Active Directory Certificate Services; click Next.

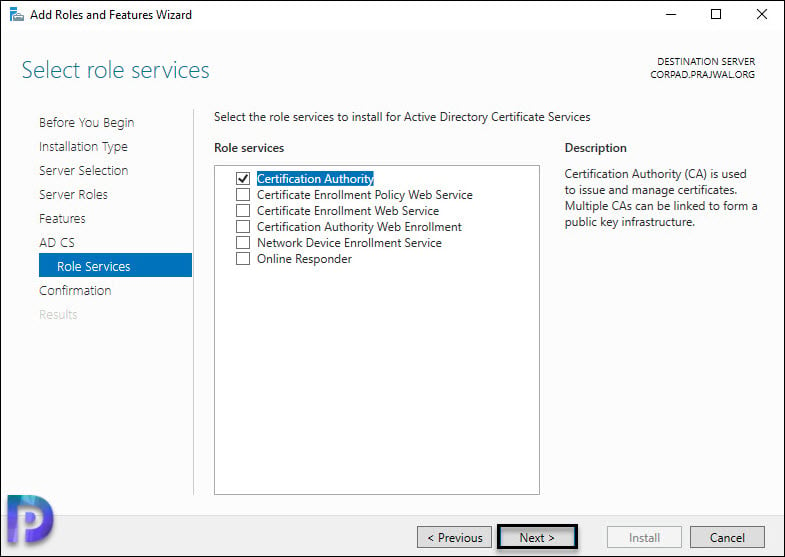
AD DS offers multiple role services, which include:
- Certificate Authority
- Certificate Enrollment Policy Web Service
- Certificate Enrollment Web Service
- Certificate Authority Web Enrollment
- Network Device Enrollment Service
- Online Responder
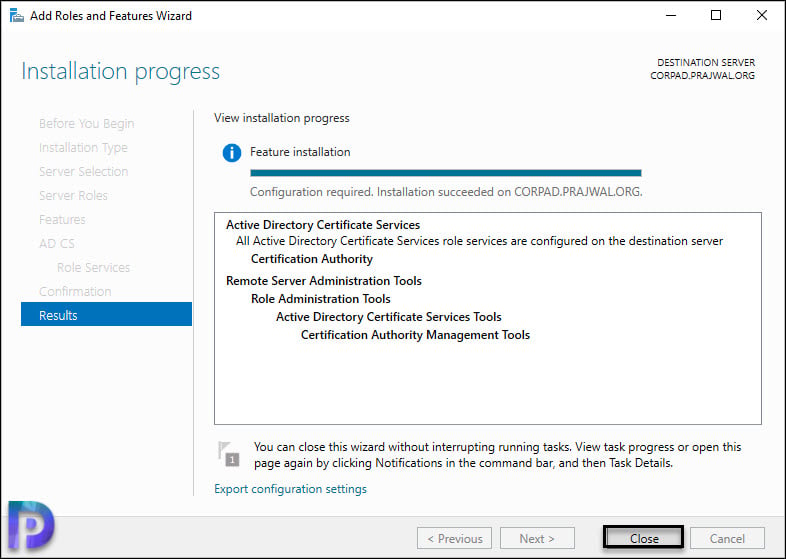
Among the above-listed role services, check the Certificate Authority Role and click Next. On the Confirmation window, review your selections and click Next. The AD CS role installation begins now.
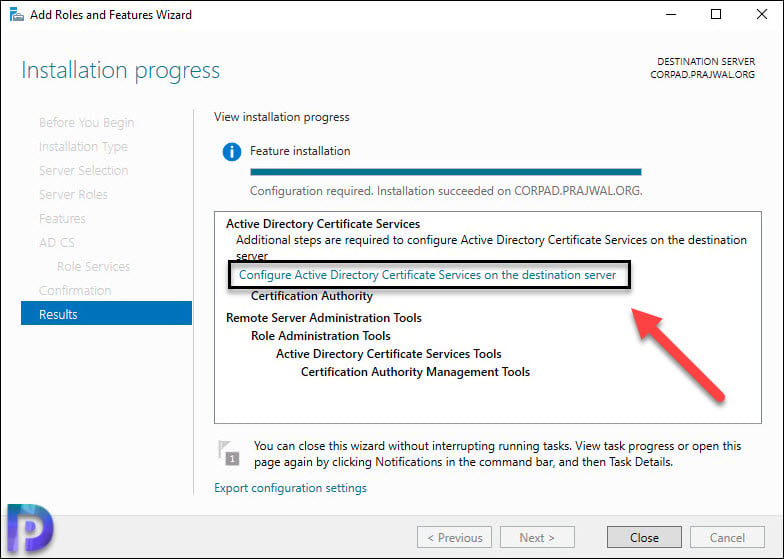
Configure Active Directory Certificate Services
In this section, we’ll go through the steps for configuring the Active Directory Certificate Services. Click Configure Active Directory Certificate Services on the destination server.
Specify the credentials to configure the AD CS. In the below example, we’ve used the Domain Administrator account for authentication. Click Next.

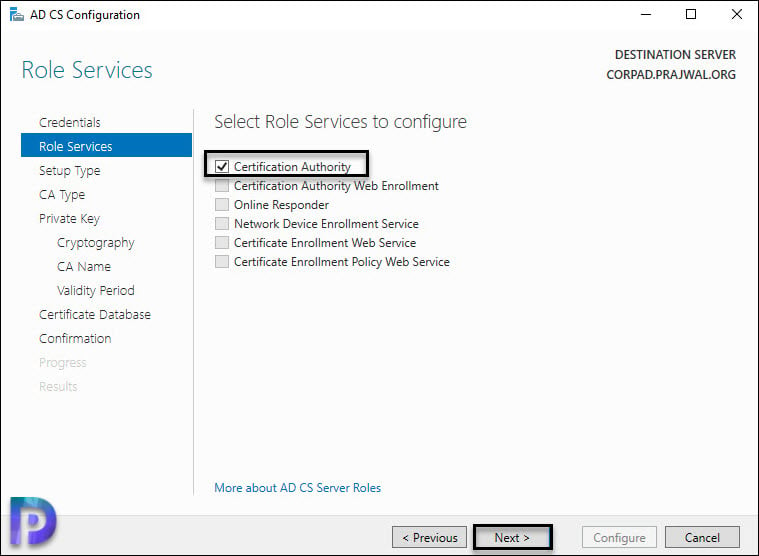
On the Role Services page, select the Certification Authority role service. Click Next.
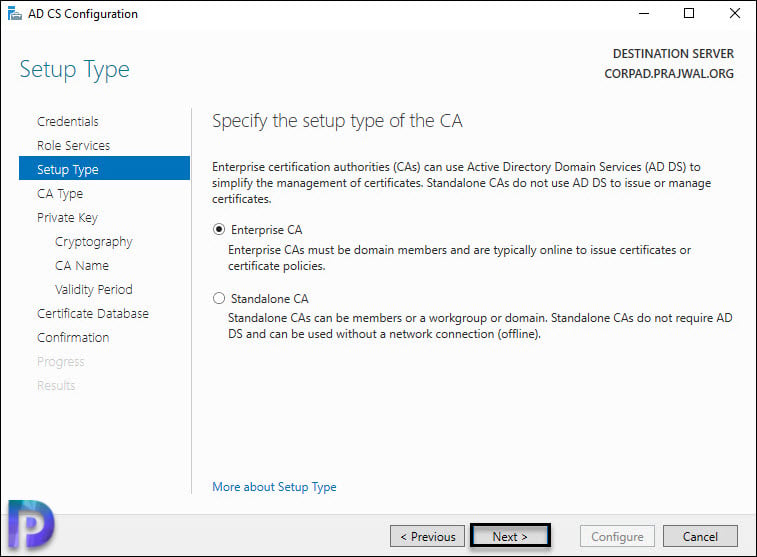
On the CA Setup type page, you see two options: Enterprise CA and Standalone CA. The difference is that Standalone CAs can only issue certificates to users and computers in their own domain, whereas Enterprise CAs can issue certificates to users and computers across multiple domains.
Select the certification authority type as Enterprise CA. Click Next.
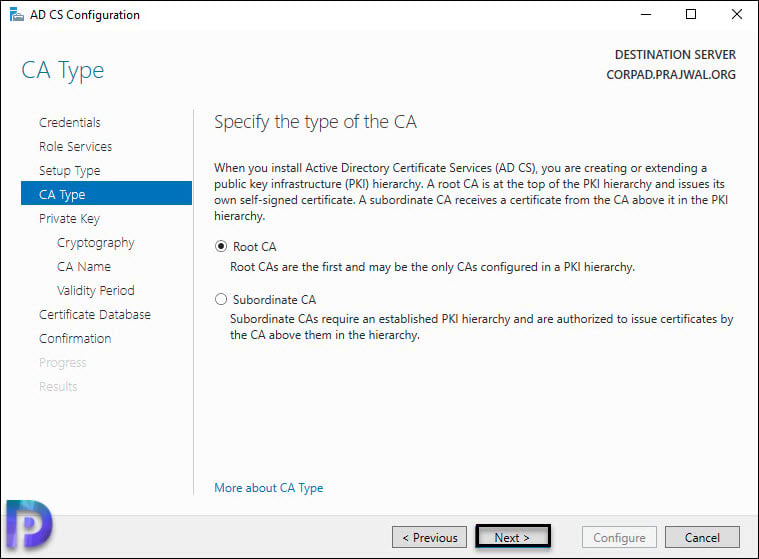
The root CA is at the top of the PKI hierarchy and issues its own self-signed certificate. For CA type, select Root CA and click Next.
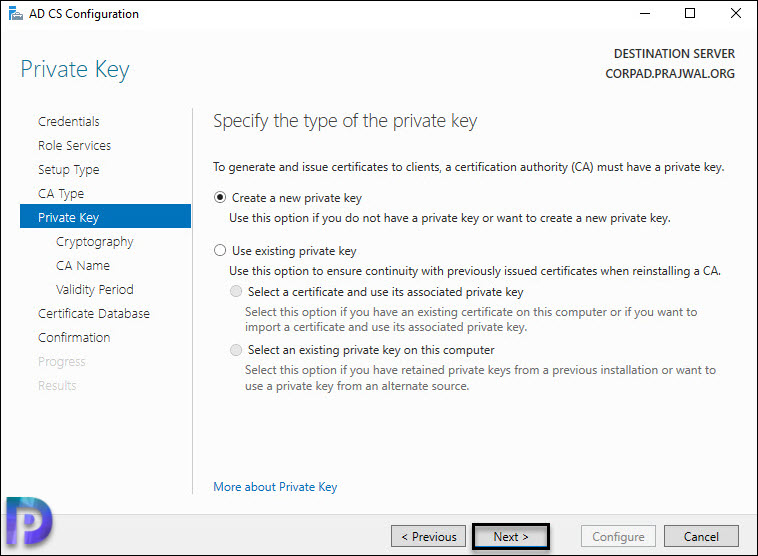
On the Private key page, select Create a new private key. Click Next.
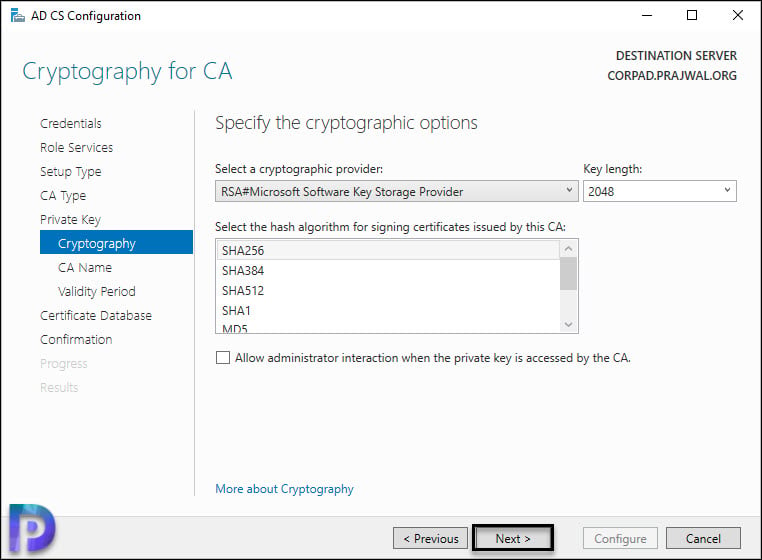
On the Cryptography page, you get many options to choose from. Select the following:
- Cryptographic Provider: RSA#Microsoft Software Key Storage Provider
- Key length: 2048
- Hash algorithm for signing CA issues certificates: SHA256
Click Next to continue.
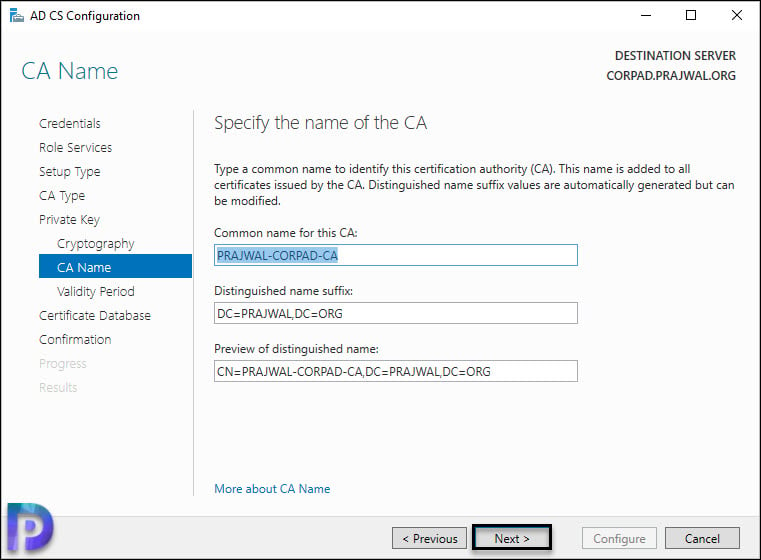
The common name for the CA name is populated automatically for you. For example, in the below case, the CA name is PRAJWAL-CORPAD-CA. The distinguished name is DC=PRAJWAL,DC=ORG. You don’t need to change any of these unless your organization requires you to do it.
Click Next.
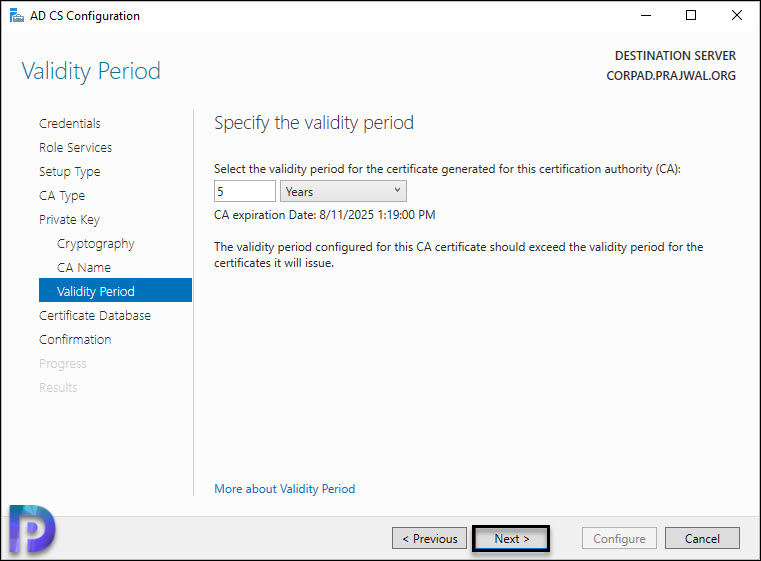
On the Validity Period page, you specify how long the certificate generated for this CA will be active. By default, the CA validity is set to 5 years. You may change the validity period of the cert to more than 5 years. Click Next.
On the certificate database page, you can specify the certificate database location and certificate database log location. By default, the certificate database location and database log location are configured to C:\Windows\system32\CertLog. Click Next.

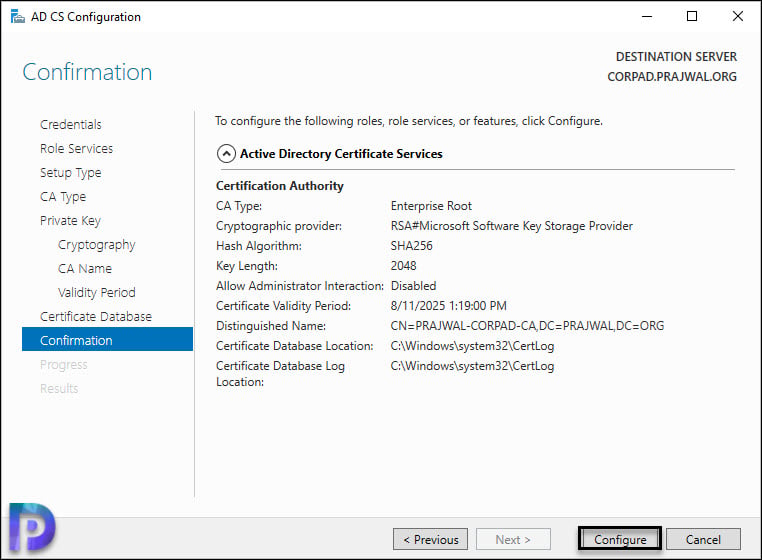
The confirmation page shows the summary of all the settings that you have configured for the Root CA. Review these settings and click Configure.
We have successfully configured the Active Directory Certificate services and our root CA is ready to issue certificates now. Close the AD CS configuration window.
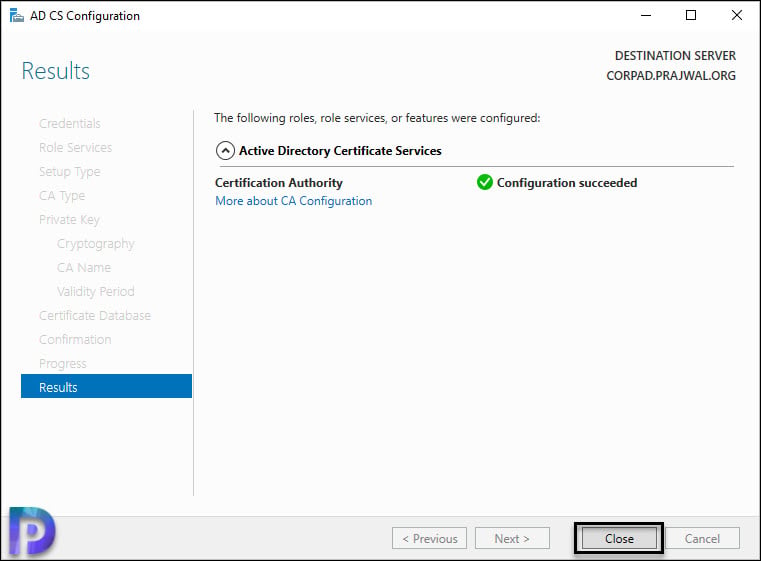
Lastly, close the Add Roles and Features wizard. To complete the Root CA configuration, restart the server once. That completes the guide for installing and configuring the Enterprise Root Certificate Authority.

how do you renew the existing offline root CA certificate and give it a new end year of say 20 years for the lab?
excellent