This step-by-step guide covers the steps to install Active Directory for SCCM. Note that this is the first step in the process of deploying SCCM. You can either choose to install Active Directory Domain Services on Windows Server 2012 or higher server version.
As per Microsoft, Active Directory is a directory service for windows domain networks. Server computers that run Active Directory are called domain controllers. The domain controller authenticates and authorizes all users and computers in a Windows domain. So let’s look the steps to install active directory for SCCM.
Install Active Directory for SCCM
In this post, I will install active directory on Windows Server 2008 R2. To install Active Directory for configuration Manager :-
- Login to Windows Server.
- On the Task bar click on Server manager.
- Click Roles and on the right pane click Add Roles.
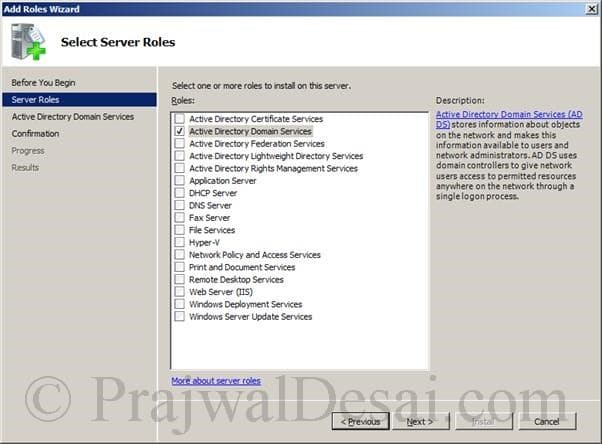
Select Active Directory Domain Services from list of Roles. Click Next.
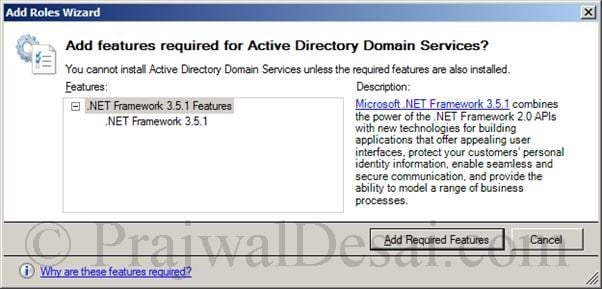
.NET Framework 3.5.1 feature is a prerequisite. Click Add Required Features.
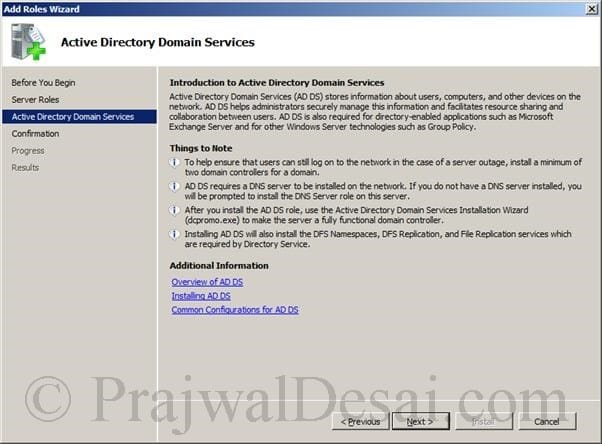
This page provides information about Active Directory Domain Services. Click Next.
This is the confirmation page. This lists all the selections made right from the beginning. Click on Install to proceed.
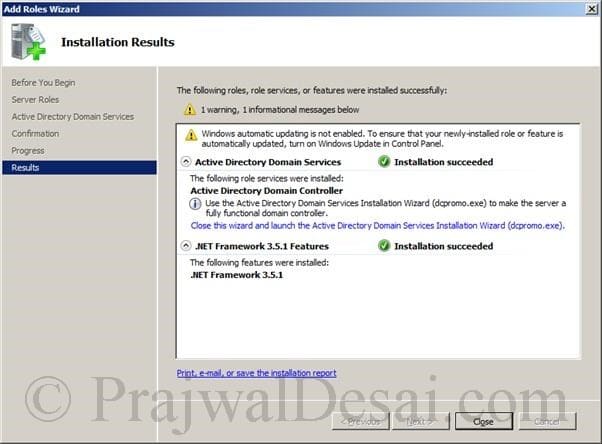
This is the last step. Click Close. In addition to the above steps, you can also run dcpromo to initiate the ADDS setup.
Active Directory Installation Wizard
We will now go through the active directory installation wizard. On the first screen select “Use Advanced Mode Installation” and click Next.
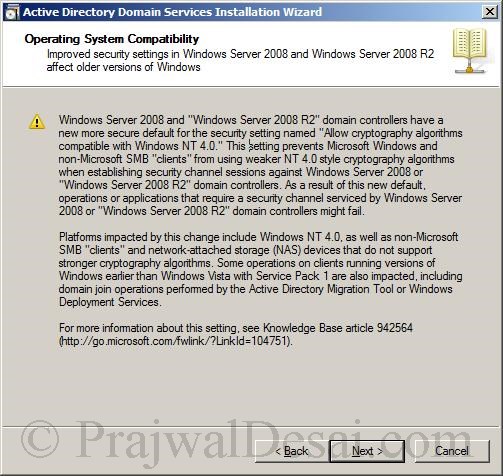
Click Next.
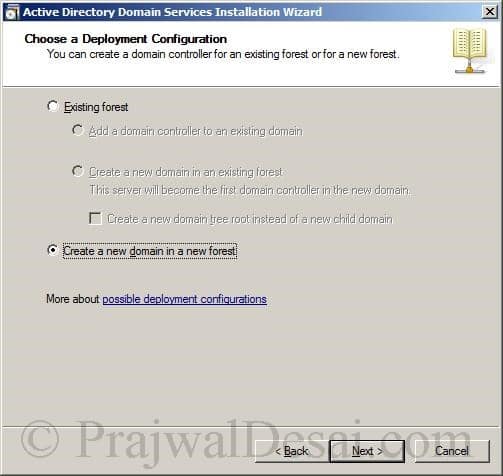
Choose Create a new domain in a new forest. Click Next.
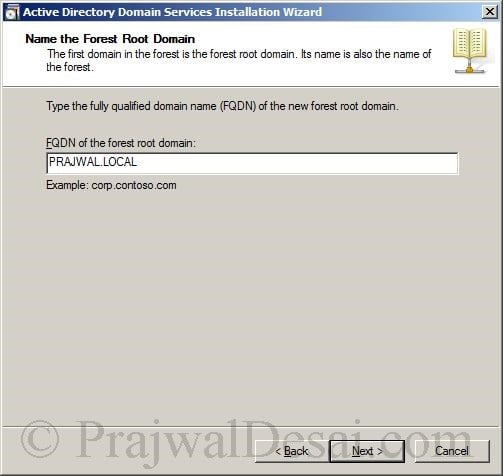
Enter the FQDN of the forest root domain. In my case it is PRAJWAL.LOCAL. Click Next.
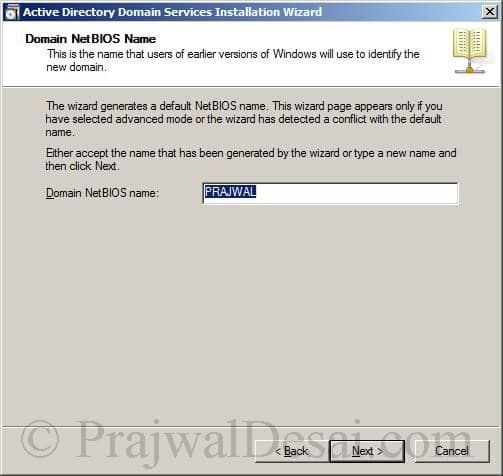
A NetBIOS Name is a unique identifier, up to 15 characters long with a 16th character type identifier. This allows NetBIOS services use to identify resources on a network running NetBIOS over TCP/IP (NetBT). NetBIOS name for my lab will be PRAJWAL. Click Next.
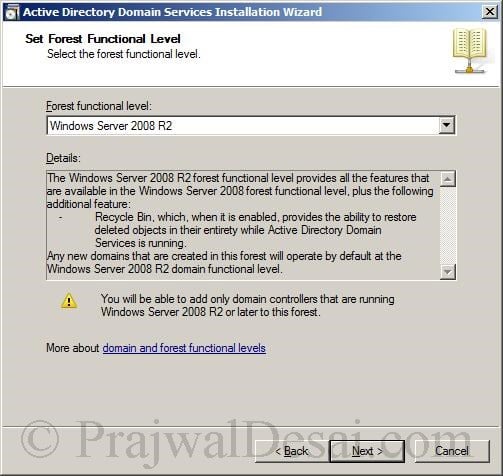
Select Windows Server 2008 R2 as forest functional level. Click Next.
The DNS server will be installed on the same machine. Click Next.
The Active Directory database is stored in a file called NTDS.dit. The log files are stored in a separate file called NTDS.log. SYSVOL provides a standard location to store important elements of Group Policy objects (GPOs). It also contains scripts so that the File Replication service (FRS) can distribute them to other domain controllers within that domain. Do not change anything here, click Next.
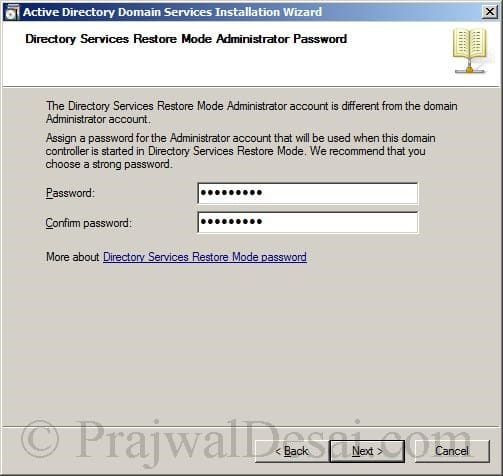
Directory Services Restore Mode (DSRM) is a special boot mode for repairing or recovering Active Directory. It is used to log on to the computer when Active Directory has failed or needs to be restored. Provide a complex password and click Next.
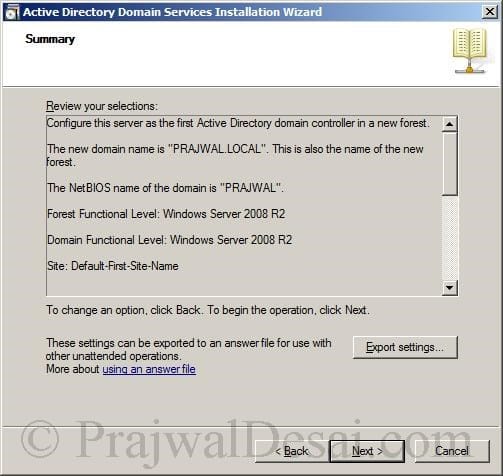
On the Summary page, click Next.
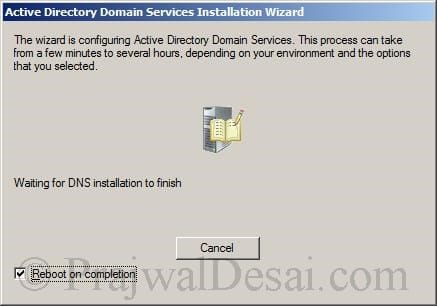
Check the box Reboot on Completion.
Wait for sometime to complete the installation After the reboot, login to the server. Under System Properties notice the domain which is PRAJWAL.LOCAL. The FQDN also includes the domain name.
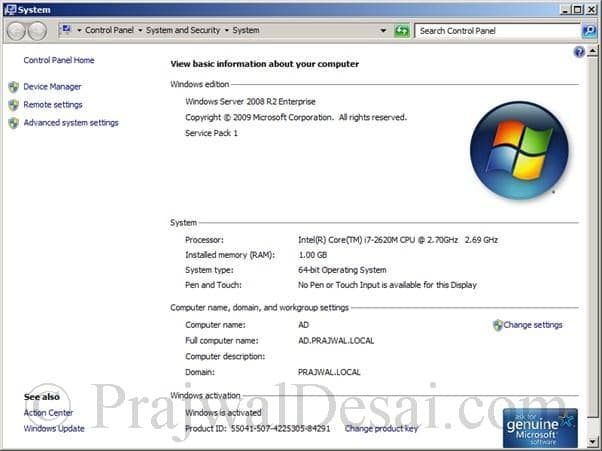
Congratulations, you have successfully installed Active Directory Domain Services. In the upcoming post, we will see more about AD configuration required for SCCM.









Hi,How can we connect this active directory in servicenow.
how to check deployment failed issue
Using error codes and log files i suppose.
Excellent article about SCCM
Thank you Gopi..
Nice article for learning SCCM Prajwal,
Small Suggestion
Please Add link of Next Part and Previous Part at the End of the page, It’s easy to follow and Learn.
That will done sahi..That’s the reason i add a separate page for SCCM 2012 R2 step by step https://www.prajwaldesai.com/sccm-2012-r2-step-by-step-guide/
Great work!! I’m learning SCCM from your article!! Thanks Prajwal!!
Excellent article for learning SCCM. Good work Prajwal.
Good Work –
I need you to explain for me sccm 2012 service account and/or A.D account that needed for installation and waht steps to do it
thank you