This step-by-step post describes how a system administrator can deploy .NET Framework 4.0 using SCCM. The .NET Framework is a managed execution environment that provides a variety of services to its running applications.
It consists of two major components: the common language runtime (CLR), which is the execution engine that handles running applications; and the .NET Framework Class Library, which provides a library of tested, reusable code that developers can call from their own applications.
In this post we will deploy .NET Framework 4.0 using SCCM 2012 R2 to a collection which consists of Windows 7 computers. The overall deployment of .NET Framework 4.0 is easy however if you follow screenshots it will be pretty easy.
First of all download the .NET Framework 4.0 standalone installer by clicking here. After you download .NET Framework 4.0 installer, copy it to a folder on the SCCM server.
Deploy .NET Framework 4.0 Using SCCM
To deploy .NET Framework 4.0 using SCCM
- Launch SCCM console.
- Navigate to Software Library workspace > Application Management, and then choose Packages.
- Right click Packages and click Create Package.
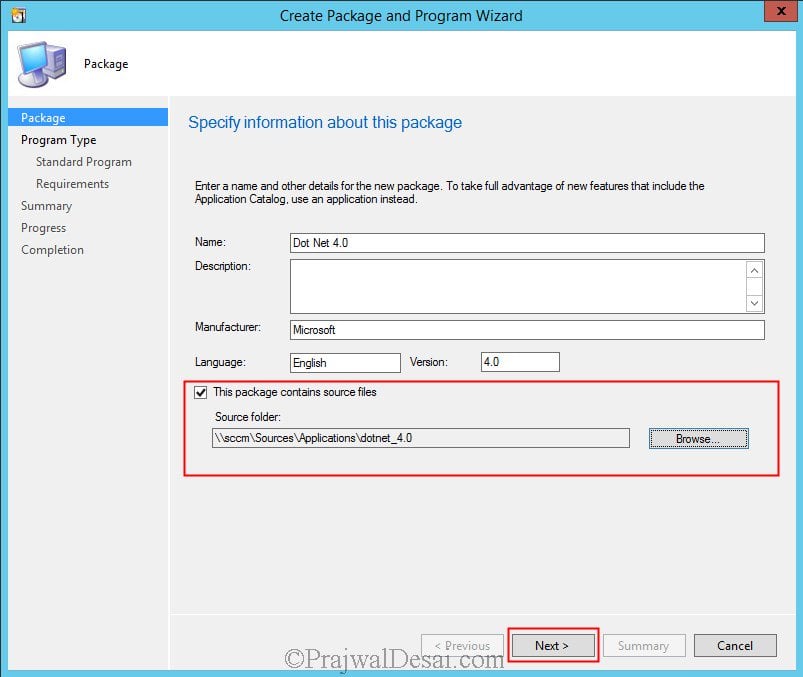
- Specify the Name as .NET Framework 4.0, Source folder and click Next.
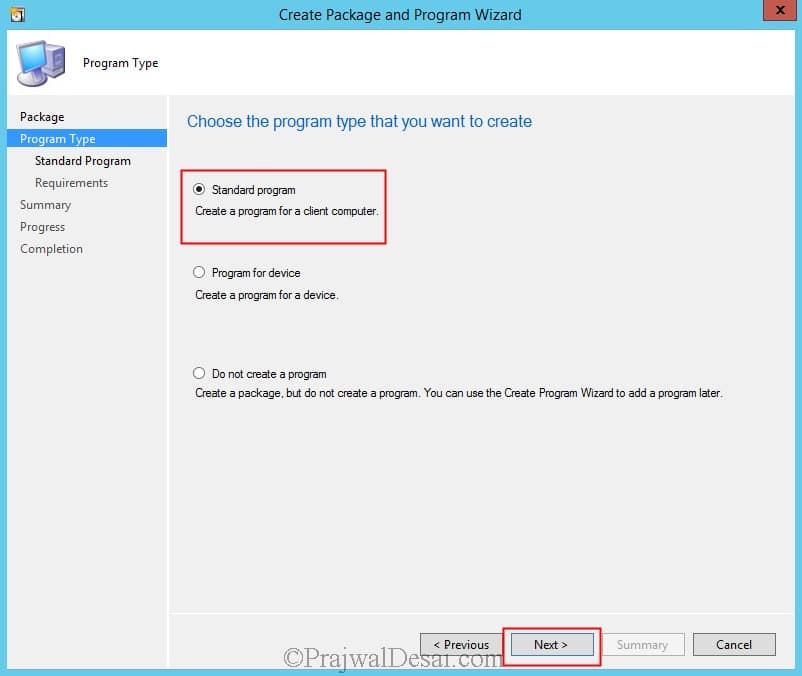
Choose the Program Type as Standard Program. Click Next.
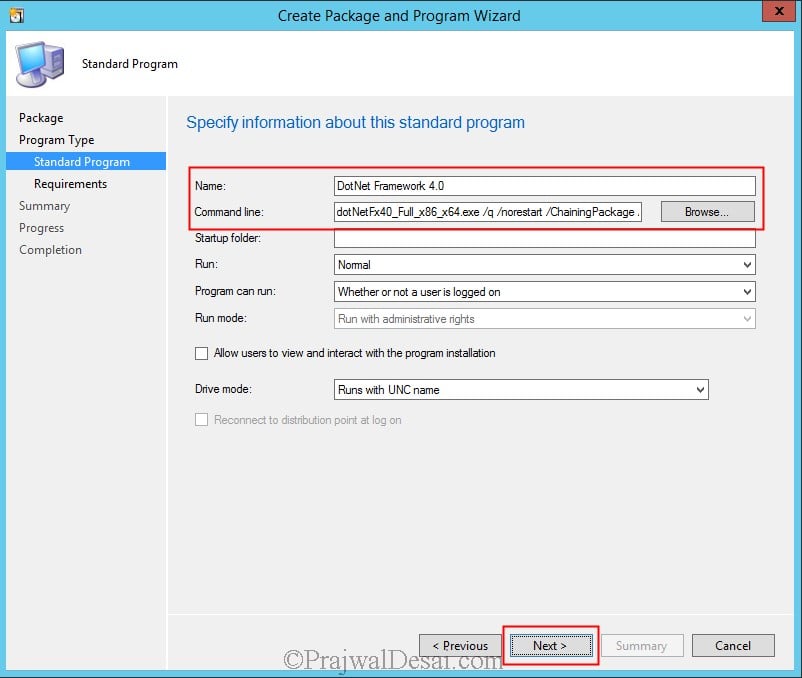
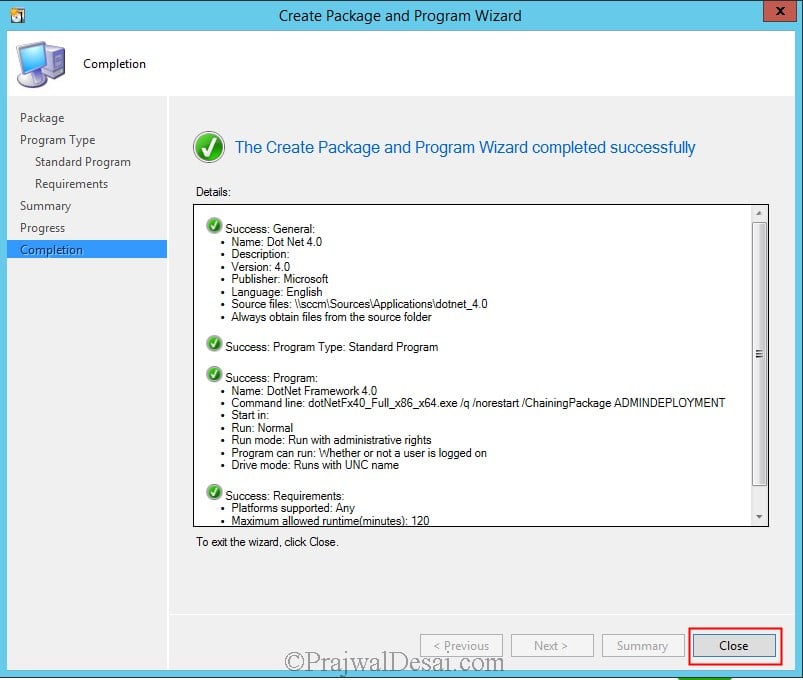
Specify the Name for the standard program, enter the Command line as dotNetFx40_Full_x86_x64.exe /q /norestart /ChainingPackage ADMINDEPLOYMENT and click Next.
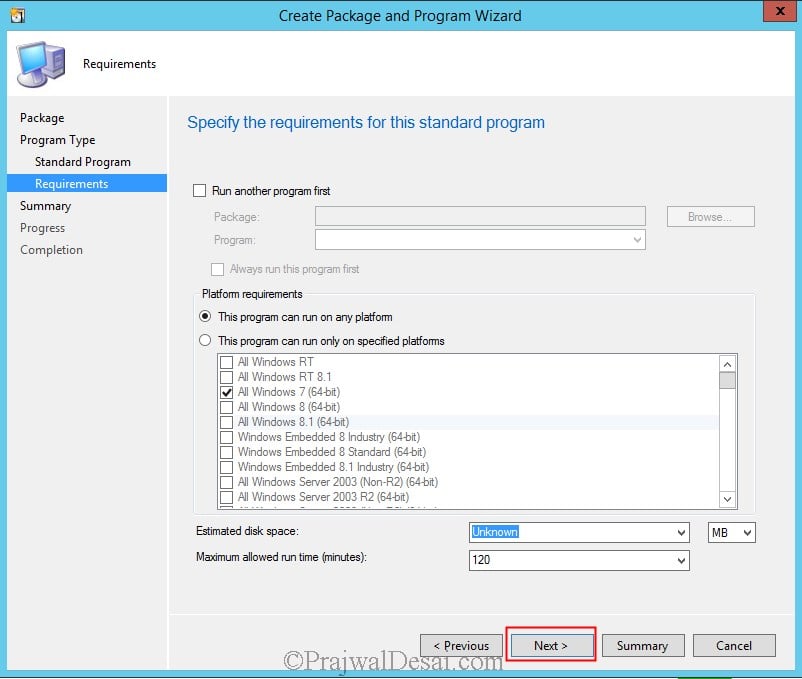
On the requirements page click Next.
Click Close.
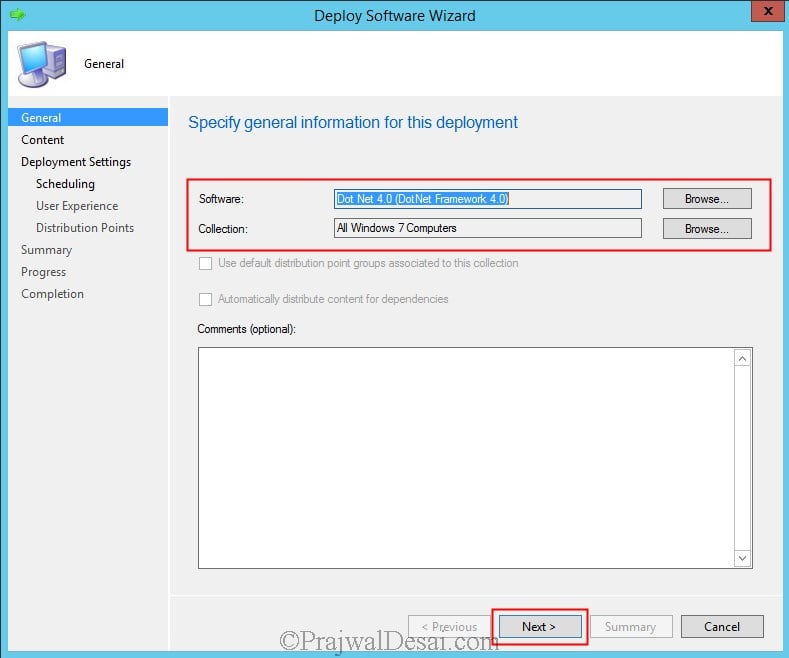
The .NET Framework 4.0 package is ready. Distribute the package to all the SCCM distribution points. Next, deploy the package to a device collection. Click Browse and select the collection. Click Next.
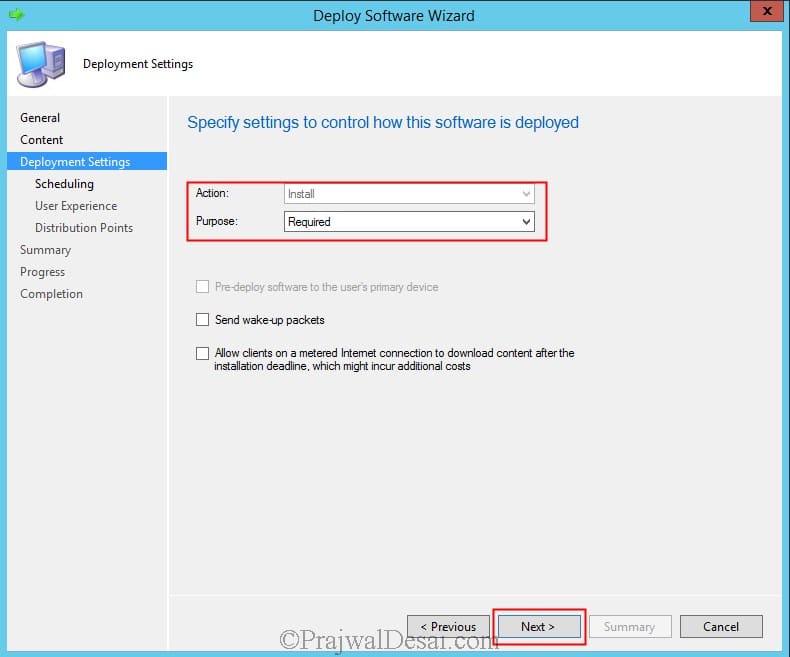
Set the purpose as Required and click Next.
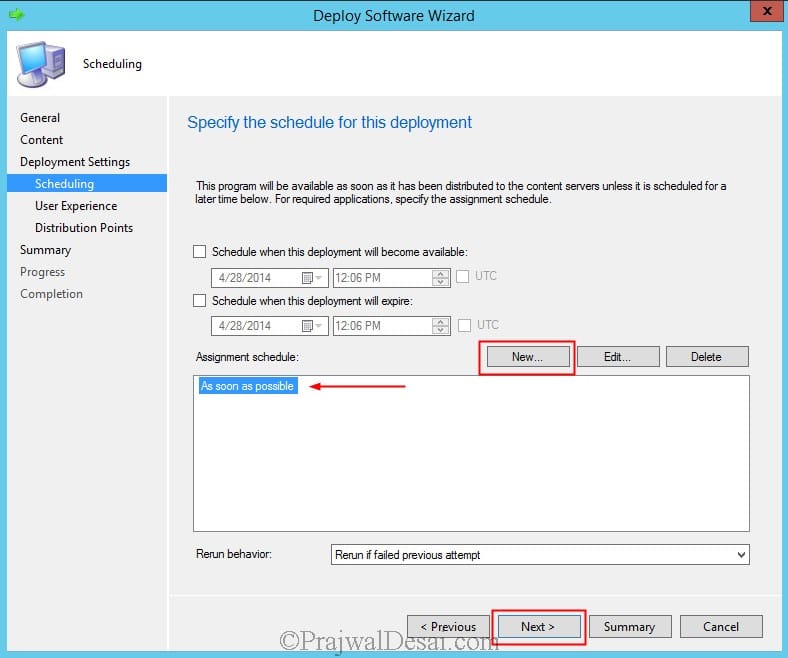
Specify the schedule for this deployment. Specify when you want the .NET Framework 4.0 to be installed. Click New and set the assignment schedule to As soon as possible. Click Next.
Follow the wizard and complete the next steps. Click Close. 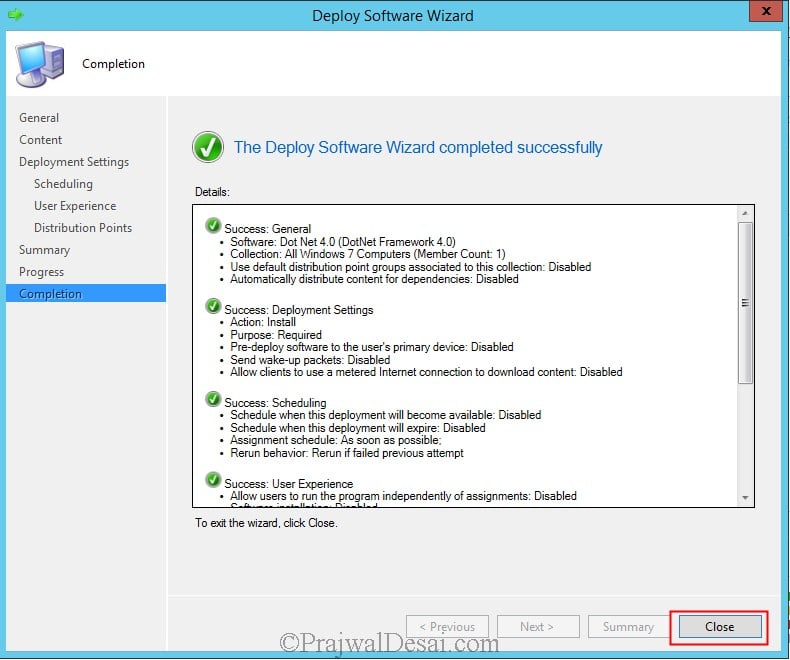
Login to one of the client machine and let’s test the deployment. Since the package is deployed as Required, the installation should occur automatically.
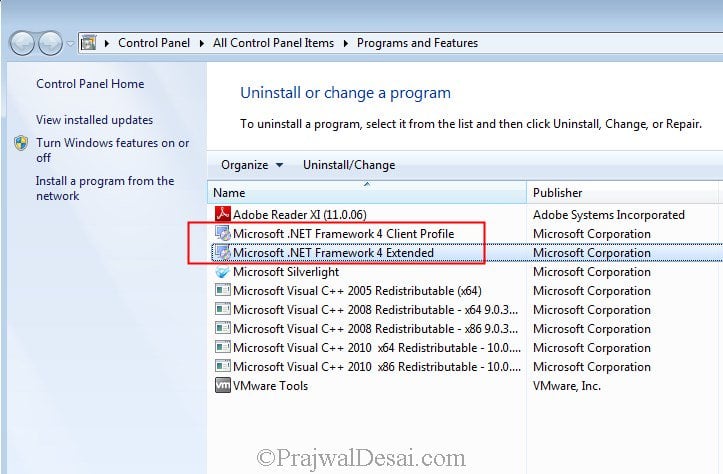
So go to Program and Features we see that .NET Framework 4.0 has been installed.
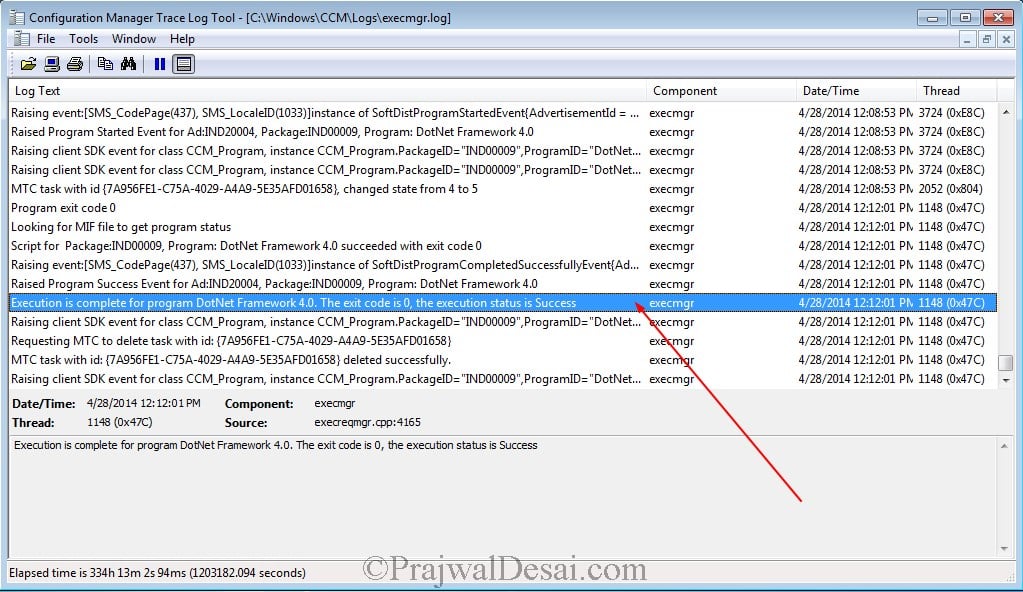
Open the execmgr.log file on the client machine, we see that the execution is complete for .Net Framework 4.0. In case the installation fails check the log file for any errors.





Thanks for this post prajwaldesai, any reason for why not use Application way?
You can create an application as well.
Ok cool, thanks prajwaldesai! i like your posts a lot, they saved me in several situations.
Thanks Miguel. Glad to hear that 🙂