This post is the continuation of my previous post and we will see how to control remote computers using Intel AMT. In my previous post we saw the steps to Configure Intel VPro AMT KVM. In that post I could only cover the Intel AMT configuration part. We know many methods to access a remote PC when it is working fine. But what about if the PC is remote and it’s crashed ?. You don’t have any technician who can go to that remote site and check just one PC. Most of the time non IT users are unaware of how to get to BIOS mode. Imagine a situation where there is no local IT guy in remote site. You are supposed to image that PC using SCCM but you don’t any control of that machine.
To address the above issues, you can make use of Intel AMT (Active Management Technology) feature. Intel AMT is a remote control technology integrated into the hardware component of PC based on Intel vPro platform. Most of the recent laptops that come into the market are Intel vPro enabled. While you can control a computer when it’s operating system is running fine but Intel AMT goes one step ahead. Intel AMT allows you to control a remote computer that has no OS or even power on if its off.
Tools to Control Remote Computers using Intel AMT
Now that you have configured Intel Vpro AMT KVM feature, it’s time to know the tools that are used to control remote computers using Intel AMT. There are many good tools such as Radmin, Dameware, MeshCommander etc. Out of these I love MeshCommander tool because it’s very easy to use. Most of all it’s a free tool and you can grab the latest version from here.
How to Control Remote Computers using Intel AMT
Let’s look at the steps to control remote computers using Intel AMT feature. Install MeshCommander on a laptop. Launch MeshCommander tool and Click Add Computer. Add the IP address of remote machine that you want to connect to. You can also scan a IP address range and discover more machines. After adding IP address, click Connect.
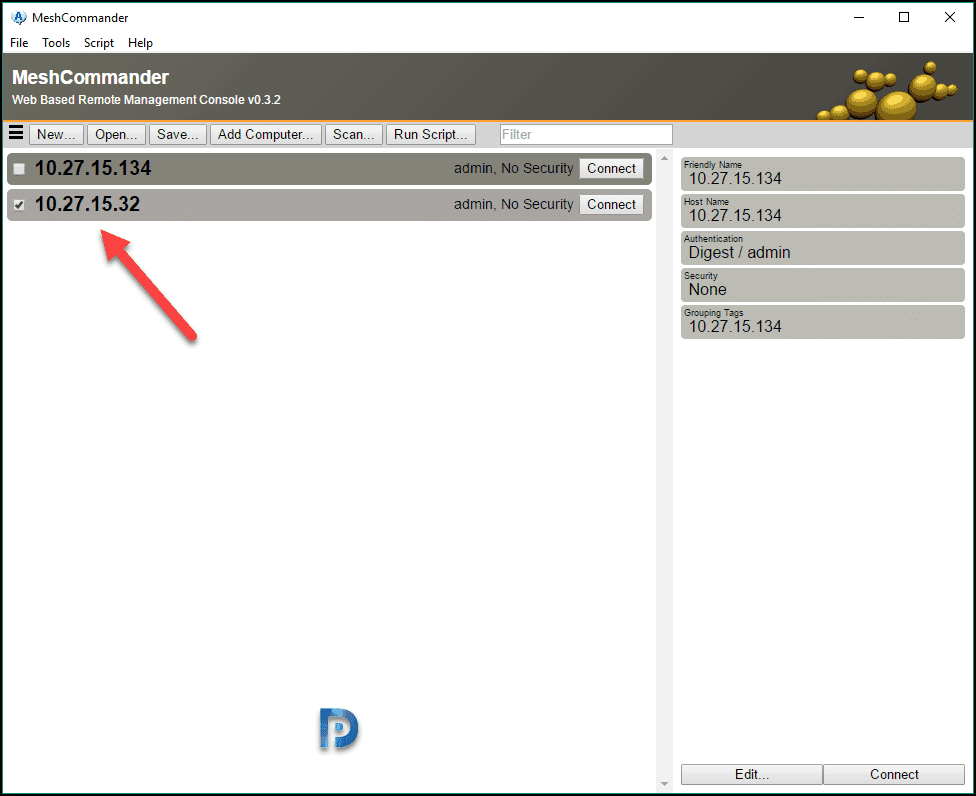 On the left pane you see lot of options. You could explore all of those options and use it when required. For now since we want to remote in to the machine, we will select Remote Desktop option.
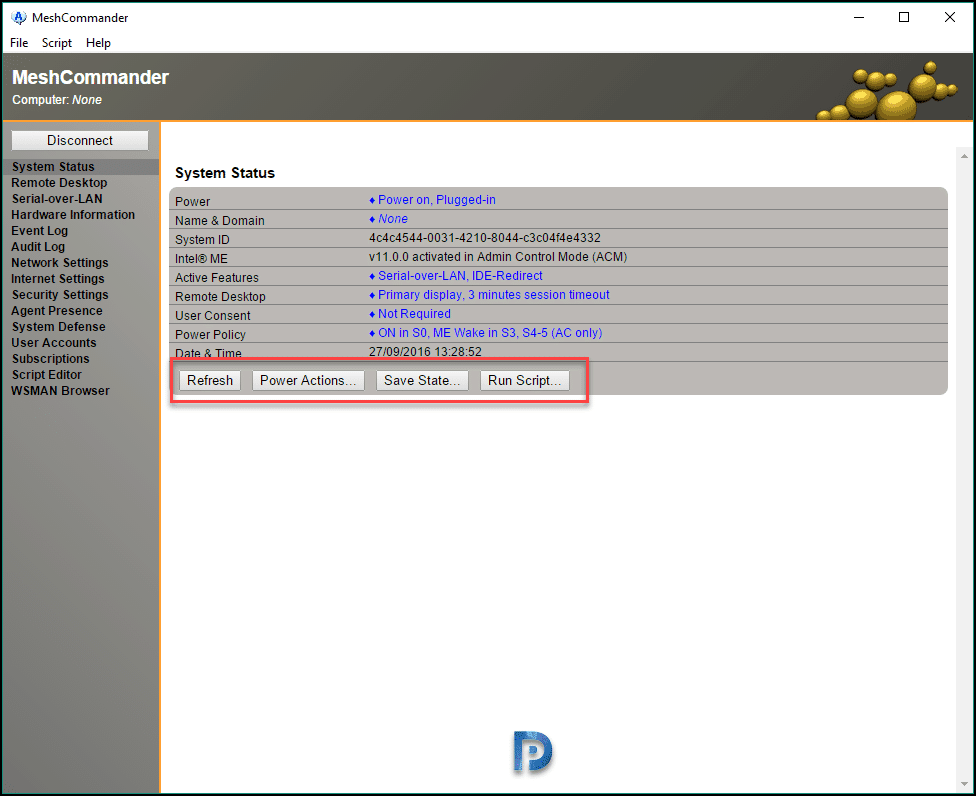 When opening the Remote Desktop option, you will need to enable the KVM option. Simply click on the red banner to enable it.
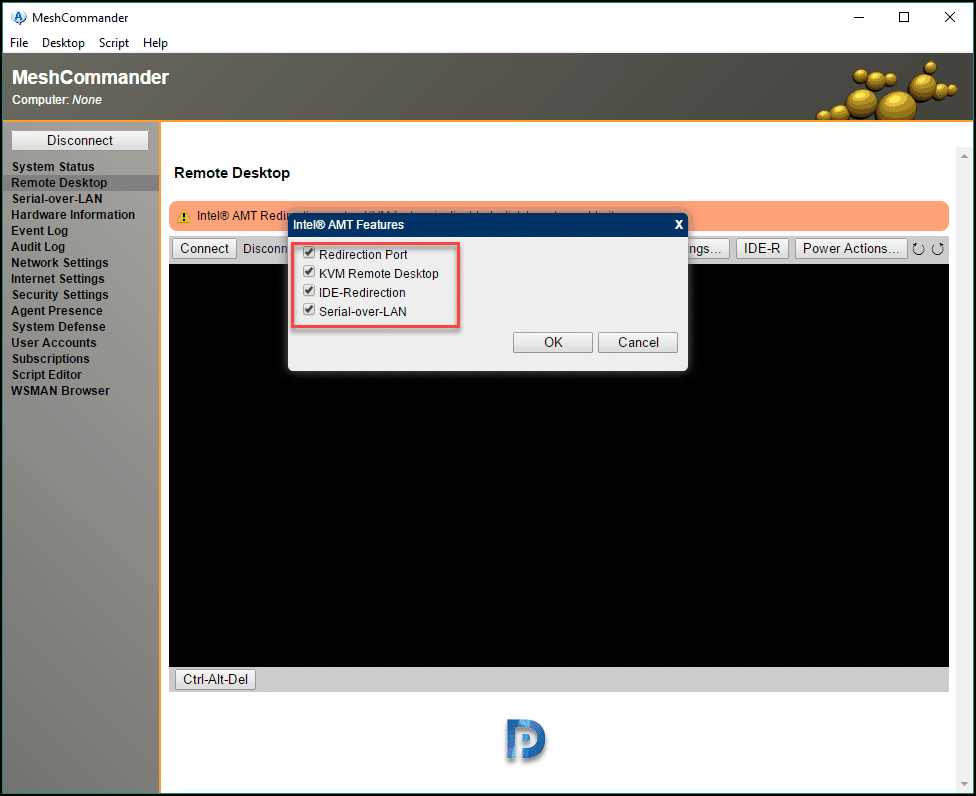
 Select the Redirection Port, KVM Remote Desktop and other two options and click OK.
 Wait for few seconds while it connects to remote machine.
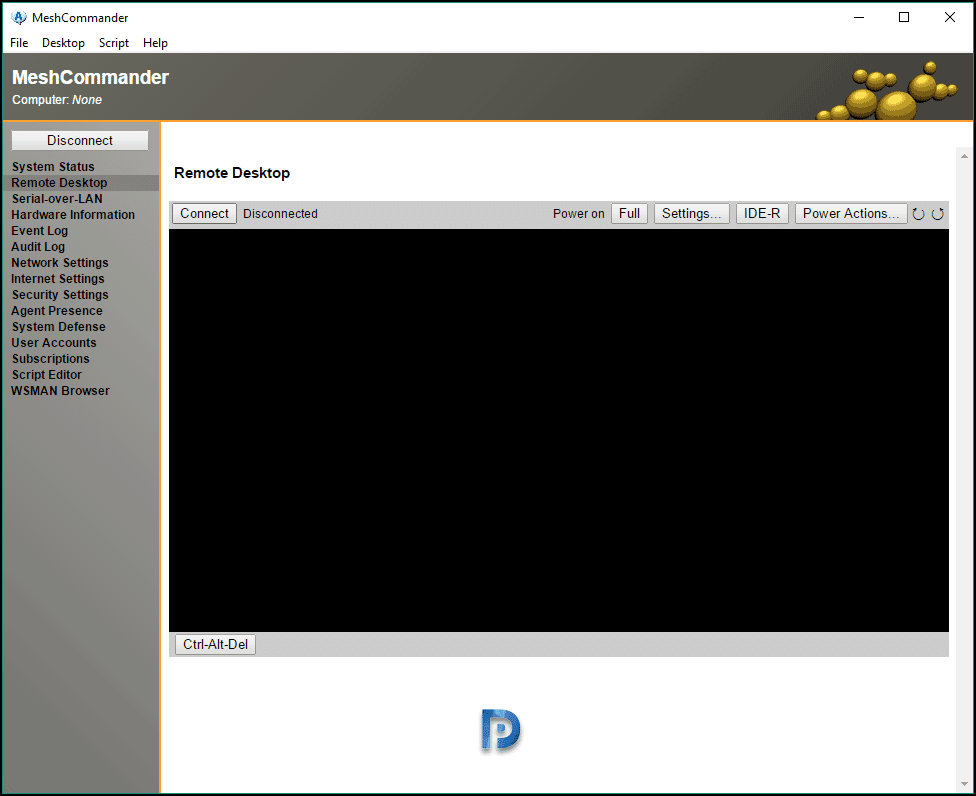
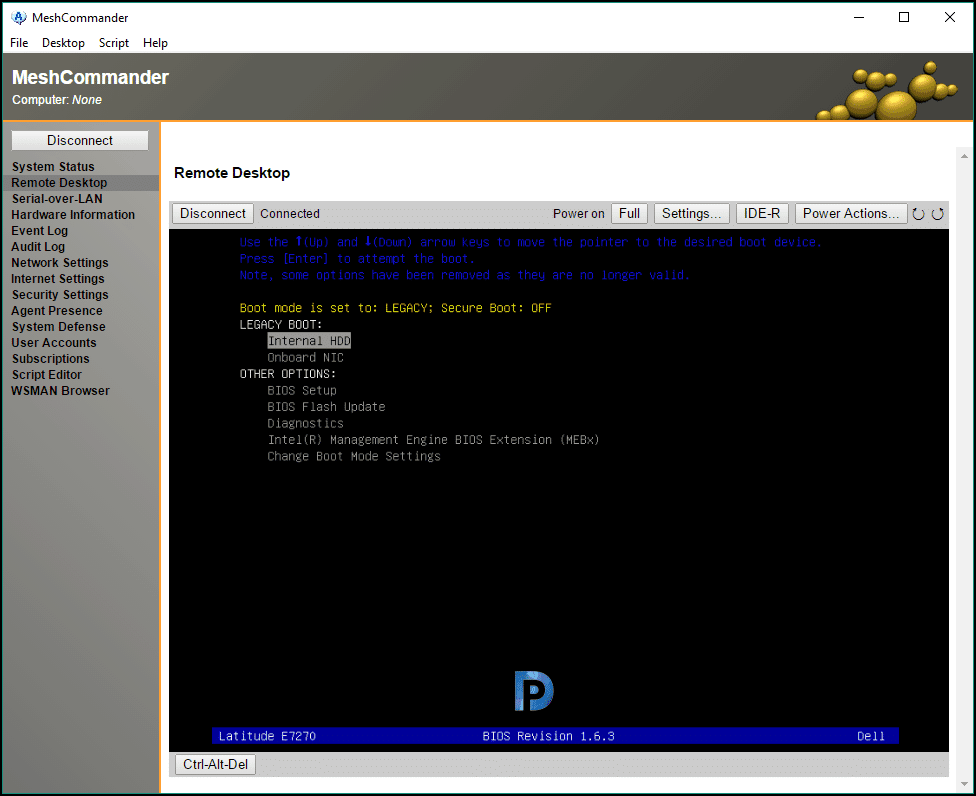
We now have full remote control of the remote machine. Using Power Actions you can power on the machine, restart, boot directly from network etc.

