


This guide is a step-by-step guide to the SCOM 2019 installation, covering detailed instructions on prerequisites, setup, configuration, and best practices.
Microsoft in their blog announced that System Center 2019 suite is generally available for customers. System Center 2019 enables deployment and management of Windows Server 2019 at a larger scale to meet your data center needs.
SCOM 2019 is a part of System Center 2019 suite. You can use operations manager 2019 to monitor health, capacity, and usage across applications, workloads, and infrastructure. A great tool to use in your infrastructure if you really understand what it can do.

So for now, I will be installing the SCOM 2019 in my lab setup. This will be a kind of SCOM 2019 installation from scratch. I will be using the latest version of Windows Server 2019 to install operations manager 2019.
Update: SCOM 2025 is the latest version available. You can skip version 2019 and directly install version 2025 in your setup.
SCOM 2019 Upgrade Paths
If you are running an older version of SCOM, it is critical to know upgrade paths for SCOM 2019. This will give you an idea whether you can perform a direct upgrade or if an intermediate upgrade is required.
- Direct In-place Upgrade
- Upgrade to a supported version
You can perform a direct in-place upgrade to SCOM 2019 if you are running any of the below versions of SCOM.
| Current SCOM Version | Upgrade to SCOM 2019 |
| SCOM 2016 | Yes |
| SCOM 1807 | Yes |
| SCOM 1801 | Yes |
If your SCOM version isn’t listed in the above table, refer the below table.
| Current SCOM Version | Intermediate Upgrade | Upgrade to SCOM 2019 |
| SCOM 2012 R2 | Upgrade to SCOM 2016 | Yes |
| SCOM 2012 R2 | Upgrade to SCOM 1801 | Yes |
So if you are running SCOM 2012 R2, you can either upgrade to SCOM 1801 or SCOM 2016 and finally upgrade to SCOM 2019.
Operations Manager 2019 New Features
Before you download operations manager 2019, here is a list of new features in SCOM 2019. For a detailed description of each feature, read this article.
- Improved HTML5 dashboards
- Notification and subscription enhancement
- Enhanced alert management for Monitor
- Application Performance Monitoring Agent Scheduled Maintenance Mode
- Service Map integration
Download SCOM 2019 Installation Media
If you have a Visual Studio subscriptions (MSDN) or have access to VLSC portal, you should have access to the SCOM 2019 setup media. If you want to evaluate the product, you can get the System Center Operations Manager 2019 from Microsoft evaluation center.
Deploying System Center Operations Manager
One of the interesting thing about deploying SCOM is the way you prefer to install the features. The features of Operations Manager can be either installed on a single server or distributed over several servers.
According to Microsoft, you can deploy Operations Manager in two ways:
- Single Server Deployment of Operations Manager
- Distributed Deployment of Operations Manager
SCOM features can be installed on a single server, or you can split the roles on to different servers. Personally, I prefer a single server installation rather than a distributed deployment.
SCOM Accounts
When you install SCOM, you will be asked for three accounts.
- The management server action account.
- The System Center Configuration service and System Center Data Access service account.
- Data Warehouse Write account.
In Operations Manager, you can use the same account for the System Center Configuration and System Center Data Access service services.
Note: If you create a specific account for installation, remember that this account must be a member of the sysadmin server role for Microsoft SQL Server, but also have access to the master database.
For my SCOM 2019 installation in lab setup, I am going to use just one account. This will make my task easy. If you are looking to create SCOM accounts for different services, read this article.
System Requirements
Now we shall see what are the important prerequisites before you install SCOM 2019 in your setup. Every feature comes with requirements, hence it is impossible to cover them in this post. For complete info on prerequisites per SCOM feature, do read this article.
If you are installing SCOM 2019 for the first time in your setup, below points are valid.
- There is no domain functional level requirement.
- Operations Manager does not have a forest functional level requirement.
- Supported Server OS – Windows Server 2016 (Standard, DataCenter), Windows Server 2019 (Standard, DataCenter)
- SQL Server Requirements – SQL Server 2016 (Ent, Std), SQL Server 2017 (Std, Ent).
- While installing SQL server, ensure the collation is SQL_Latin1_General_CP1_CI_AS.
- Supported deployments – Microsoft Azure, Virtual Machines, Physical Servers.
- For hardware requirements, read this article.
Installing SCOM 2019 Prerequisites
Before you install Operations Manager 2019, you need to ensure your setup supports the installation.
Install Server OS
As a first step, ensure you are using a supported server OS for installing SCOM 2019. Install Windows Server OS (2016/2019). Join the server to the domain. Ensure it is installed with latest updates and perform a server reboot if it’s required.
IIS Prerequisites
In the next step we will install IIS on the server. This server is also a management server that will host a web console.
To specify the source path, mount the Windows Server ISO file and note down the sxs path. Run the PowerShell as Administrator and run the below command. Restart the Server after installing the prerequisites.
Add-WindowsFeature NET-WCF-HTTP-Activation45,Web-Static-Content,Web-Default-Doc,Web-Dir-Browsing,Web-Http-Errors,Web-Http-Logging,Web-Request-Monitor,Web-Filtering,Web-Stat-Compression,Web-Mgmt-Console,Web-Metabase,Web-Asp-Net,Web-Windows-Auth -Restart -Source D:\Sources\sxs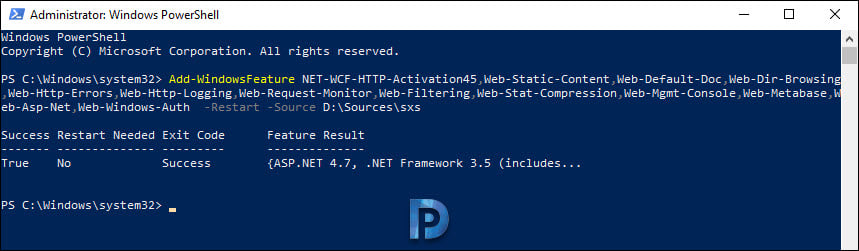
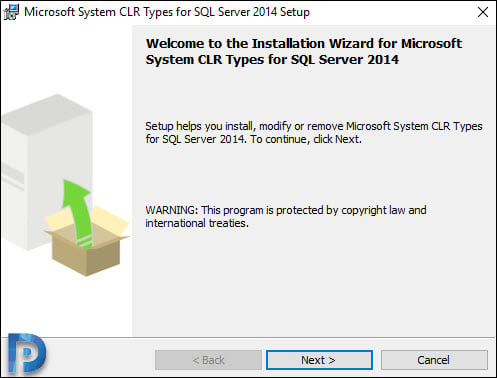
Install Microsoft System CLR Types for SQL Server 2014
The Microsoft System CLR types for SQL server is a prerequisite for the Report Viewer controls. Download and run the installer and click Next.
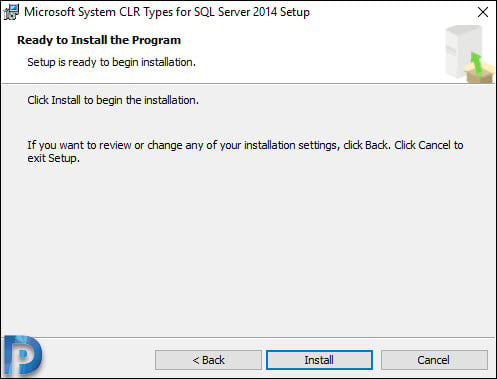
Accept the license agreement and click Install.
Click Finish.
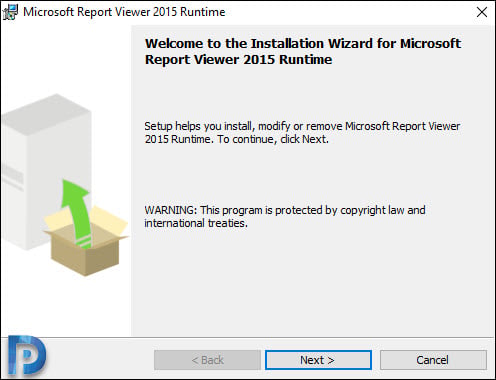
Install Microsoft Report Viewer 2015 Runtime
In the next step install Microsoft report viewer 2015 runtime. Download and run the installer and click Next on welcome screen.
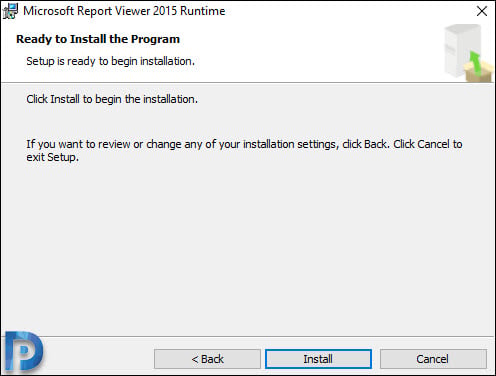
Accept the license agreement and click Install.
Click Finish.
Install SQL Server for SCOM 2019
In my lab setup, I will be installing SQL Server 2017 enterprise edition for SCOM version 2019. I am installing the SQL on the same server, i.e. our SCOM server.
Mount the SQL server 2017 ISO file and run the setup as administrator. Click Installation on the left pane. On the right pane click New SQL Server stand-alone installation or add features to an existing installation.

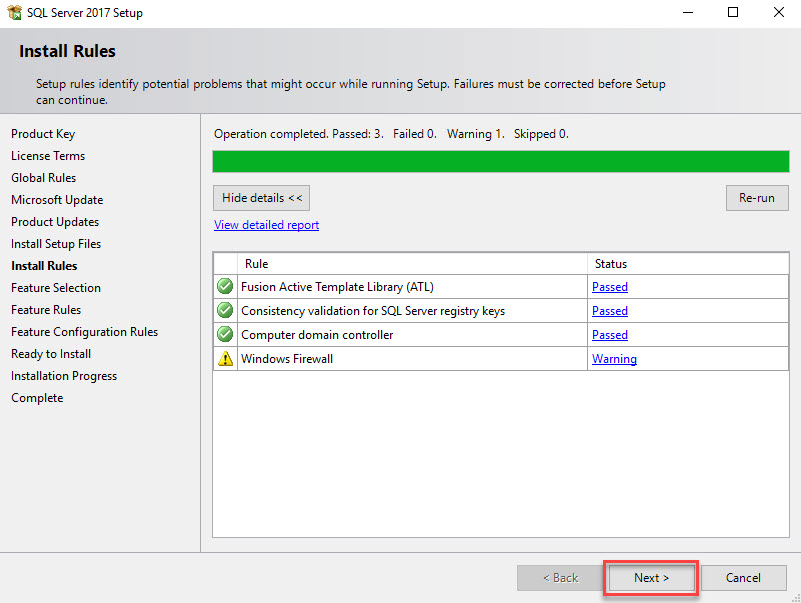
Ignore the firewall warning for now. Click Next.
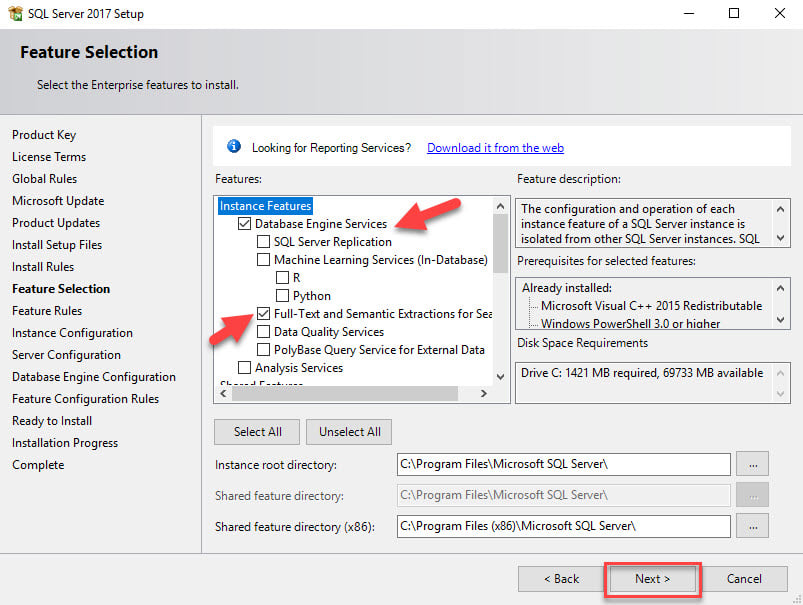
Select the following instance features :-
- Database Engine Services
- Full-Text and Semantic Extractions for Search
Click Next.
Choose the instance which is Default in this case. Click Next.

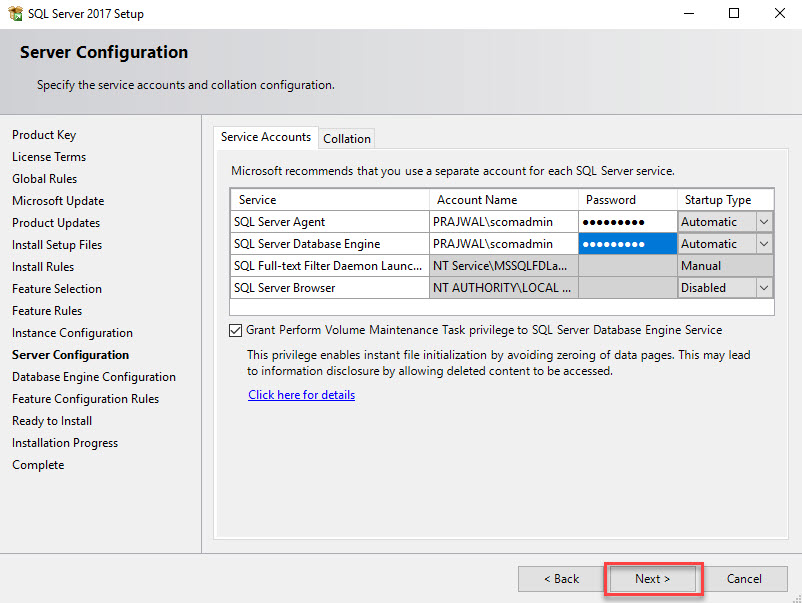
Specify the Service Accounts. Click Next.
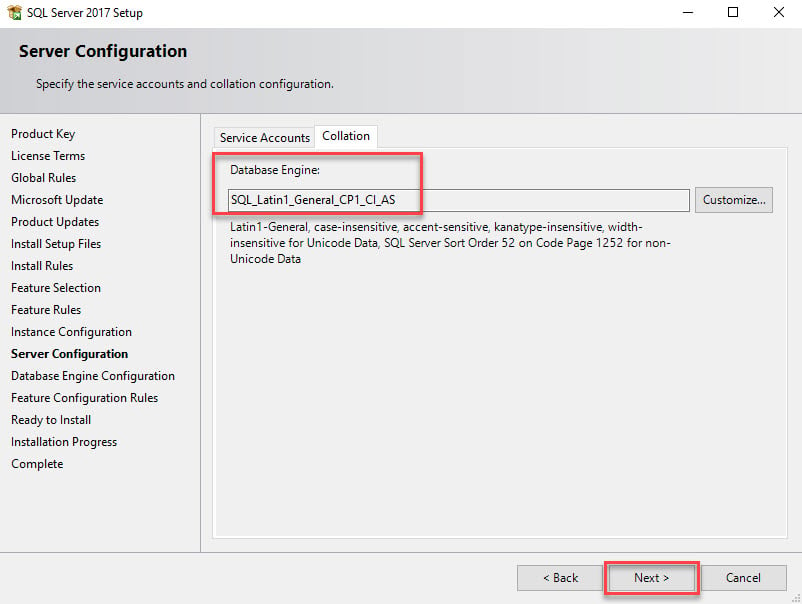
Ensure the SQL server collation is SQL_Latin1_General_CP1_CI_AS. Click Next.
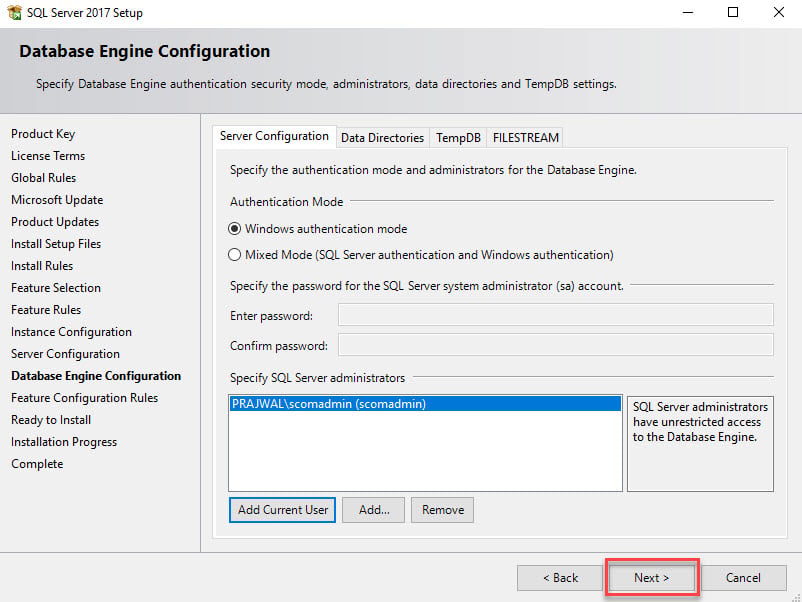
Select the authentication mode. Click Add Current user and click Next.
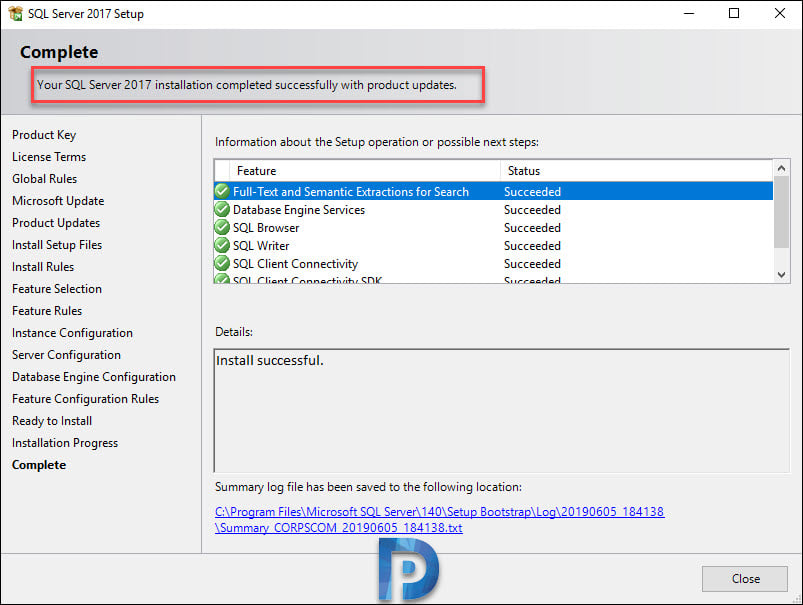
Click Install.

The SQL server installation for SCOM 2019 is complete.
Install Microsoft SQL Server Management Studio
Get the latest version of SQL Server management studio from Microsoft downloads site. Run the installer. On the Welcome screen, click Install.

The installation requires restart. So click Restart button.
Install Microsoft SQL Server 2017 Reporting Services
Reporting services are not included with SQL 2017 installation. Hence you must download reporting services manually and install it on the server.
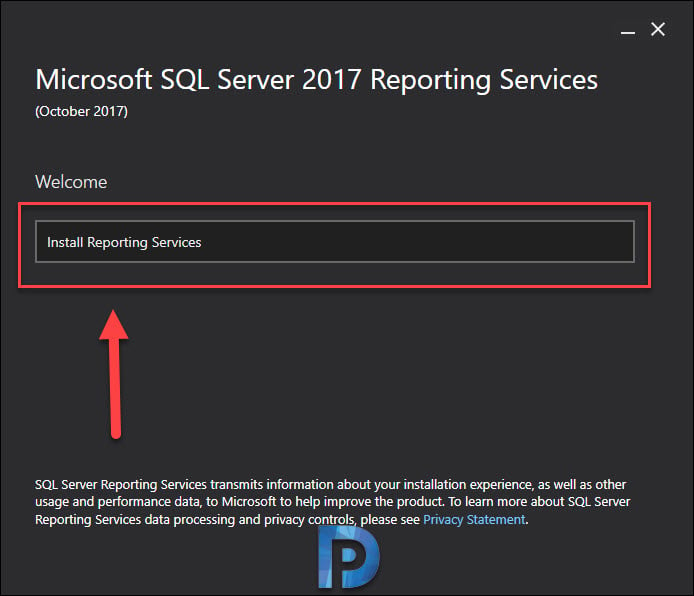
To download the latest version of Microsoft SQL Server 2017 Reporting Services, click here. Run the installer and on the welcome page, click Install Reporting Services.
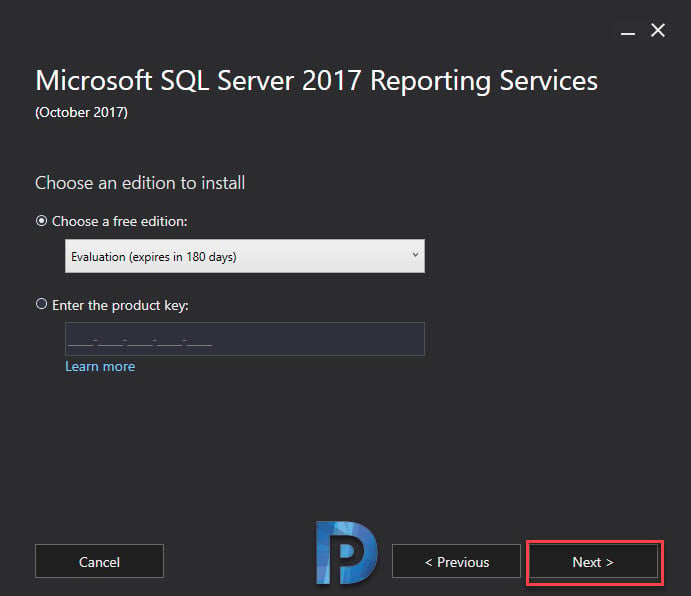
Choose either a free edition or enter the product key if you have one. Click Next.
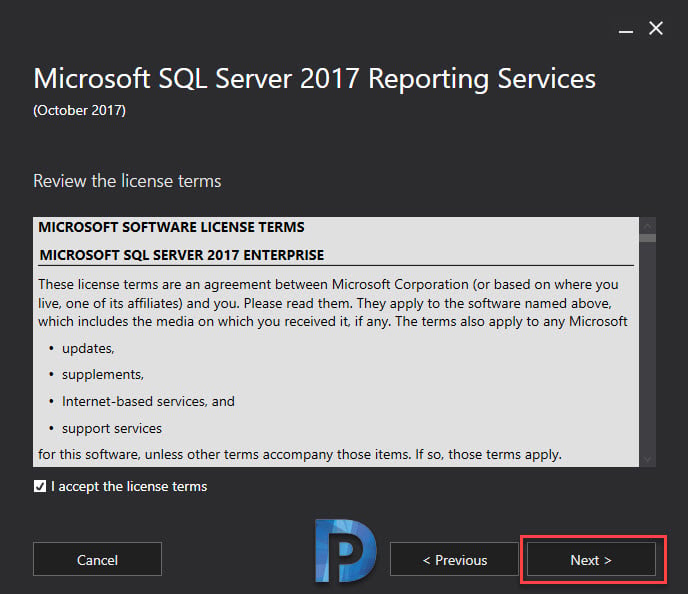
Accept the license terms and click Install.
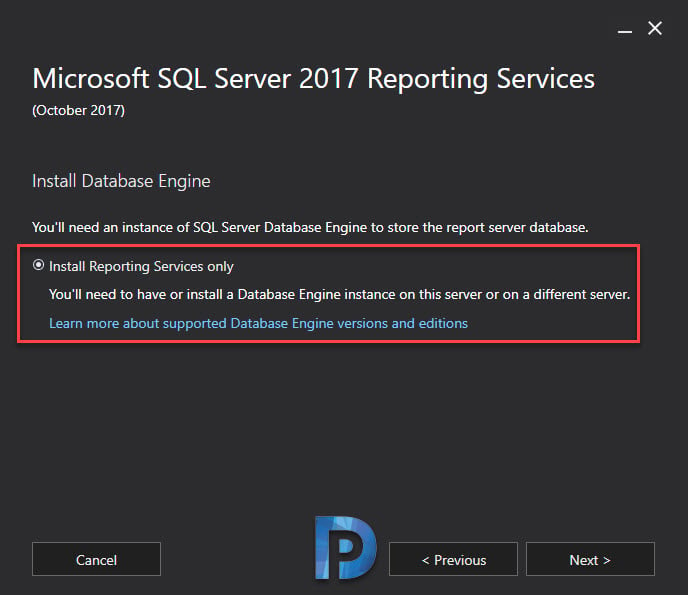
Select Install Reporting Services only and click Next.
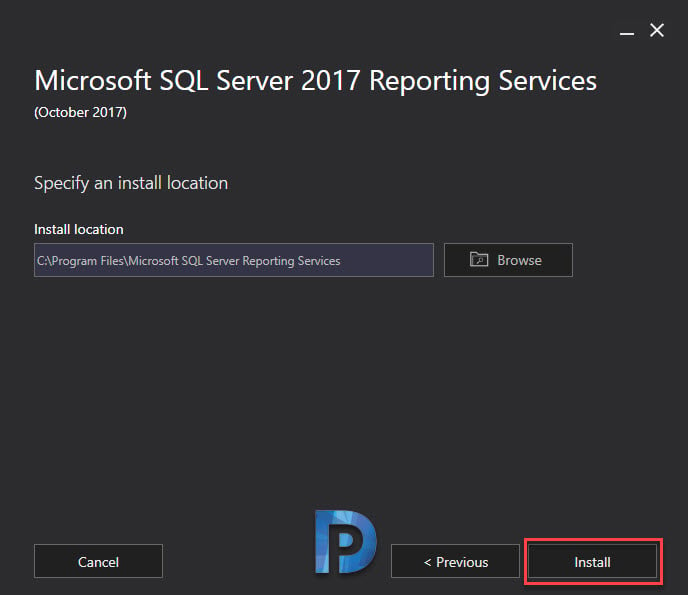
Leave the install location to default and click Install.
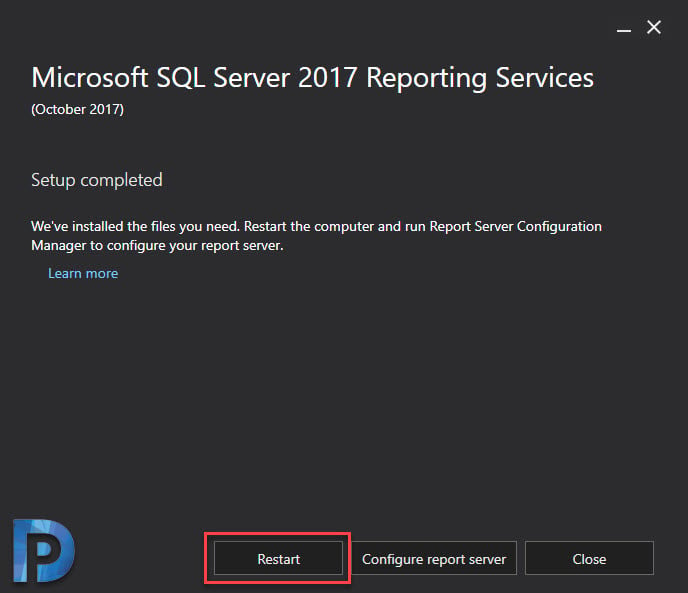
The setup is completed. We will now configure the report server. Click Restart.
SCOM 2019 Reporting Services Configuration
You must configure the reporting services before you install SCOM 2019. With SQL 2014, reporting services were included along with installation. But with SQL 2017 you must configure the reporting services manually.
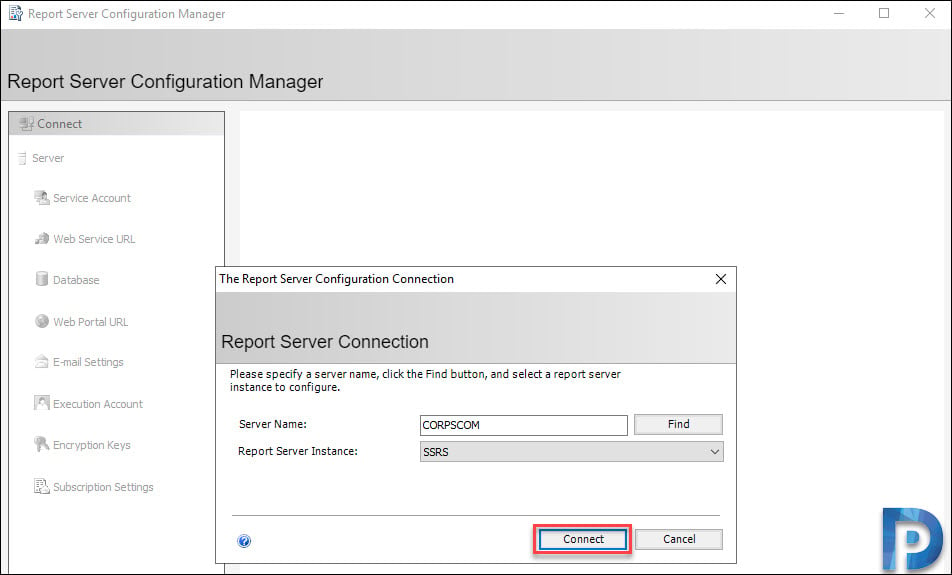
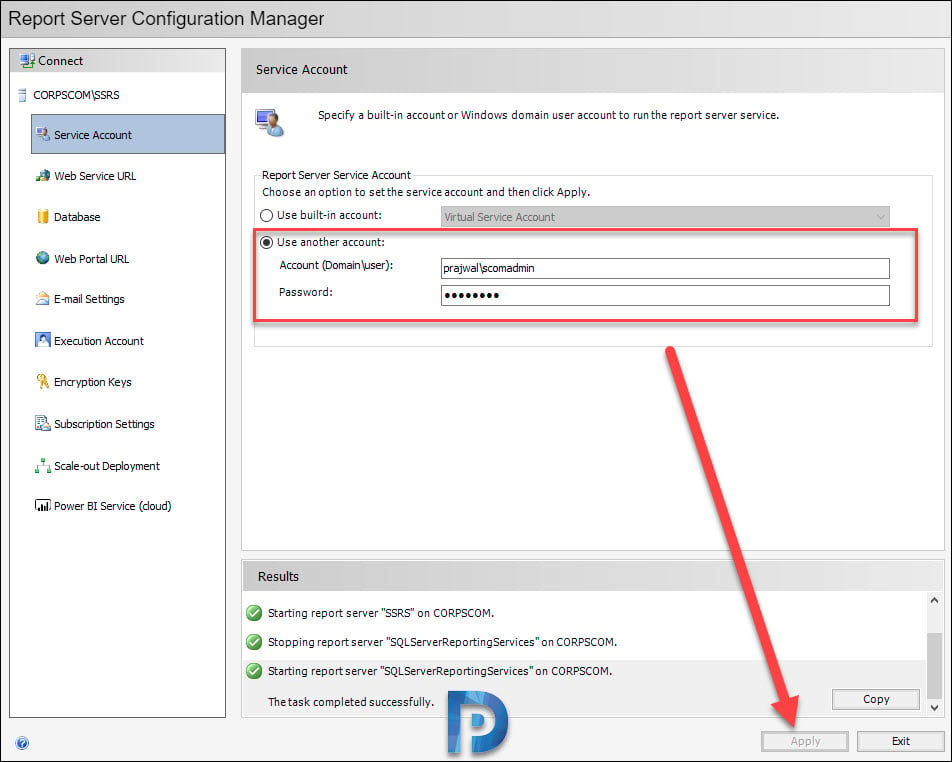
Launch the Reporting Server Configuration Manager. Click Connect. Click Service Account on the left pane and select Use another account. Specify an account to run the report server service. Click Apply.
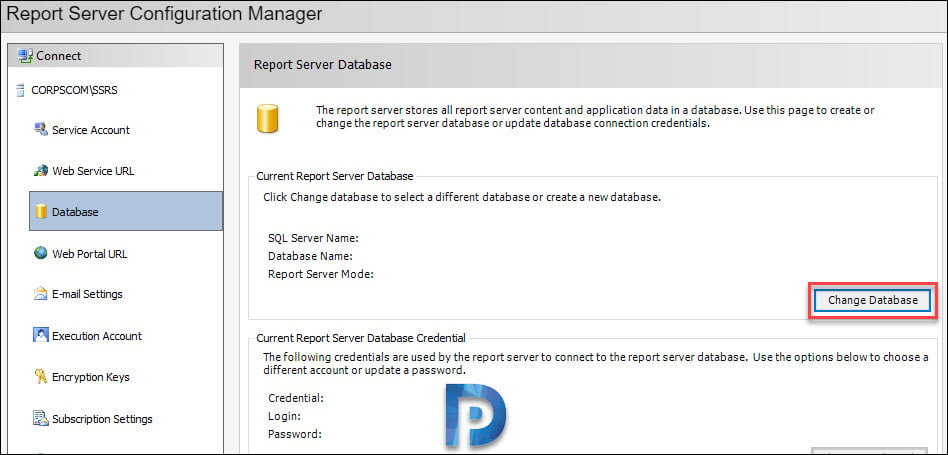
Select Database on the left pane. Now select Change Database.
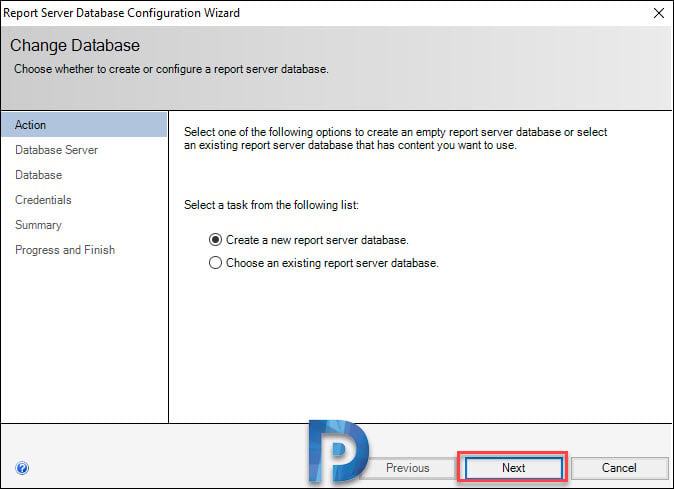
There is no report server database. We will create one using Create a new report server database option.
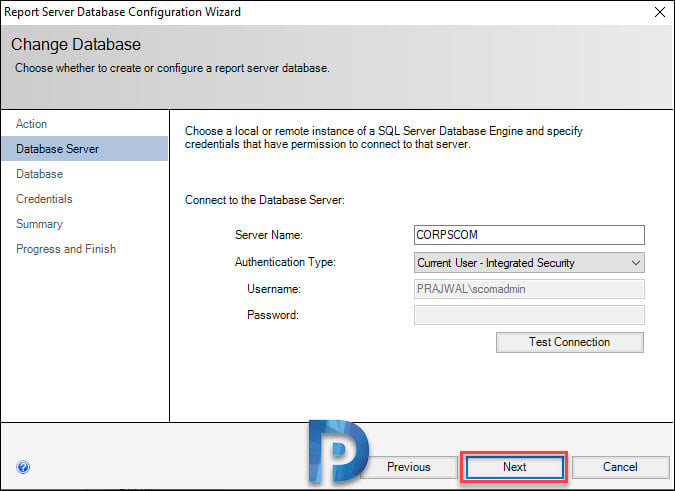
Specify the account to connect to database server. Click Test Connection to see if the account can connect to database server. Click Next.
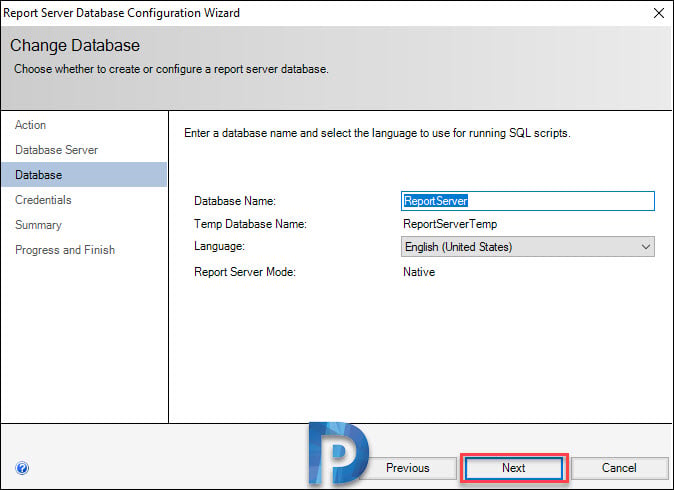
The database name is ReportServer, click Next.
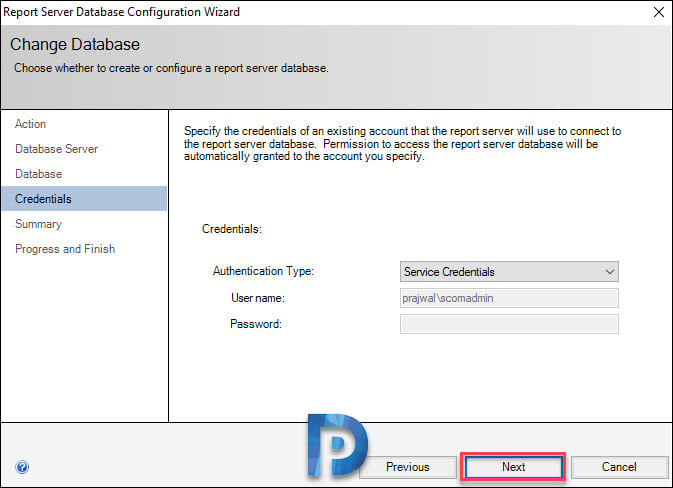
Specify the credentials for report server to connect to report server database. Click Next.
Click Finish.

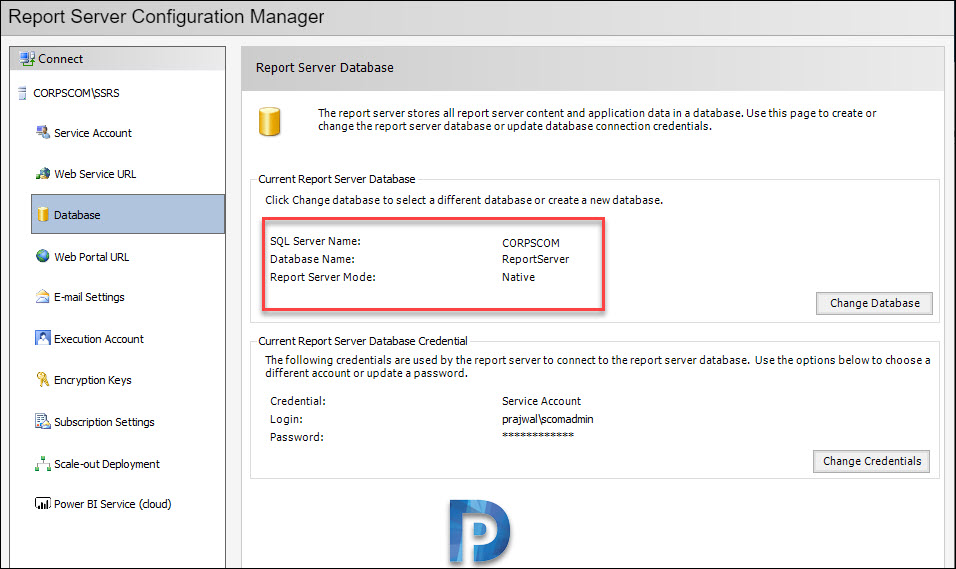
Now the Report Server Database can be seen.
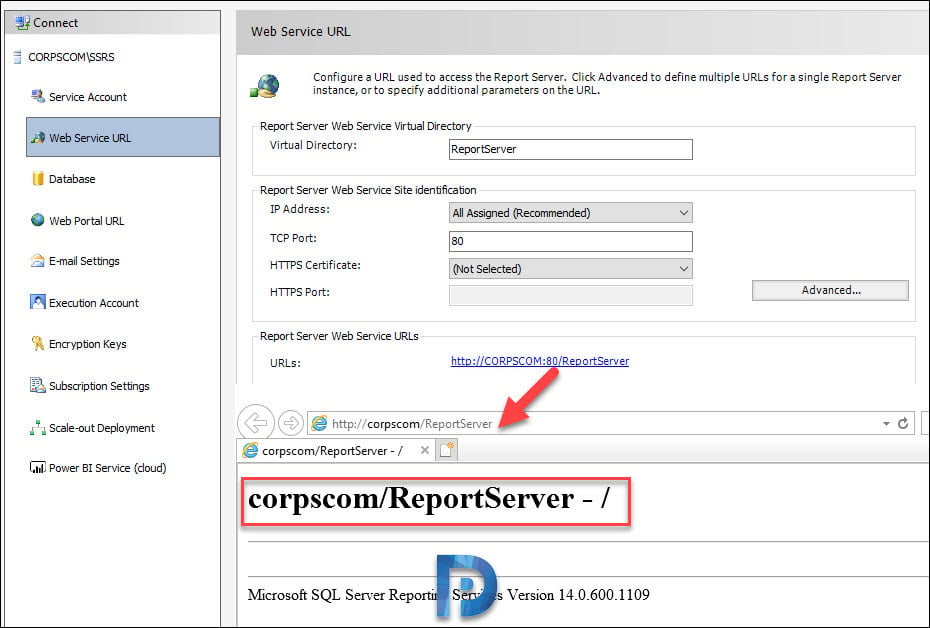
Click Web Service URL and click the Report Server web service URL. This link opens in the default browser and if the reporting services configuration is correct, you should see the one shown in below screenshot.
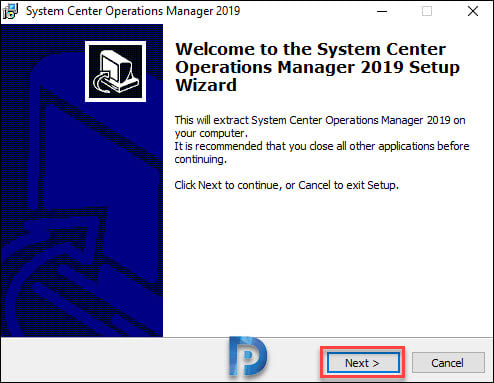
Extract SCOM 2019 setup files
To extract the setup files from SCOM 2019 media:
- Mount the Operations Manager ISO.
- Run the SCOM 2019 application.
- On the SCOM setup wizard click Next.
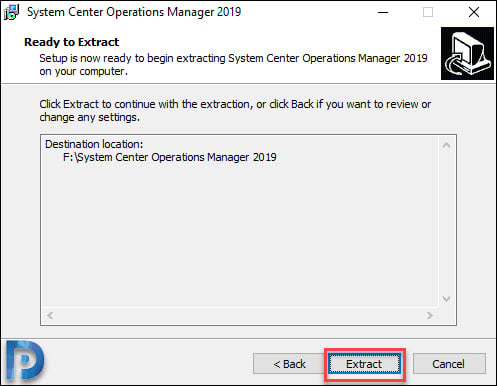
Choose the drive and folder so that setup will extract System Center Operations Manager 2019. Click Next.

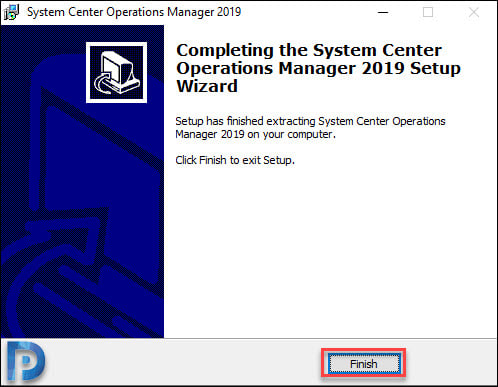
In the next step click Extract.
Click Finish.
Install SCOM 2019
To install SCOM 2019 / Operations Manager 2019
- Go to the folder where you extracted the SCOM 2019 installation files.
- Run the SCOM 2019 setup.
- On the setup screen, click Install.

I am going to install all the features on this server. Select the below features and click Next.
- Management Server
- Operations console
- Web console
- Reporting Server
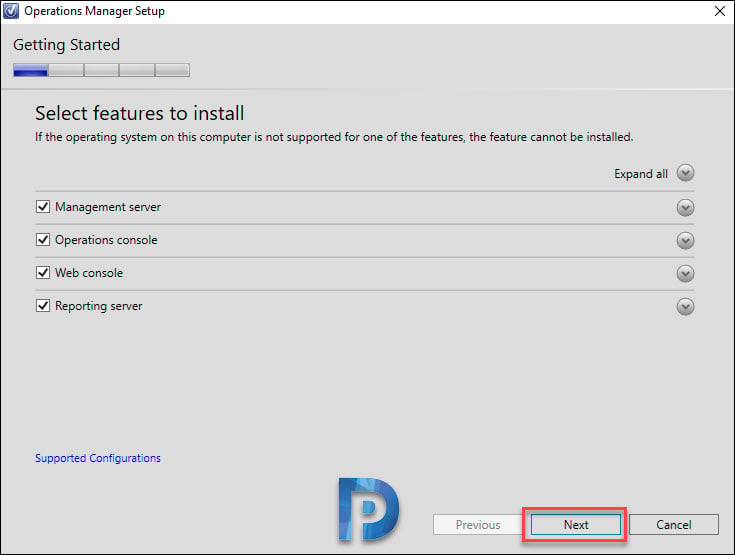
Click Next.

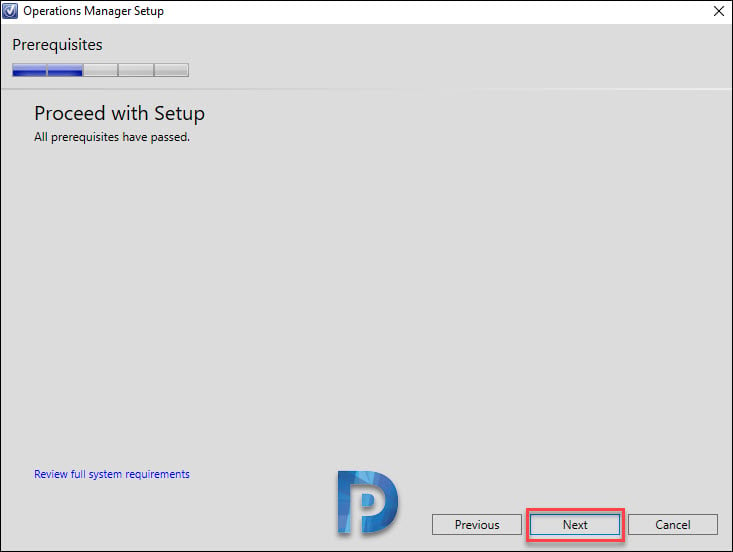
All SCOM 2019 prerequisites have passed. Click Next.
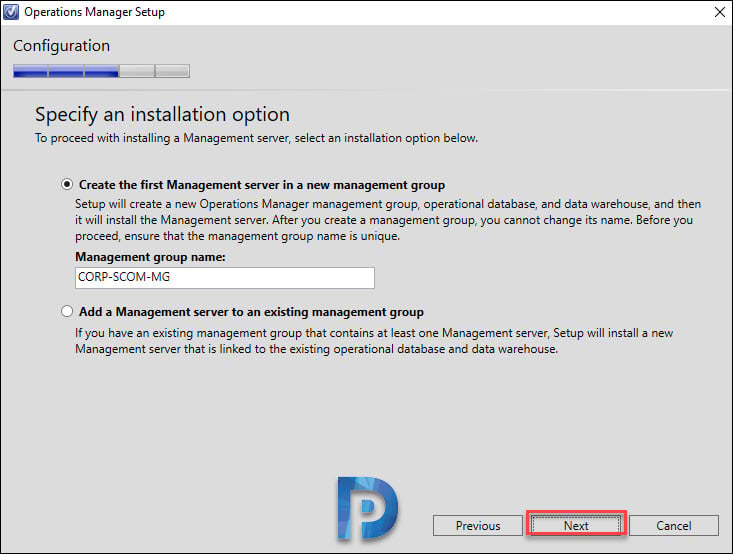
You need to specify an installation option.
- Create first Management server in a new management group.
- Add a Management server to an existing management group.
Select the first option and specify Management group name. Click Next.
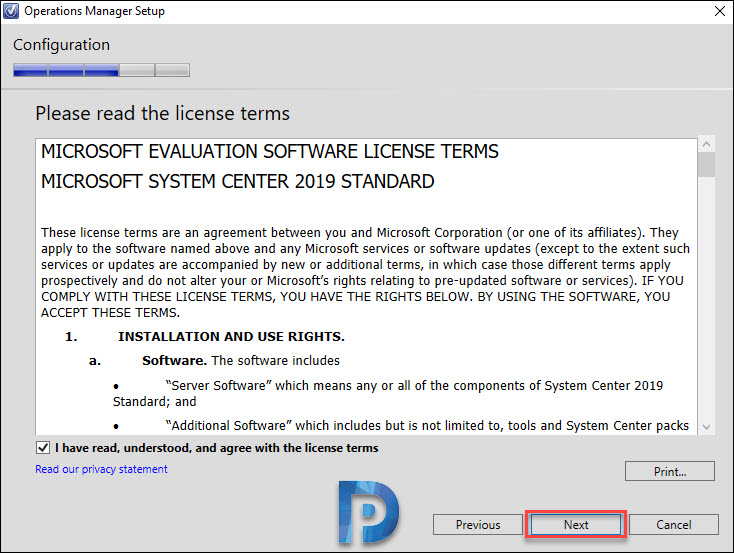
Accept the license terms and click Next.
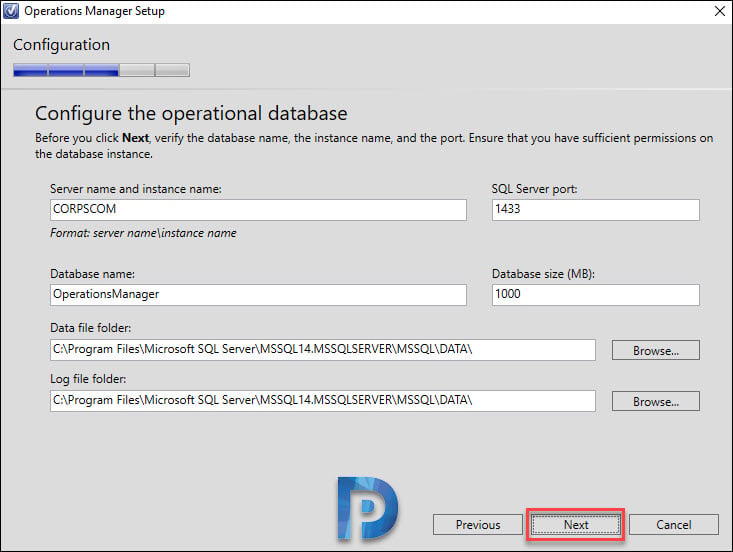
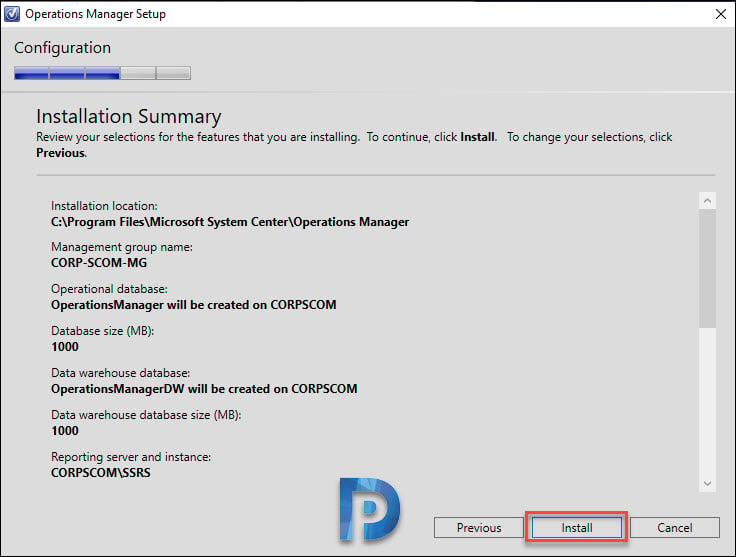
Configure operational database
- Specify Server name and instance name
- SQL server port – 1433
- Database name – OperationsManager
- Database size – 1000 MB
Click Next.
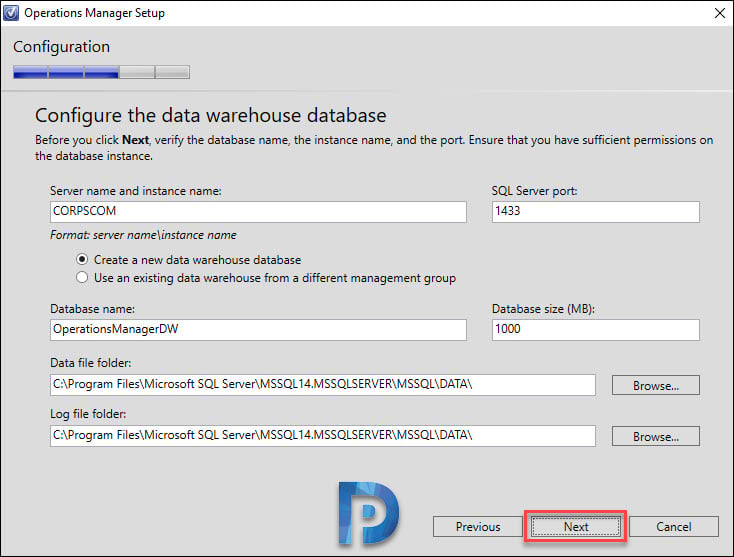
Configure Data Warehouse database
- Specify Server name and instance name
- SQL server port – 1433
- Database name – OperationsManagerDW
- Database size – 1000 MB
Click Next.
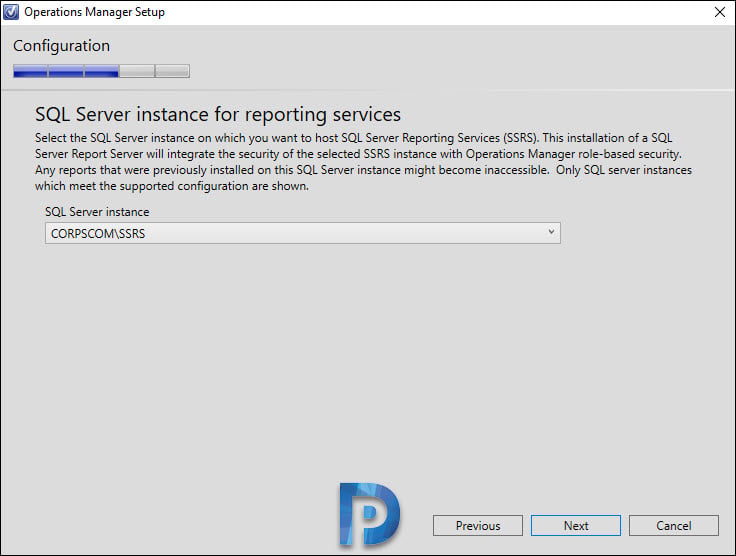
The SQL server instance for reporting services is populated automatically. Click Next.
Select Default Web Site and click Next.

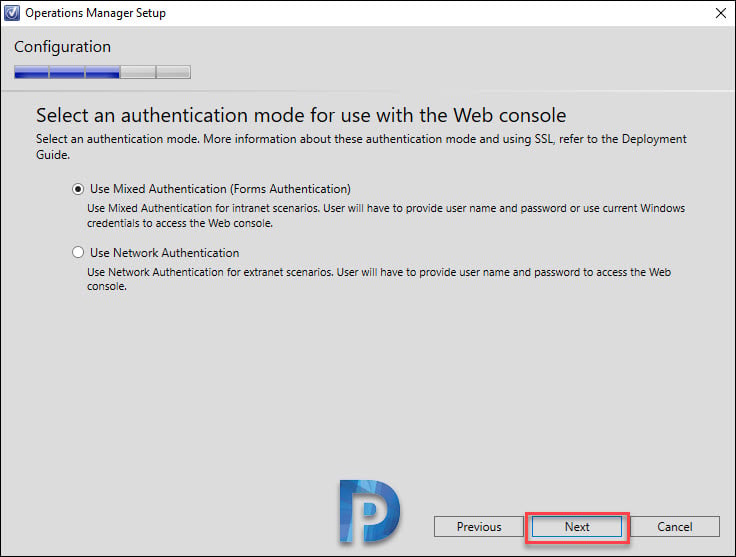
Select Mixed Authentication and click Next.
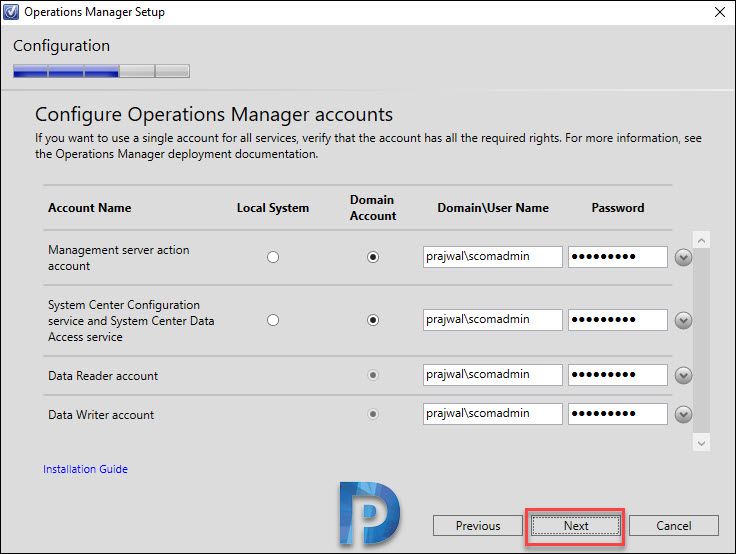
I will be using a single account scomadmin for all services. I will enter the same account in all boxes and click Next.
Verify the settings on Installation Summary page and click Install.
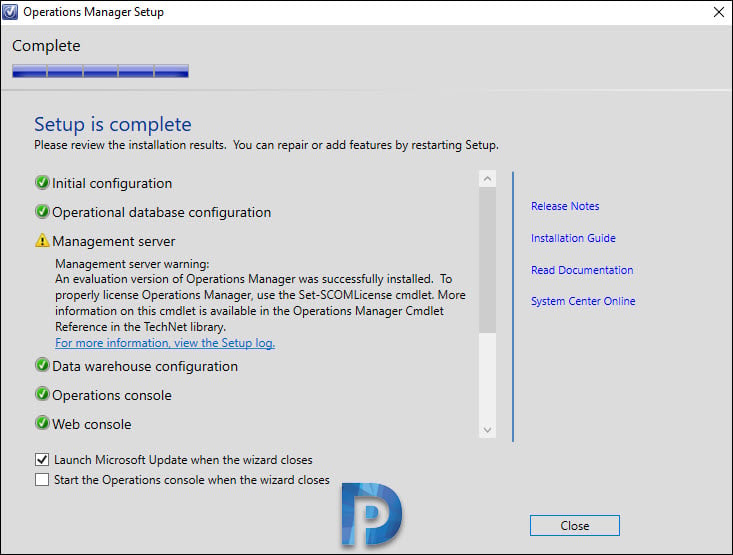
The SCOM 2019 installation is complete. Click Close.
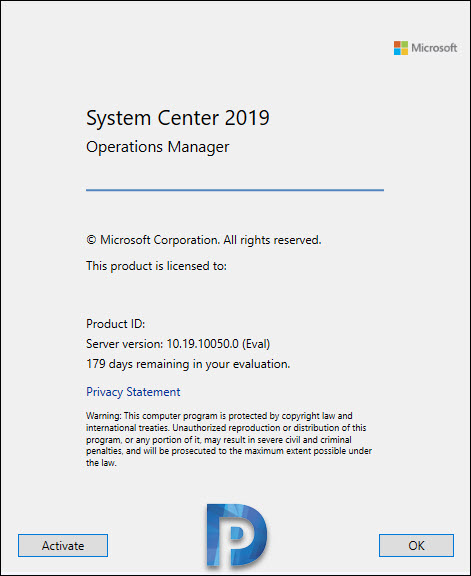
To check the installed SCOM version, open the Operations Manager console. Click Help > About. That should show the installed SCOM version, which 2019 in our case.

Anyone else running into account validation error? During the Operations Manager install account setup. Receive error. One or more accounts provided could not be validated. Please provide valid user names and passwords.
Thank you sharing, this helped me to install SCOM in our environment.
Thanks for sharing
I am trying to install SCOM reporting console on remote servers. SCOM data reader is using gMSA account. How can we successfully install the console alone with gMSA?
Hello Prajwal,
In the pending management, the computers taking long time and showing installation in progress. I selected a few devices and clicked reject, I cannot find it anywhere. Can you help please.
Hi,
apart from this, can you please help me out for how to configure low disk space alerts in SCOM 2019.
Thanks in advance
Hello dears. the error occurs when i installing SCOM 2019.
The installed version of SQL Server cloud not be verified or is not supported.
I disable firewall completely
The guide dosent mention how to install Web service
Report Server Database can be seen
and when i click on Web Service URL is says its not configured
Hi Prajwal, I can see no pictures on this page. Do you know why? Thanks
Can you clear your browser cache and try ?.
please can you mention that scom reporting service needs to be installed on the same server as sql reporting services
Thank you – One of the Best Tutorials
Hi,
Can I have SCOM 2019 and SQL Server 2017 on the same Windows Server 2019 Machine?
with enough resource (RAM : 16 GB / HDD 200GB / 16 CPUs)
This is a test setup.
Yes that is possible and the resources you listed are fine.
on the installing the Reporting Services part (Specify the account to connect to database server. Click Test Connection to see if the account can connect to database server. Click Next.) I select Test Connection and I keep getting “Could not connect to server: a network-related or instance-specific error occurred while establishing a connection to SQL Server. the server was not found or was not accessible. verify that the instance name is correct and that the SQL server is configured to allow remote connections. (provider: named pipes provider, error: 40 – could not open a connection to SQL server)” I have checked pipe names etc. but not sure where else to go the windows server firewall is turned off, maybe I still need to add the ports for SQL? – I have also tried to connect to the SQL by using SMS from another machine and still no connection. I’m new to SQL and I have managed to follow your instructions for SCCM etc. in my sandbox environment perfectly fine so not sure where I am going wrong.
Any light is greatly appreciated.
Kind Regards
Mr Kye Jewell
I have found the issue, I have been looking through your site and the MS Docs and finally found the answer. It was the TCP/IP – IP Addresses – IPAll listening port in SQL 2017 Configuration Manager. Hope this helps anyone with the same issue as me when using named instances.
Kind Regards
Mr Kye Jewell
Hi ,
Thanks for the information. very useful.
my current setup which is SCOM 2016 is up and running fine and i want to setup SCOM 2019 parallely.
and let i will decom SCOM 2016.
Question1:Will i face any challenge?
Question: Do i have to buy new licenses?
Please answer.
Thanks
Hi Prajwal,
We are managing SCOM infrastructure with 2000 agents (Includes Linux OS) managed with 10 Management Servers and also monitoring network devices. We are moving on-premise workloads to Azure.
And we are in-need of moving\Migrating SCOM 2012 R2 to Azure.
Please advice the best approach & practice to be followed to Migrate SCOM 2012 R2 to Azure and also share ideas.
Thanks & Regards,
Balasubramanian.Murugesan
Reportviewer can’t be installed on Windows 2016 Server. When i ran Reportviewer.msi with Administrator on Command prompt i got the message “Access is denied”
I got the solution:
Policy: User Account Control:Admin Approval Mode for the Built-in- Administrator Account must be enabled
Got the solution:
Policy:
User Account Control:Admin Approval Mode for the Built-in- Administrator account.
has to be enabled
Thanks for posting the solution.
I have successfully installed scom but i cant Run Reporting from the Scom server. “SOURCE field is grayed out” i need help please!!
Extremely helpful guide. You saved a lot of my time. Thank you.
I try to install Reporting Server but it failed.
Error : the installed version of sql server could not be verified or is not supported
SCOM 2019 + SQL Server 2017 (Enterprise Evaluation Version)
Any idea?
Did you download the reporting services installer from the same link mentioned in the post ?.
Hi Prajwal,
I almost finish but it was failed when installing data warehouse configuration.. the setup logs shows Error::Error:User did not accept EULA. any idea?
start your installation from commandline
CMD as admin
Browse to install folder then run : setup.exe /AcceptEnduserLicenseAgreement:1
Amazing guide. Thank you so much! Clear concise, and every thing well documented down to the pre-reqs!!~!
Thank you 🙂
Hi,
Should the scom.admin account be added to the local admin account of the scom server? Or should it be added to the Domain Admin group?
Thank you.
We are facing issue with SCOM 2019 Webconsole where when we try to open the Dashboard link, it throws error 0x800700b7 “Cannot add duplicate collection entry of type ‘add’ with unique key attribute ‘name’ set to ‘X-Content-Type-Options’ . Unlike SCOM 1801 we do not find “Webhost” folder under “C:\Program Files\Microsoft System Center\Operations Manager\WebConsole”. Please advise if any fix available.
Thank you for the procedure
Under Install Microsoft System CLR Types for SQL Server 2014 you are missing the download link
Just one more question, can scom agent and SCCM agent sit on one server ?. Any issues with that ?
Yes you can install SCOM and SCCM agent on single machine and I haven’t heard of any issues.
Amazing guide. Your guides are always awesome and I am big fan of your blog.
Thank you Ranjeet.