In this guide, I will show you how to set custom severity for software updates in SCCM. This feature can be necessary if the predefined severity values don’t meet your needs.
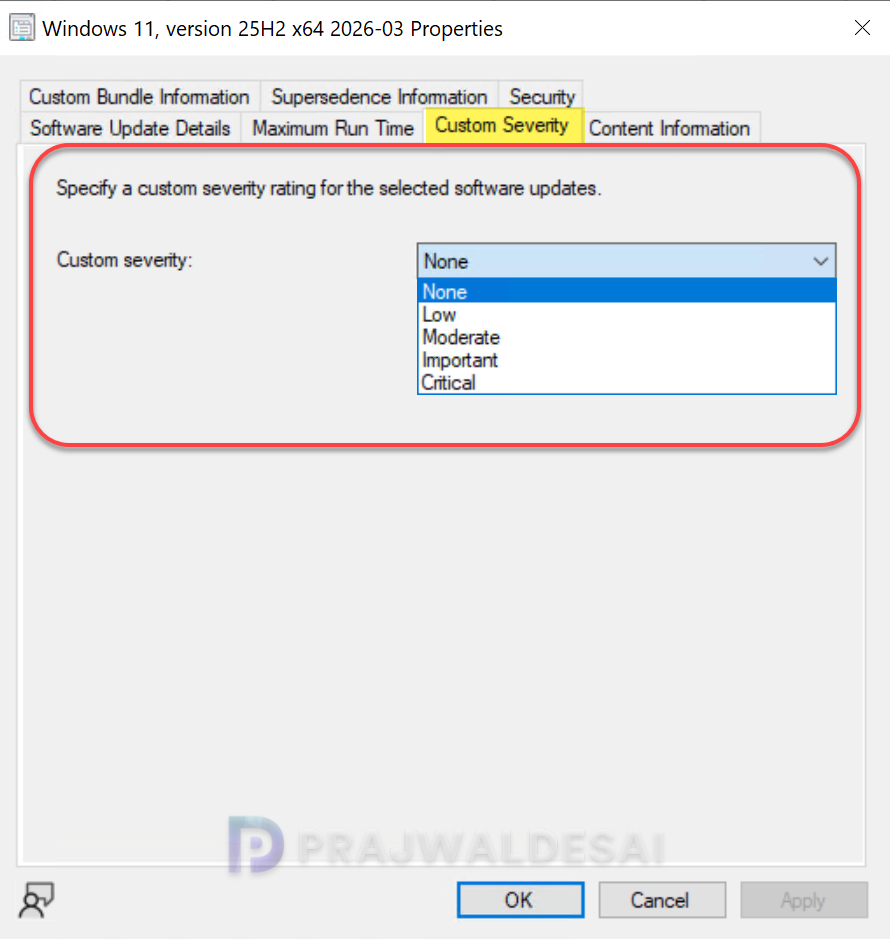
By default, the custom severity value of an update is set to None. In the properties for a software update, you can use the Custom Severity tab to configure custom severity values. The available values include Low, Moderate, Important, and Critical.
Once you have configured the custom severity value of your software updates, you can then sort the updates by those values and can also create queries & reports that can filter on these values. An important thing to remember is you can configure this setting only on the central administration site or stand-alone primary site.

Set Custom Severity for Software Updates
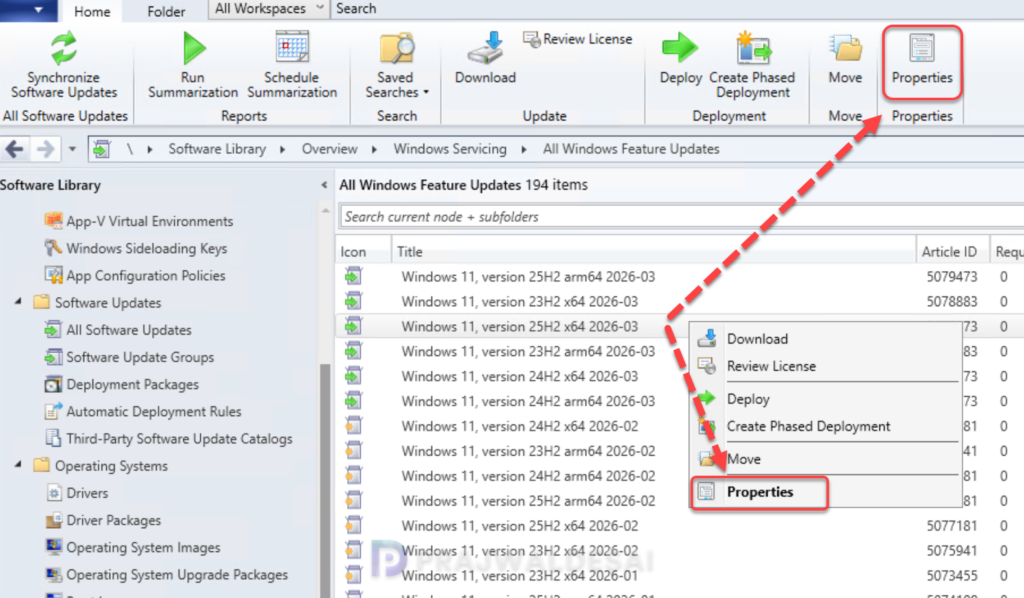
Open the Configuration Manager console and navigate to Software Library > Software Updates > All Software Updates. Right-click a software update and select Properties.
In the Properties window of the update, switch to the Custom Severity tab. Click the drop-down and choose the required severity level. Click OK to save the changes.
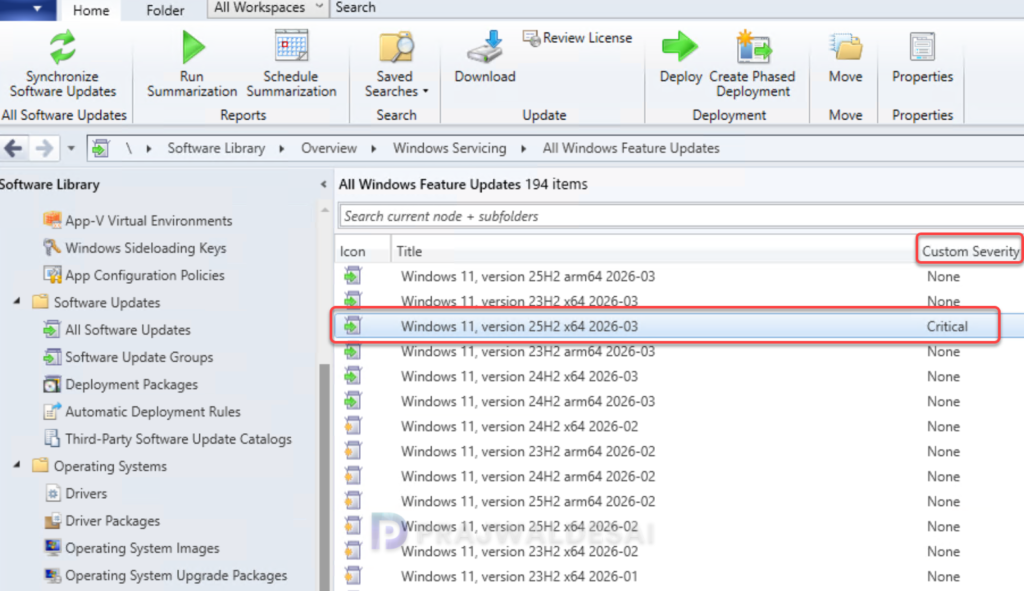
The custom values are listed in the Custom Severity column in the Configuration Manager console. To see that value, in the display pane, right-click the heading of one of the columns, then select Custom Severity to add that column to the display.
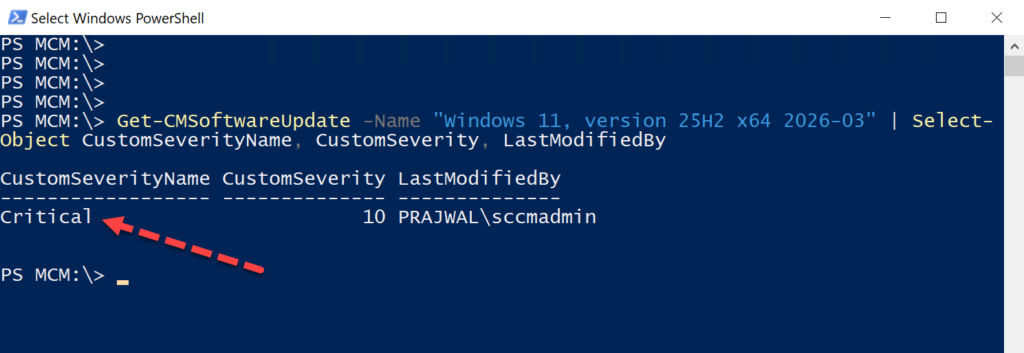
Apart from the console, you can check the custom severity of a software update using PowerShell. Launch the console and connect to PowerShell session. In the below command, specify the exact name of the software update and execute the command.
Get-CMSoftwareUpdate -Name "Software Update Name" | Select-Object CustomSeverityName, CustomSeverity, LastModifiedByThe output shows the custom severity of the update, including who modified the properties of the software update. For additional help on the using the Get-CMSoftwareUpdate cmdlet, I recommend updating the PS help content for Configuration Manager.