


The steps covered in this post should help you to upgrade your existing Windows 7 computers to Windows 10 1909 using SCCM tasks sequence. Using SCCM we will perform an in-place upgrade from Windows 7 to Windows 10.
Windows 7 will hit its end of life on January 2020, just few more days to go. After January 14, 2020, if your PC is running Windows 7, it will no longer receive security updates. Therefore, it’s important that you upgrade to Windows 10. In addition, without the security updates, Windows 7 OS is going to become more vulnerable to security risks and viruses.
Microsoft made the official announcement on its online support pages. I am sure many organizations are currently planning to upgrade Windows 7 to Windows 10. If you have got Configuration Manager in your setup, using task sequence, you can upgrade all your computers running Windows 7 to Windows 10 1909.

In this post I will be using SCCM 1910 to perform in-place upgrade from Windows 7 to Windows 10 1909. The ADK version is 1903 which is the latest one I believe. You should be using SCCM 1906 and above to perform the upgrade. This is because only ConfigMgr 1906 and above support Windows 10 1909 as client.
If you are looking to deploy Windows 10 1909 using SCCM, you can read this post – https://www.prajwaldesai.com/deploy-windows-10-1909-using-sccm/. To upgrade Windows 10 1809 to Windows 10 1909, here is a post to help you – https://www.prajwaldesai.com/sccm-update-windows-10-1809-to-windows-10-1909/.
Step 1 – Import Windows 10 1909 Upgrade Package to SCCM
The first step is to import Windows 10 1909 upgrade package in SCCM. To do that launch ConfigMgr console and go to Software Library > Operating Systems. Right click Operating System Upgrade packages and click Add Operating System Upgrade Package.

On the Data Source page, specify the path to Windows 10 1909 files. You can also extract a specific image index from install.wim. Since I have got only Windows 7 Enterprise OS, I am going to extract Windows 10 Enterprise. Click Next.

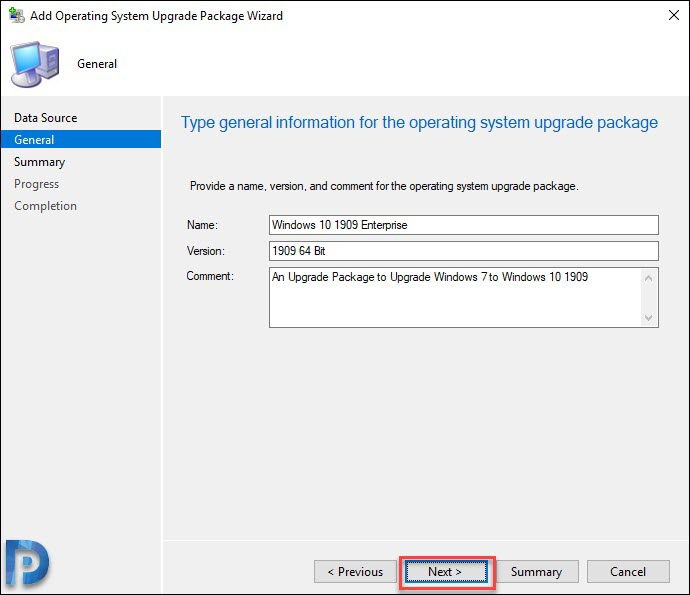
Specify the general information about operating system upgrade package and click Next.
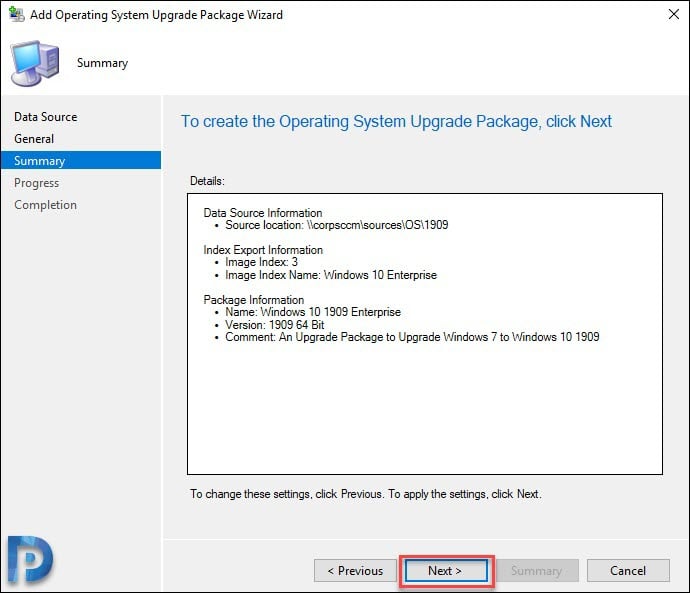
Review the settings on Summary page and hit Next.
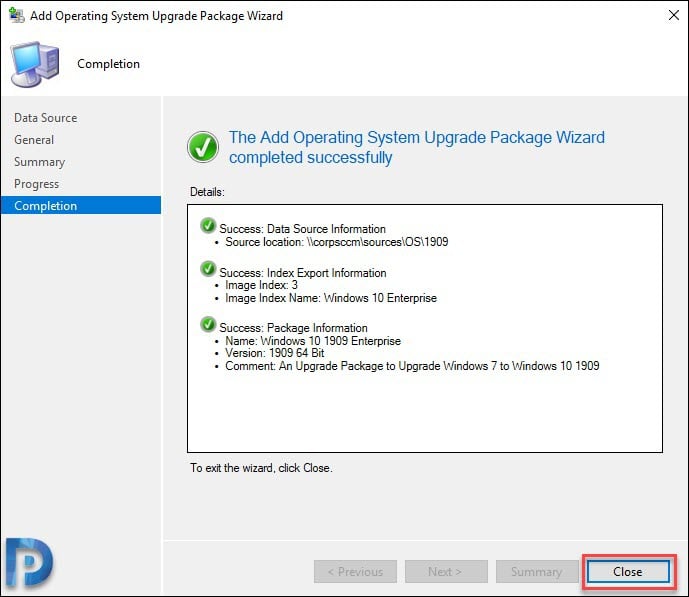
Click Close.
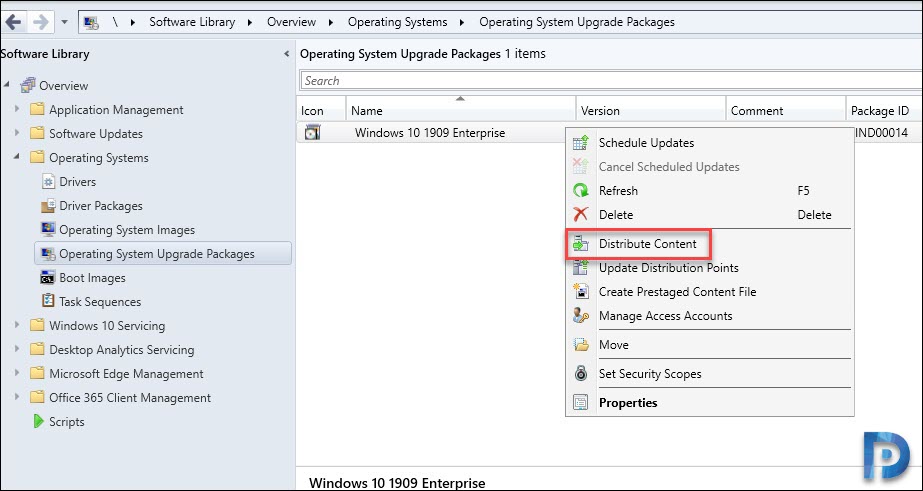
Step 2 – Distribute the Windows 10 1909 Operating System Image
After you’ve imported Windows 10 1909 OS, you must distribute the content to distribution point(s). Right click Windows 10 1909 Enterprise and click Distribute Content.
Add the distribution point or distribution point groups and click Next.
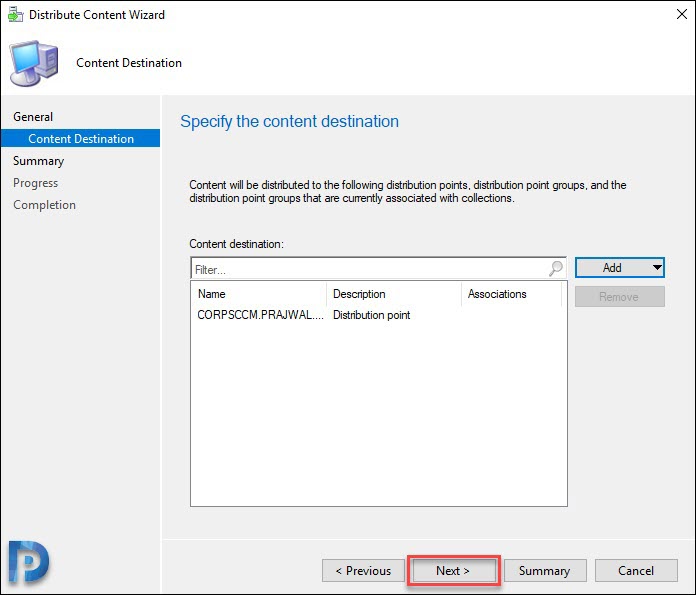
Finally on the Completion page, click Close.

To know if the content distribution was successful or not, check the content status. Green color indicates the content is distributed while Red color indicates errors.

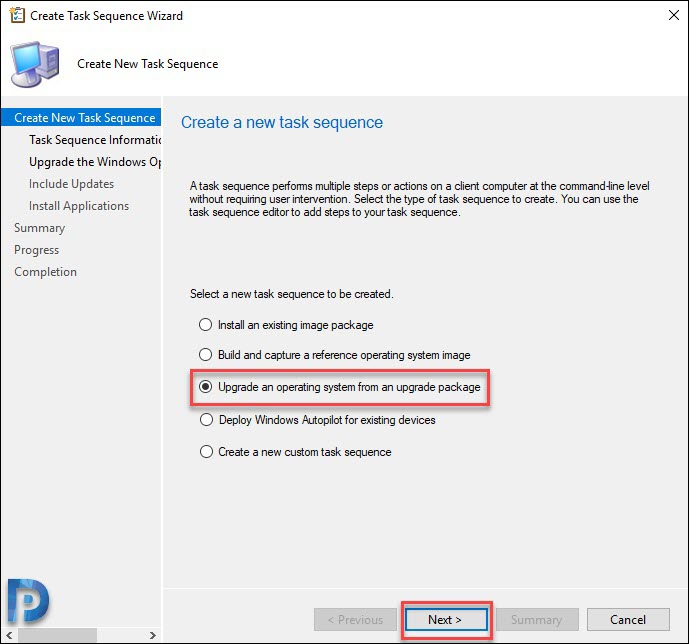
Step 3 – Create Windows 7 to Windows 10 Upgrade Task Sequence in SCCM
Let’s create a SCCM task sequence to upgrade Windows 7 to Windows 10 1909.
- In the SCCM console, go to Software Library > Operating Systems > Task Sequences.
- Right click Task Sequences and click Create Task Sequence.

From the list of options, select Upgrade an operating system from an upgrade package. Click Next.
Enter the task sequence name and description. Click Next.

Click Browse and select the Windows 10 1909 upgrade package and click Next.

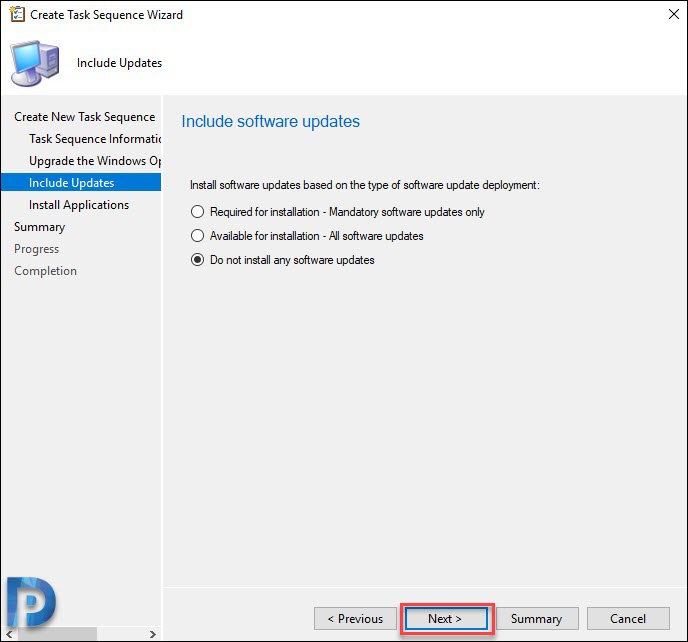
Select whether you want to install updates. If not select Do not install any software updates and click Next.
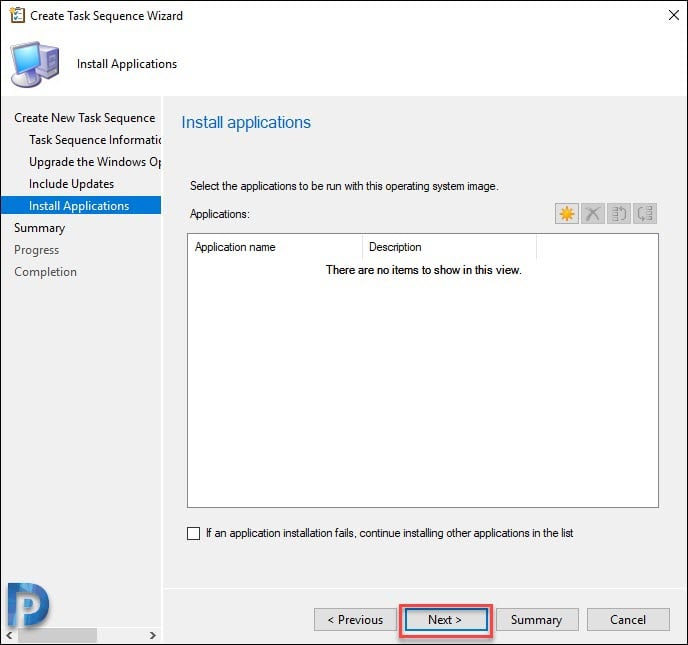
You can add the applications to install. Hit Next.
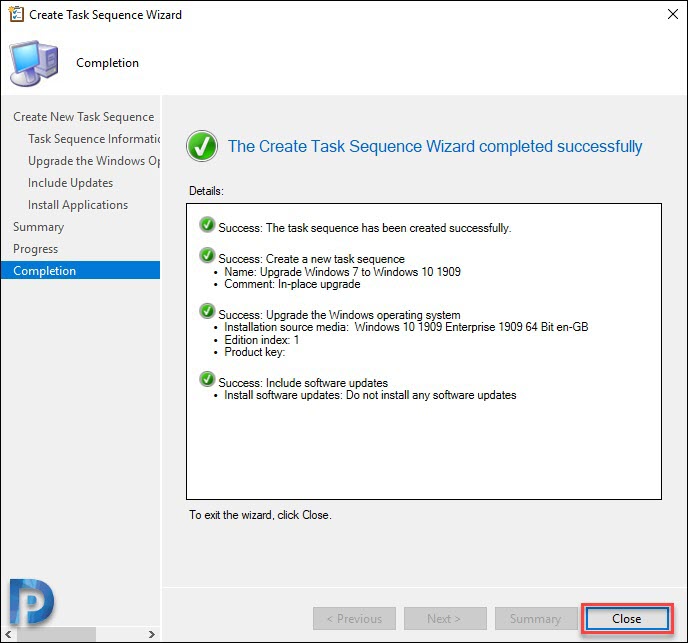
On the Completion page, click Close.
Drivers Management during In-place Upgrades – Probably this is one of the common question that is frequently asked. During the in-place upgrade how to deploy the correct drivers. Especially relevant question in scenarios where you upgrade your laptops running Windows 7 to Windows 10.
There are many good blog posts using which you can deploy the driver packages to laptops during upgrades. You can basically pre-cache the drivers before in-place upgrades with ConfigMgr task sequences. In the task sequence just before the upgrade operating system step, you add a step deploy the driver packages. I will cover more about this in a separate post.
Step 5 – Deploy Windows 10 1909 SCCM Upgrade Task Sequence
The SCCM task sequence to upgrade Windows 7 to Windows 10 1909 is ready. But an important note first.
First of all create a pilot device collection containing your Windows 7 machines. You should never deploy the in-place upgrade task sequence to production systems before testing it properly. Hence I always recommend to test the deployment and if it’s successful make a plan to out to enterprise systems.
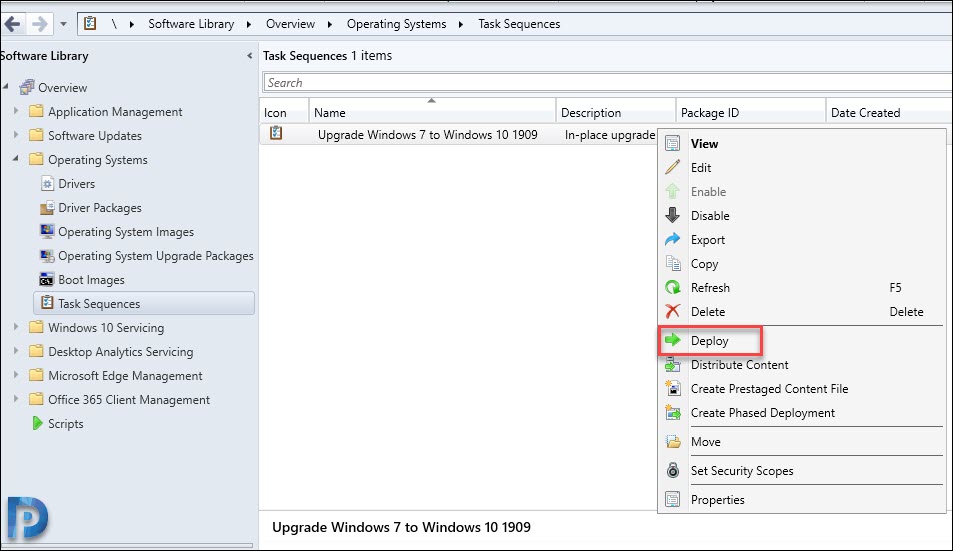
Go to Software Library > Operating Systems > Task Sequences. Right click the task sequence and click Deploy.
To deploy the task sequence, click Browse and select the device collection.
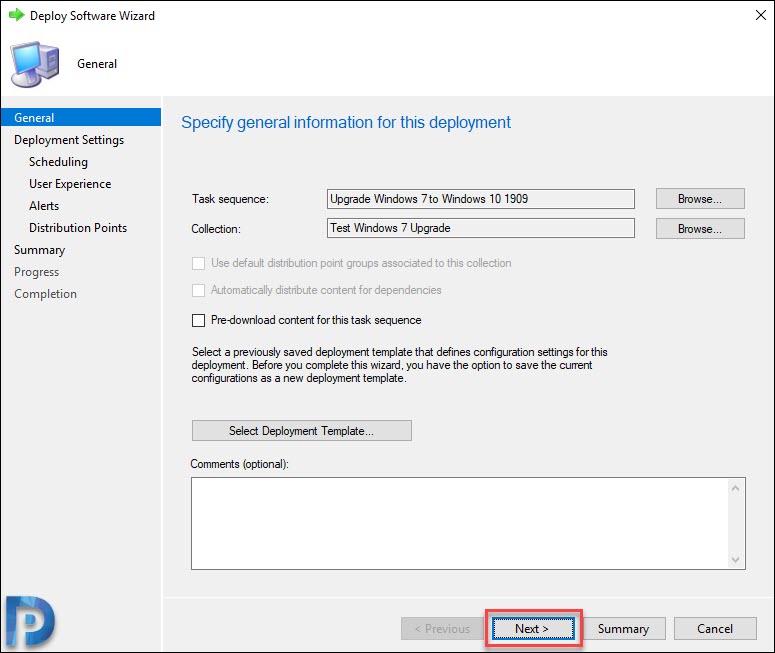
On the Deployment Settings page, select the purpose as Available. Click Next.

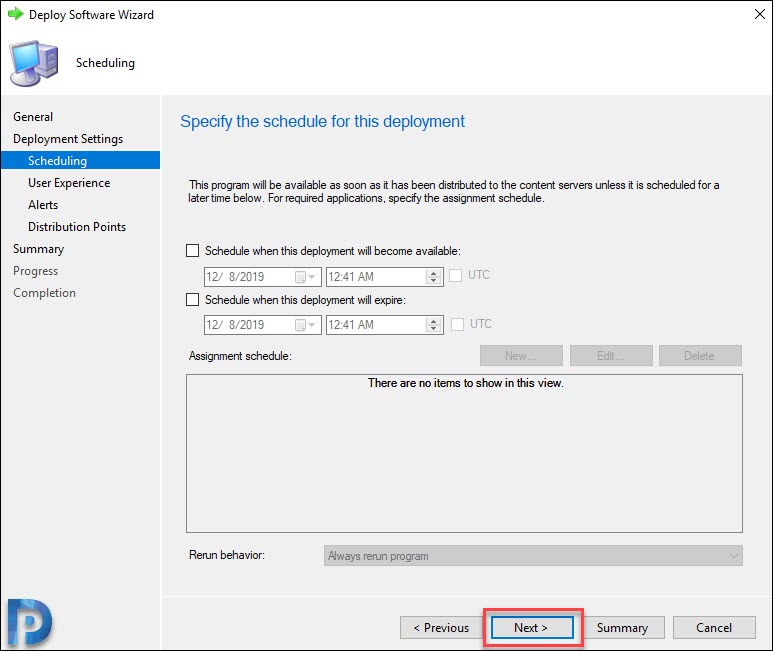
You can schedule the deployment available time and the time when it expires. I am not going to schedule it here, so click Next.
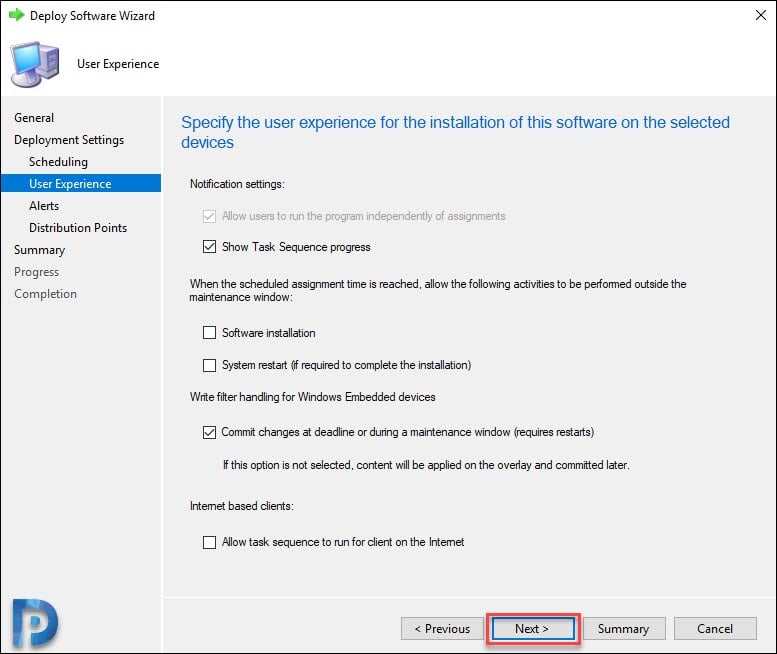
On User Experience window, click Next.
Click Next on Alerts page.

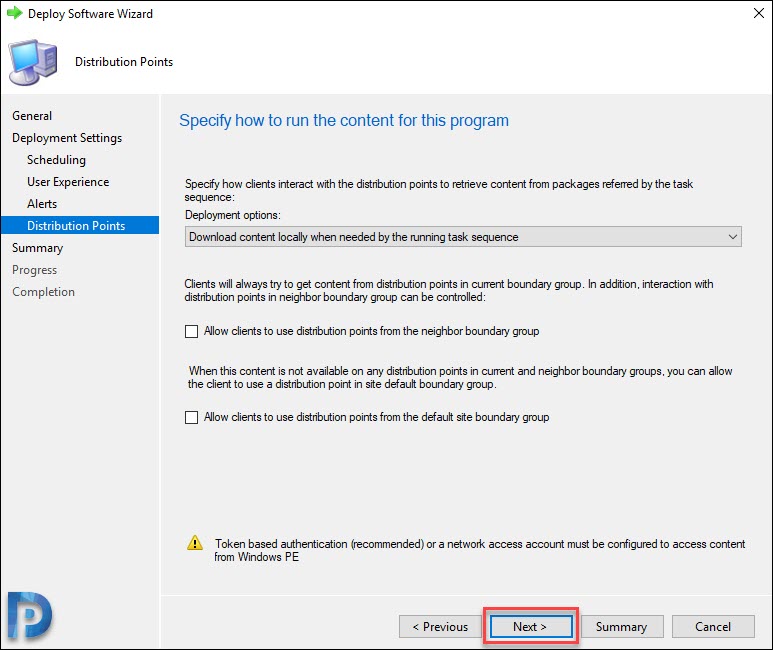
On the Distribution Points page, ensure the deployment options are correct. Click Next.
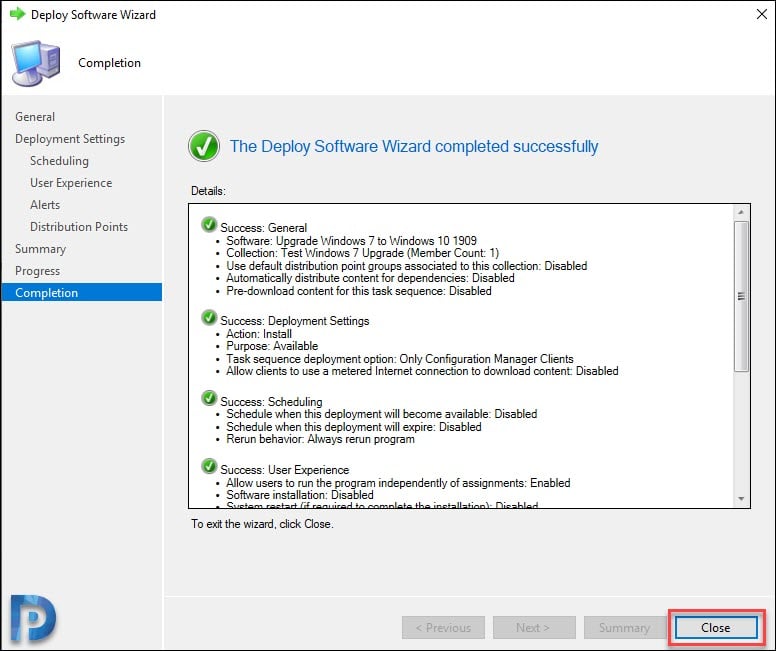
On the Completion window, click Close.
Step 6 – Begin In-place upgrade Windows 7 to Windows 10
Let’s start the Windows 7 to Windows 1909 in-place upgrade on a test Windows 7 computer. Launch the Software center and select Operating Systems. Select the task sequence and click Install.
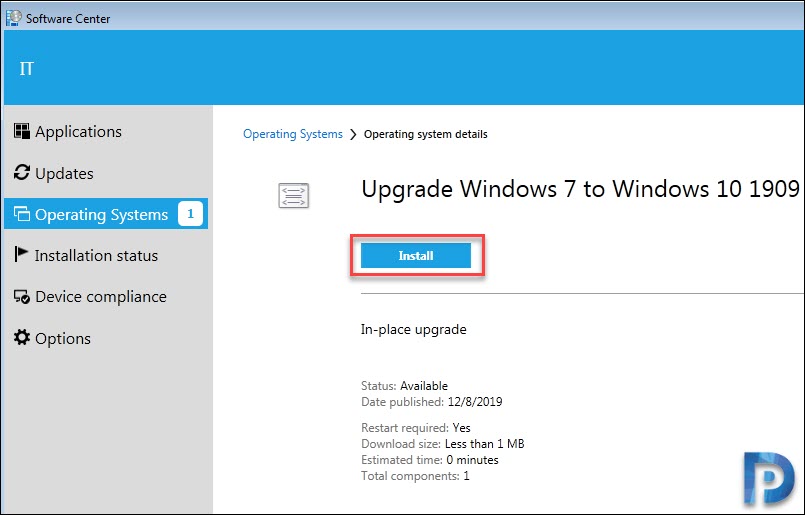
Click Install on the upgrade confirmation box.

The upgrade operating system is now running.
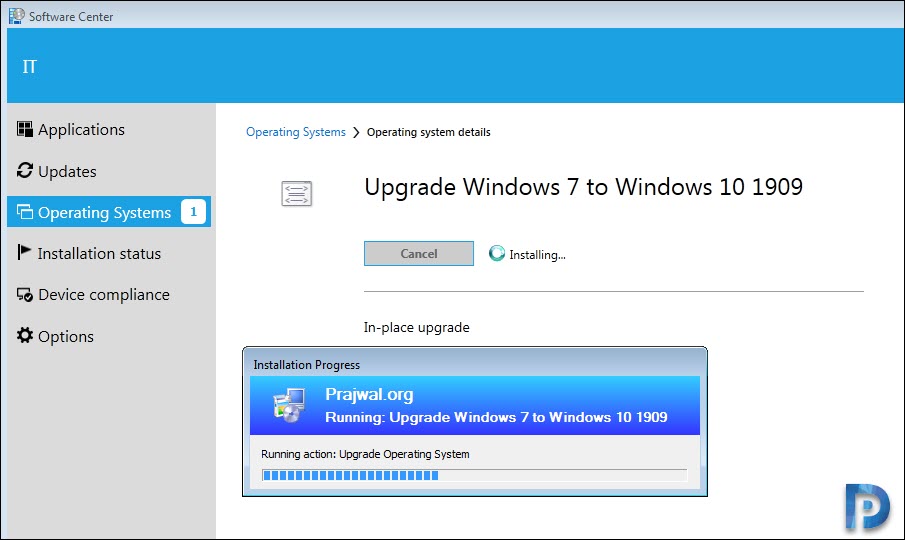
Grab a cup of coffee and wait for the task sequence to complete. Expect a couple of reboots during the upgrade. Once the upgrade is over, login to the computer and check the Windows version.


hola compañeros para una instalación donde solo necesite realizar actualización del sistema operativo
usando el comando /auto dataonly es posible pero SCCM por defecto utiliza /auto upgrade
intente con una variable pero el proceso fallaba tienen alguna idea de como cambiar este proceso con el modificador /auto dataonly
‘”C:\_SMSTaskSequence\Packages\BAQ0002C\SETUP.EXE” /ImageIndex 3 /auto Upgrade /quiet /noreboot /DynamicUpdate Disable /compat IgnoreWarning /compat ScanOnly ‘ OSDUpgradeWindows 06/03/2020 5:31:09 p. m. 40744 (0x9F28)
Waited 0 sec to open a key
como modifico este parametro en SCCM
Hi Prajwal ,
Recently i have tried to upgrade the windows to 1909 from 1903 by using Windows vNext Upgrade Task Sequence.
But its getting failed with “recover from setup Failure”
And the error code “Task Sequence “Windows vNext Upgrade” has failed with th error code 0x000000A58.
And the error code from Software Center “0x4005(16389)”
I Hope this error came because of unsupported software causing the issue. but from the Log couldnt find which App is blocking the upgrade.
I just wanted to check is there any way to check ” WHICH APPLICATION BLOCKING THE UPGRADE”.
Thanks,
NAndhakumar.
Hi Prajwal, here from Argentina I need to say thanks for all your posts about SCCM. You helped me to deploy SCCM in the enterprise that I work.
Now I have an error with this Upgrade Package. I followed all the steps, but I have this error on the client: 0x80004005. This happends after the client downloads the W10 image and the running action on Windows PE is Upgrade Operating System.
I used Google to find some answers but I didn’t found nothing that helps.
If you need any log, tell me and I will upload that.
Thanks a lot and sorry for my bad english.
Examine the smsts.log file on the client computer.
Thanks for your reply. Yesterday finally I founded the solution. The error on the log was: “Windows Setup failed with hexadecimal exit code 0xC1900208”. Its a software incompatibility with the new SO.
Thanks for your help.
thats a generic error but commonly encountered due to incompatible drivers and software
Your blog is very informational for us to update windows 7 to windows 10, windows using SCCM. I also update my system windows 7 to windows 10 using SCCM. If you have more information about this then let us know every steps.
I love this article, simplified for anyone to understand, thank you a million for going out of your way putting course together.
From 2020 window 7 is no longer gets the security update from windows. You should upgrade your windows 7 to Windows 10 as soon as possible because if you didn’t get the security update then your system or computer can be harmed by the many types of viruses.
Hello i am getting this error when trying to add windows 10 install.wim
“The specified path does not contain a valid operating system or you do not a have permission to access it. Specify a valid path.”
Hello !
You must copy all of the files of “Windows 10” ISO, not only the “install.wim” file in the specified path
(sorry for my English !!)