This post covers the steps to install Patch My PC. I will be publishing several guides related to Patch My PC one by one. This is the first guide that covers the PatchMyPC features, prerequisites and installation.
In the past I have covered on lot of tools that help you deploy third-party updates using SCCM. Since then I have got lot of requests to cover on PatchMyPC and I have decided to do that.
About Patch My PC
Patch My PC is an excellent product that can handle the tedious work of packaging, testing, deploying, and troubleshooting application updates in your SCCM environment.
Starting with SCCM 1806 and above, Microsoft added the support for Third-Party Software Update Catalogs node in the console. You can subscribe to third-party catalogs, publish their updates to your software update point (SUP), and then deploy them to clients.
Most of all to deploy the third-party updates you must first import a custom catalog into SCCM. But if the SCCM catalog is supplied by specific vendor, you can synchronize the catalog and get those updates in SCCM console. In addition to that you can also deploy third-party software updates directly using SCCM
With Patch My PC, you can easily extend Microsoft SCCM to deploy and update over 335+ third-party applications across 190+ enterprise products.
Patch My PC Features
Listed below are some of the best features of PatchMyPC software.
- You can update over 300 common apps including portable apps.
- Ability to cache updates for use on multiple machines.
- No bloatware during installations.
- No install wizard required as applications install/update silently by default.
- Optionally, disable silent install to perform a manual custom install.
- Automatically kill programs before updating it (Optional).
- You can quickly uninstall multiple programs.
- The scan time is usually less than 1 second.
- Set updates to happen on a schedule.
- You can skip updates for any application you don’t want to update.
- Option to suppress restarts when performing application updates.
PatchMyPC Prerequisites
Before you install PatchMyPC, here are the prerequisites.
- Install the software on top-most WSUS/SUP server.
- Requires Microsoft .NET Framework 4.5.
- Supported Operating Systems – Windows Server 2008 /2008 R2/ 2016/ 2019.
- If you’re using WSUS 3.0 SP2 (Server 2008/2008 R2), you should install KB2938066 on all WSUS servers in your environment.
My lab setup is very simple, I have got one primary site and I am running SCCM, SQL and WSUS on same server. So I will be installing the Patch My PC on the same server.
Download Patch My PC
To download the latest version of Patch My PC, click here. The company offers a free trial catalog that is intended for proof of concept.
There are two options when you download the software.
- You can request a full-access 30-day trial subscription that allows you to publish every supported product in the catalog.
- The other option is download the Publishing service MSI and install it. Enable trial-mode directly in the publishing service after installation. However note that this option only allows you to publish a limited set of products.
Install Patch My PC – Patch My PC Publishing Service
Run the PatchMyPC-Publishing-Service.msi as administrator. On the setup page click Next.
Accept the license terms and click Next.
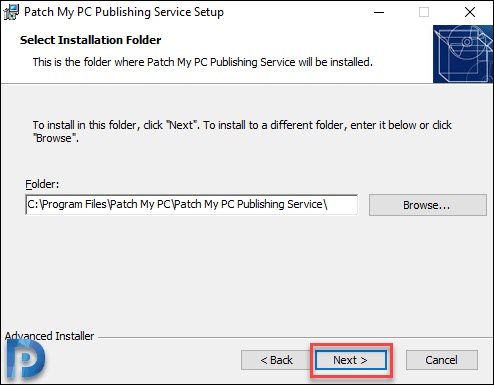
I will leave the installation folder to default and click Next.
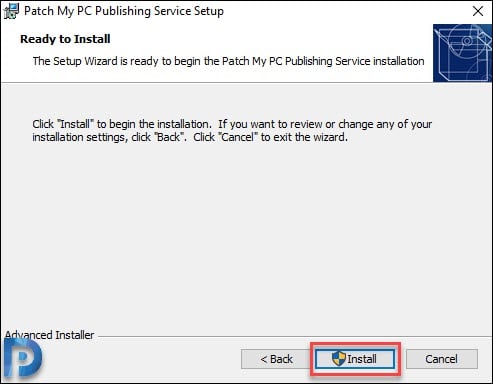
Click Install.
On the completion page, click Finish. This completes the installation of Patch My PC publishing service. In the next post I will show you how to configure it and we will explore other options.


