


In this post, I will cover the steps to add incoming webhook to a Teams channel. I’ll demonstrate how to set up an incoming webhook and obtain its URL link for use in a Teams channel. Incoming webhooks are a special type of connector in Microsoft Teams that you create to allow external apps to share content in team channels.
The Incoming Webhook connector enables external services to notify you about activities that you want to track. Once you configure an incoming webhook for a Teams channel, you get an URL link. You can copy this URL and go to the service that you would like to send data to your group.
Before you create an incoming webhook, you must review the member permissions in your team’s settings. If you have set the setting “Allow members to create, update, and remove connectors” to “Yes,” any team member can add, modify, or delete a connector.

The steps to create a new incoming webhook is simple, and after you create it, you can brand it by specifying an image representing that particular service.
Recommended Article: How to integrate Google Analytics with Microsoft Teams
What is Incoming Webhook in Microsoft Teams?
An Incoming Webhook lets external applications to share content in Microsoft Teams channels. The webhooks are used as tools to track and notify. The webhooks provide a unique URL, to send a JSON payload with a message in card format. Cards are user interface containers that include content and actions related to a single topic. Fore more details on incoming webhooks, refer to the following article on creating incoming webhook.
Key features of an Incoming Webhook
- Adaptive Cards using an Incoming Webhook
- Actionable messaging support
- Independent HTTPS messaging support
- Markdown support
- Scoped configuration
- Secure resource definitions
Recommended: 2 Easy Methods to Schedule Out Of Office In Microsoft Teams
How to Add Incoming Webhook to a Teams Channel
To create an incoming webhook for a Microsoft Teams channel, follow these instructions. Launch the Microsoft Teams app, click Apps, and then click Connectors. Search for Incoming Webhook and select Add.
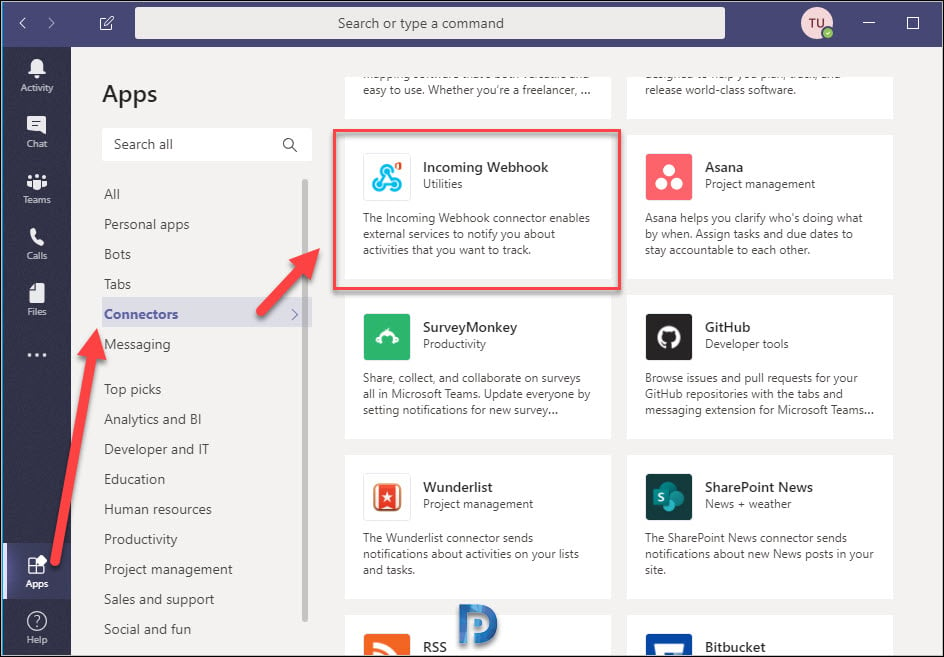
You can read more about Incoming Webhook on the Incoming Webhook window before adding it to the team. Click “Add to a team.”

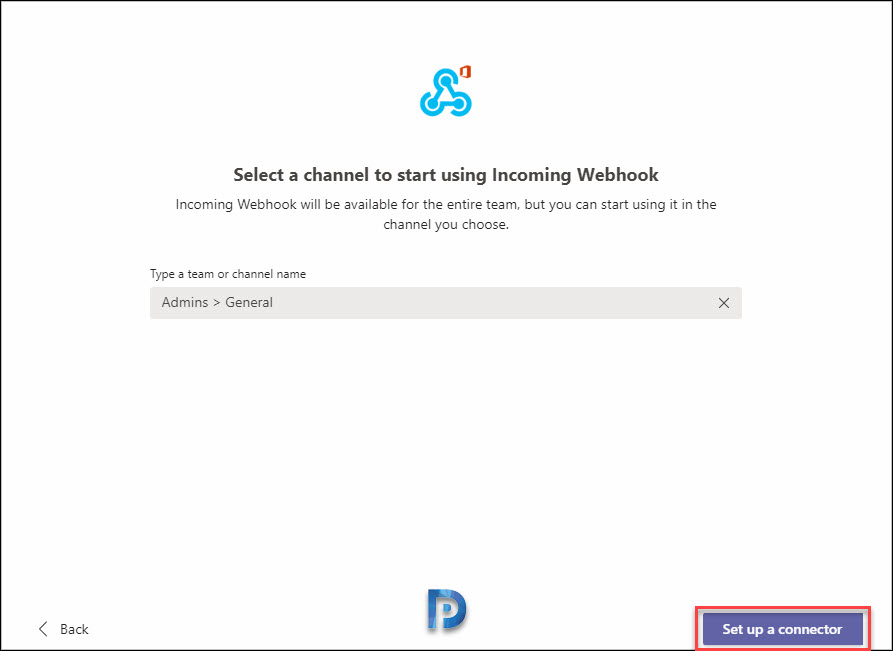
Select a channel to start using the Incoming Webhook. Click “Set up a connector.”
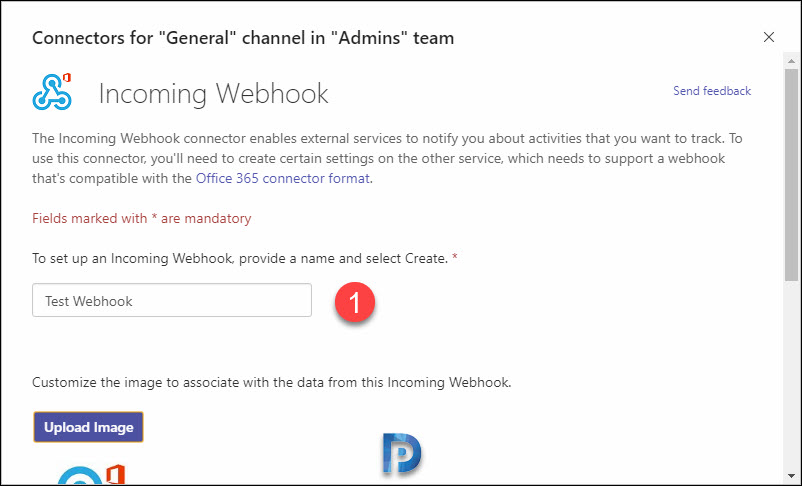
To set up an incoming webhook, provide a name and select Create.
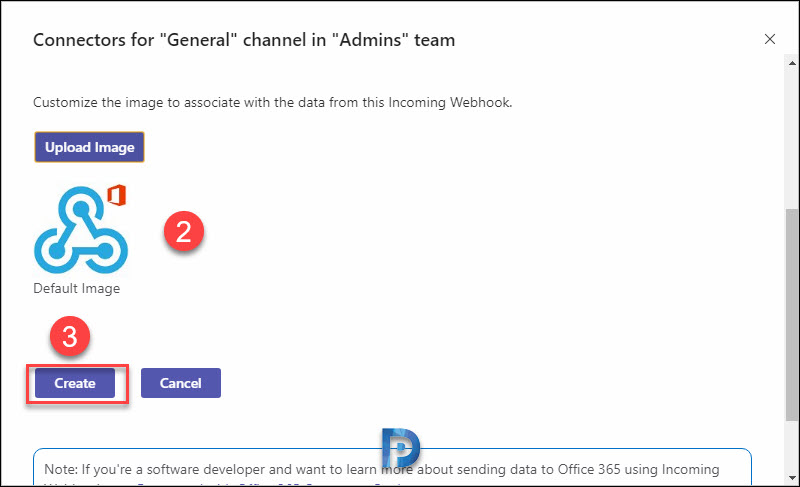
After configuring the Incoming Webhooks connector, we now need to brand it. You can customize the image to associate with the data from this incoming webhook. However, note that associating an image with an incoming webhook is completely optional. Click on the Upload Image button to upload an image for the incoming webhook. Once done, click Create.
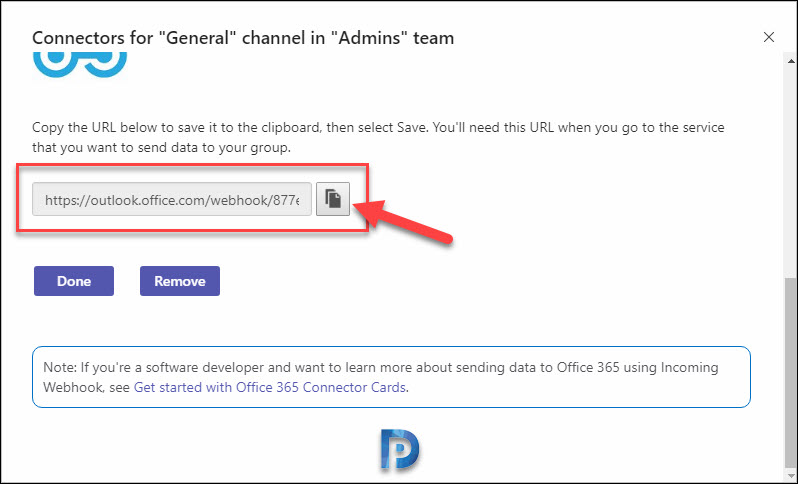
The URL of incoming webhooks is now presented on the screen with the option to copy it. Copy and save the unique webhook URL present in the dialog window. You can send information to Microsoft Teams using the URL, which points to the channel. Select the Done button. The webhook will be available in the Teams channel.
In case you missed copying incoming webhook URL, you can do it with following steps:
- Select Channel and click the more options (…) button.
- Click on the connectors. This will launch a pop-up window.
- By Default, All Category (Left Pane) is selected. Make sure you select the Configured link (highlighted in yellow) from the Left pane.
- Under Incoming Webhook, click on the Configured link and select Manage. Now you can copy the URL for your existing connector(s).

If the user who created the webhook is deleted, will the webhook still work?
Can we add multiple Teams?
Each channel with your URL.