


This article covers the steps to deploy Azure AD connect using SCCM (ConfigMgr). You can deploy the Azure AD Connect to your Windows Servers using SCCM easily.
Azure AD connect is a tool developed by Microsoft to meet and accomplish your hybrid identity goals. Azure AD connect offers several features such as :-
- Password hash synchronization
- Pass-through authentication
- Federation integration
- Synchronization
- Health Monitoring
The Azure Active Directory (Azure AD) team regularly updates Azure AD Connect with new features and functionality. You must always run the latest Azure AD Connect version to receive an optimal support experience. Use the following guide to Upgrade Azure AD connect to the latest version.

Download Azure AD Connect Tool
You can download the latest version of the Azure AD connect from Microsoft site. Go to Microsoft Azure Active Directory Connect page and download the latest version of Azure AD connect tool. Save the AzureADConnect.msi installer.

Create Azure AD Connect Application in SCCM
Let’s create a new application for Azure AD connect in SCCM. Launch the Configuration Manager console and go to Software Library\Overview\Application Management\Applications. Right click Applications and click Create Application.
Select Automatically detect information about this application from installation files. Choose the Type as MSI installer and specify the location of Azure AD Connect installer. Click Next.

The application information is successfully imported from the Azure AD Connect Windows Installer file. Click Next.

On the General Information window, you can specify application information such as Publisher, Software Version etc. The installation program is populated from the Azure AD Connect .msi installer file. The installation behavior is set to install for system. Click Next.

Click Next on the Summary window and on the Completion window click Close. This completes Azure AD Connect application creation in SCCM.

After the Azure AD connect application is created, you may specify the icon for this application. This is an optional step, but if you usually specify the icons for applications, you can do so for this application. The icon that you specify here will appear along with application name in Software Center.
Right-click the Azure AD connect application and click Properties. Select the Software Center tab and at the bottom, click Browse and specify the icon for Azure AD connect application. Click Apply and OK.

Deploy Azure AD Connect using SCCM
Let’s look at the steps to deploy Azure AD Connect using SCCM. Right click Azure AD Connect application and click Deploy.
On the General window, click Browse and choose the device collection to which you want to target the application. Click Next.

You must ensure the content is distributed to all the distribution points. This is the location from where the clients will download the Azure AD Connect for installation. Click Add button and select the SCCM distribution points.
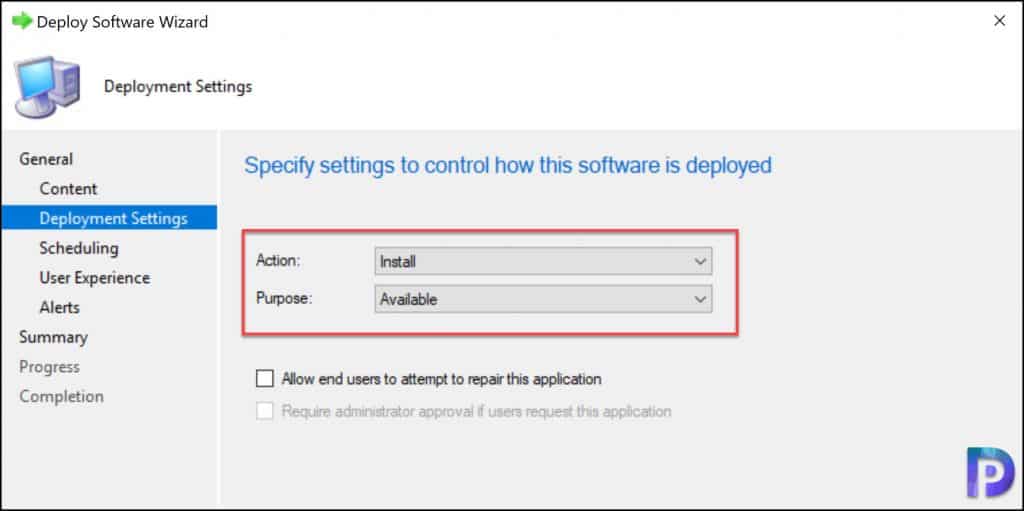
On the Deployment Settings window, select the Action as Install and Purpose as Available. Click Next.
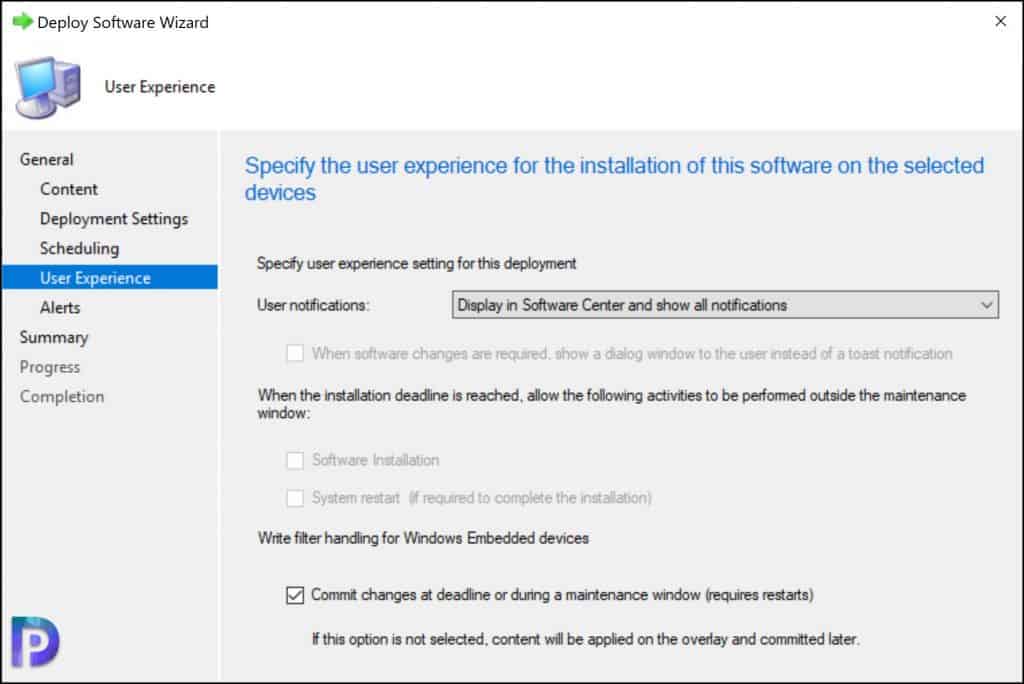
Specify the User Experience settings and click Next.
On the Alerts and Summary window, click Next. On the Completion window, click Close. We have successfully deployed the Azure AD connect application to our users.

Test Azure AD Connect Application Installation
Let’s test the Azure AD Connect application installation on a few machines. Launch the Software Center and select the Applications tab. Click Microsoft Azure AD Connect application and then click Install.

The client now downloads the software from the local distribution point and the Azure AD Connect is installed. You can monitor the application installation progress by opening the AppEnforce.log file located on the client computer.

After you install Azure AD Connect on Windows Server, you may encounter TLS 1.2 error. Here is a guide to fix the Azure AD Connect TLS 1.2 error.
