In this post, I will demonstrate different methods using which you can disable startup programs in Windows 11. If you are wondering how to stop programs from running on startup, the techniques discussed in this guide will surely help.
On your Windows 10/11 PC, you’ll find a set of programs that automatically run every time you boot up your computer. Most programs add themselves to the startup list, which wastes resources and can slow down your computer and may cause problems like a bootable failure, system crash, black screen, etc.
Removing the unwanted programs from the PC at startup can significantly speed up the boot time of your Windows 11 PC. So, I strongly advise you to review your startup programs and disable any that are no longer required. Let’s get started.

Caution: Be cautious when disabling programs; some are essential for system operation. If you notice any issues, re-enable the program.
Where are startup apps stored?
The startup programs are launched from the Windows 11 startup folder, which is located in the following path: C:\Users\Username\AppData\Roaming\Microsoft\Windows\Start Menu\Programs\Startup.
Method 1: Disable Startup Programs in Windows 11 using Settings
On Windows 11, the recommended way to disable the startup programs is using Windows Settings. Let’s see how you can accomplish that.
1. Click on the Start Menu and open the Settings app.

2. On the Settings window, select Apps in the left sidebar. Now under Apps, select the option “Startup“.

3. The Startup window displays the list of apps that you can enable or disable to run at the startup. Turn off the toggle switch for each program to prevent it from running at startup.

Method 2: Stop Startup Programs with Task Manager
Follow the below steps to use the Task Manager to stop programs from launching automatically at startup.
Step 1. Right-click the Start Menu in the Windows 11 taskbar and select Task Manager. You may also press Ctrl + Shift + Esc keys to launch the Task Manager.

2. Select the Startup tab in the Task Manager. On the right-hand side, the Status tab displays the status of each app and shows whether it’s enabled to run at startup or disabled.

3. Right-click an app and select Disable. The disabled app will not load at startup with next boot.

Method 3: Disable Specific Startup Program Using PowerShell
Right-click the Start button and select Windows PowerShell (Admin). Replace “ProgramName” with the actual name of the startup program and execute the below command. That should disable the specific program at startup.
Get-CimInstance Win32_StartupCommand | Where-Object { $_.Name -eq "ProgramName" } | Remove-CimInstanceMethod 4: Remove Startup Programs using Task Scheduler
Windows 10 and 11 have a built-in task creation, scheduling, and management utility called Task Scheduler. You can use the task scheduler to disable startup tasks or programs by following the below steps:
- On your Windows 11 PC, click Start and type “Task Scheduler” and select Task Scheduler app from the search results.
- Select the Task Scheduler Library option, and here you will find startup tasks, including the startup programs that run at startup.
- To disable the startup program, select a program from the list and select the Disable option.

Method 5: Prevent programs from running at startup from Registry on Windows 11
On Windows 11, you can disable startup programs from the Registry. This requires deleting the program entries from the “Run” and “StartupApproroved” keys. Open the registry editor by running the command ‘regedit.’ In the registry editor, navigate to the following path:
Computer\HKEY_CURRENT_USER\Software\Microsoft\Windows\CurrentVersion\Explorer\StartupApproved\RunEach program that is set to run at startup is displayed here. Right-click on the program registry key and select Delete.

Next, browse to the below path in the registry editor and again right-click on the key that is associated with the startup program and select Delete.
Computer\HKEY_LOCAL_MACHINE\SOFTWARE\Microsoft\Windows\CurrentVersion\Run
Method 6: Disable Startup Programs using Group Policy
On Windows 11 Pro/Enterprise version, users can stop startup programs with the help of the Group Policy Editor app. The group policy setting “Run these programs at user logon” lets you enable or disable all the startup programs in Windows 10/11.
- Launch the Run dialog by pressing the keys Windows + R. Type gpedit.msc in the box and press the OK button. This will launch the Group Policy Editor on your PC.
- In the Local Group Policy Editor, navigate to the following path: Computer Configuration > Administrative Templates > System > Logon.
- In the right pane, locate the policy called Run these programs at user logon and double-click on it.
- In the policy settings window, select Disabled. All the Windows 11 startup programs will be disabled.

Method 7: Disable Startup Apps using Intune
If your Windows 11 devices are enrolled and managed in Intune MDM, you can use the settings catalog to restrict all the startup apps at launch. Intune lets you apply the policy either to devices or users.
Sign in to the Microsoft Intune admin center. Navigate to Devices > Windows > Configuration > Create > New Policy. Choose Windows 10 and later as Platform and Settings Catalog as Profile Type.
On the Basics tab, specify the name of the profile as “Disable Windows 11 Startup Apps” depending on what exactly you want to achieve. You may add a brief description about the profile. Click Next to continue.
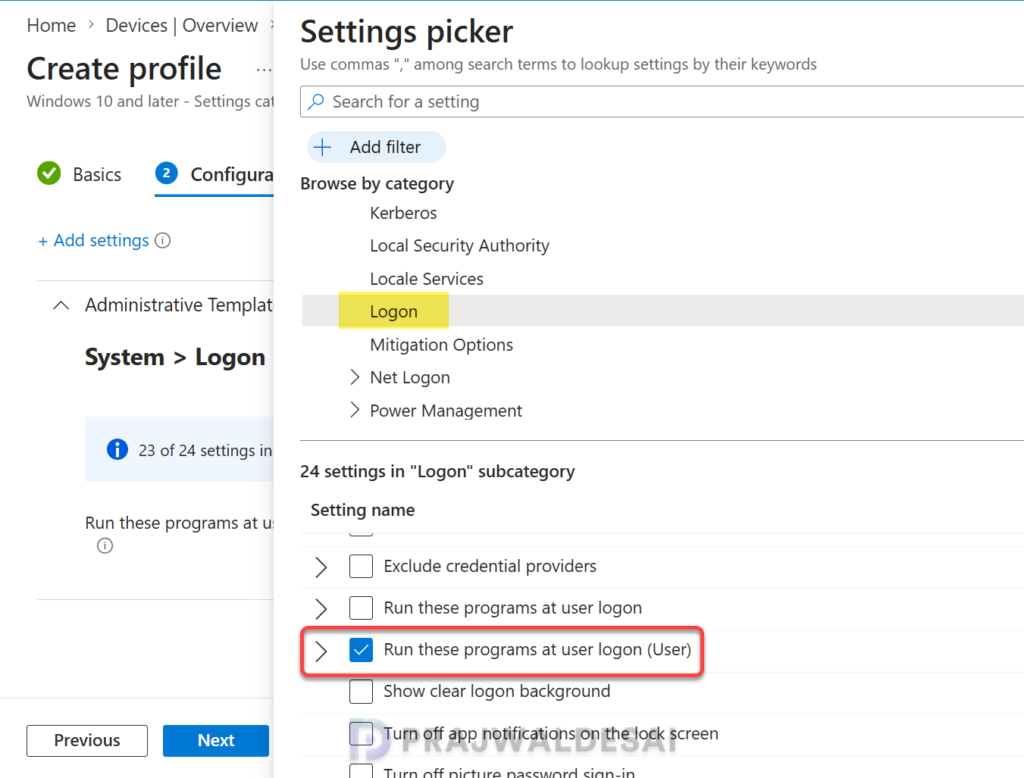
In the Settings Picker, search for the term “Logon“. From the results, under Administrative Templates, select the category named Logon. Select “Run these programs at user logon (User)” and close the settings picker.
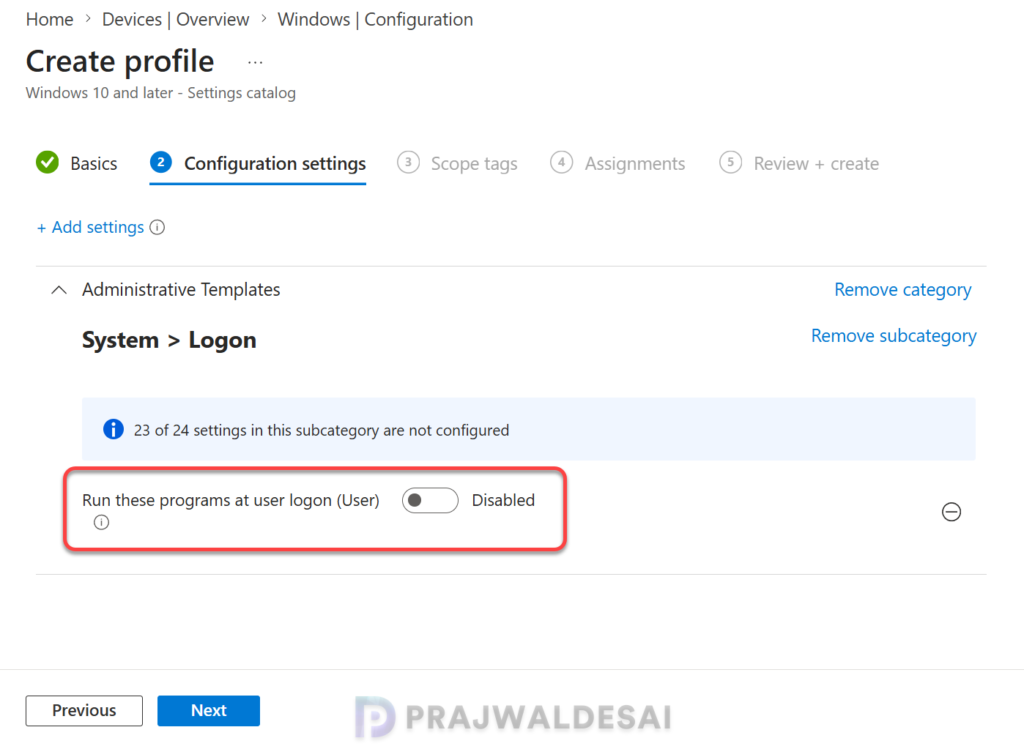
Configure the setting Run these programs at user logon (User) to Disabled. Click Next. Assign this policy to a security group consisting of Windows 11 users and close the create profile wizard. Once the policies are applied to remote devices, all the startup apps are disabled for users.