


In this post I will show you how to create and deploy third-party applications with SCCM. I will be using the popular third-party tool called Patch Connect Plus by ManageEngine.
Patch connect plus offers a free download of catalogs for notable third-party apps. You can patch limited apps for free but to patch over 250+ applications you should buy a license from them.
In the past, I have published some posts on Patch connect plus. However, I never covered about third-party application deployment using PCP. First I recommend you to learn about the patch connect plus tool by reading the below posts.

- Patch Connect Plus – Supercharge Your Third-Party Applications Patching
- Patch Connect Plus – Deploy Third-Party Software Updates Using SCCM
- Deploy Non-Microsoft patches using Microsoft SCCM
- Patch Connect Plus Auto-Catalog Scheduler
If you already know about PCP, you would agree that it makes the application deployments effortless. Gone are the days when admins had to spend lot of time in creating the third-party applications. Believe me I have done that work and it takes lot of time and is not an easy job.
The work doesn’t get over if you just package an application in SCCM. After you package an app, you have to test it and confirm if the application deployments work well.
The PCP (Patch Connect Plus) makes the job of admins really easy. This tool creates the third-party applications for you and you can straight away deploy the applications from SCCM console.
Install Patch Connect Plus
So let’s get started with installing patch connect plus. To download ManageEngine Patch connect plus tool click here. The software is available for download with 30 day trial period.
The Patch connect plus tool should be installed on machine where WSUS or WSUS admin console is present. Run the setup executable and refer the below steps for installation.
On the Welcome screen, click Next.

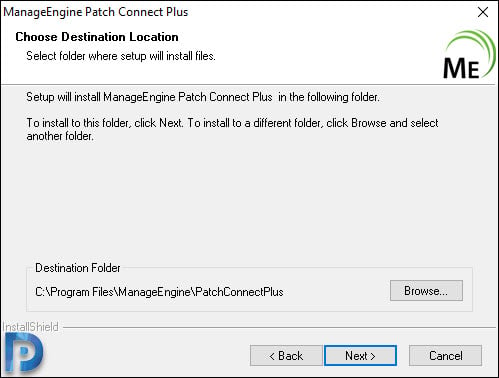
Choose the destination folder. Or you can leave it to default. Click Next.
5020 is the default web server port used by ManageEngine Patch Connect Plus. Ensure the firewall doesn’t block this port in your setup. Click Next.

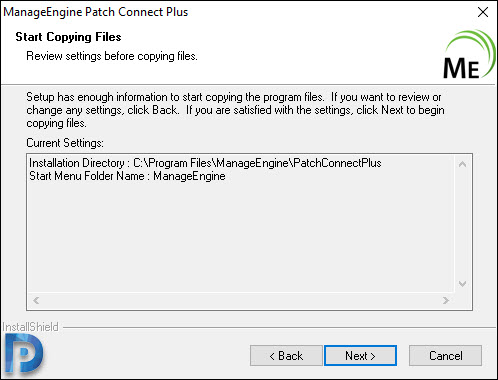
Click Next.
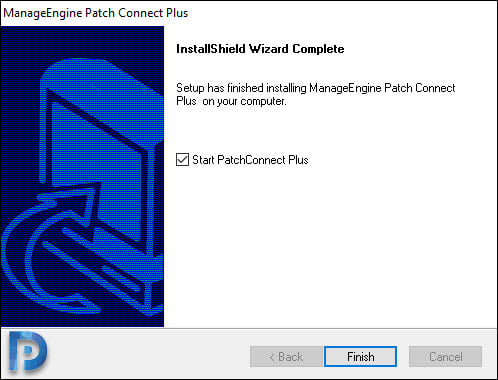
Patch Connect Plus installation is complete. Click Finish.
Patch Connect Plus Initial Configuration
After you install patch connect plus, it requires some initial configuration. Integrating PCP with SCCM, connecting to WSUS and assigning certs are the major steps.
Most of all if you follow the steps in the configuration wizard, you can configure it by yourself.
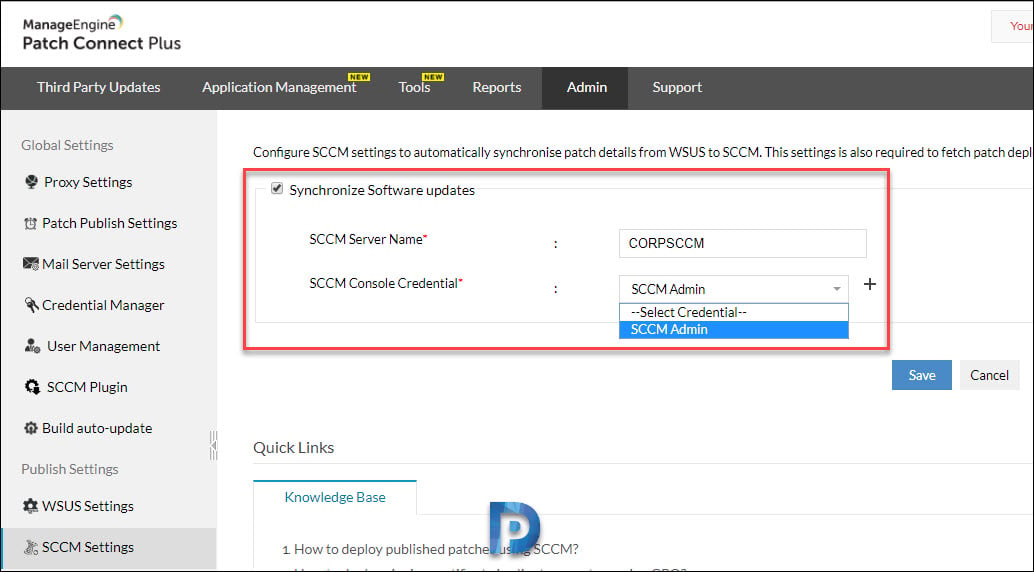
I will discuss two important configurations here. The first one is SCCM settings. Navigate to SCCM settings listed under the Admin tab in Patch Connect Plus console.
Ensure the SCCM server name is correct. In addition to that, specify the SCCM console credential. Click Save.
In the Admin tab, click Application Settings. If you want to create third-party applications in SCCM console, you must configure this section.
Check the box “Application repository settings“. Specify the network share path for all the software binaries to be stored. Furthermore it is important that given network path must have read/write access enabled with elevated privileges.
You can perform the repository cleanup at specified number of days. Any outdated application binaries are automatically cleared based on the cleanup interval period that you specify here.
Click Save.

Create Third-party applications in SCCM
The steps to create third-party applications in SCCM using PCP are :-
- Login to PCP console.
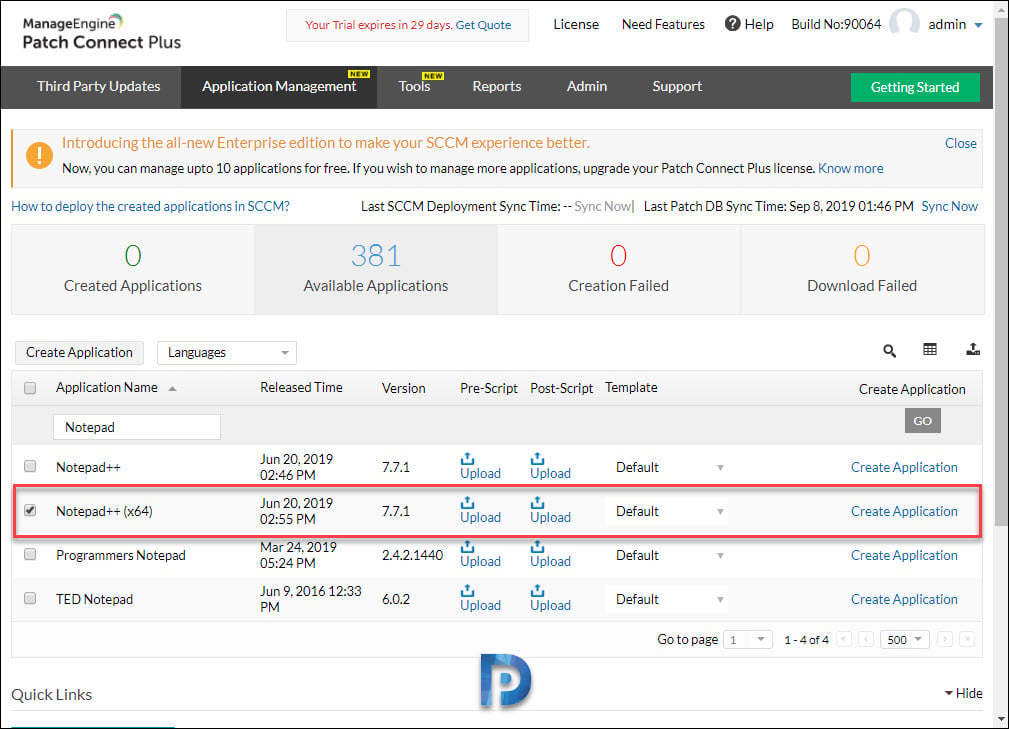
- Click Application Management on the Menu.
- You should see over 350+ third-party applications in the list. To deploy an application (Notepad++ in this case), click the search icon.
- Type the name of application, for instance Notepad and click Go.
- Select the Notepad++ application and click Create Application.
Wait for few seconds while the application is first downloaded to network share. The console displays Application creation in progress alert message.
Once the third-party application is created, click the Created Applications tab. Now check the Remarks tab which shows Creation Success.
 You can now switch over to SCCM console to deploy the application.
Deploy Third-party applications in SCCM
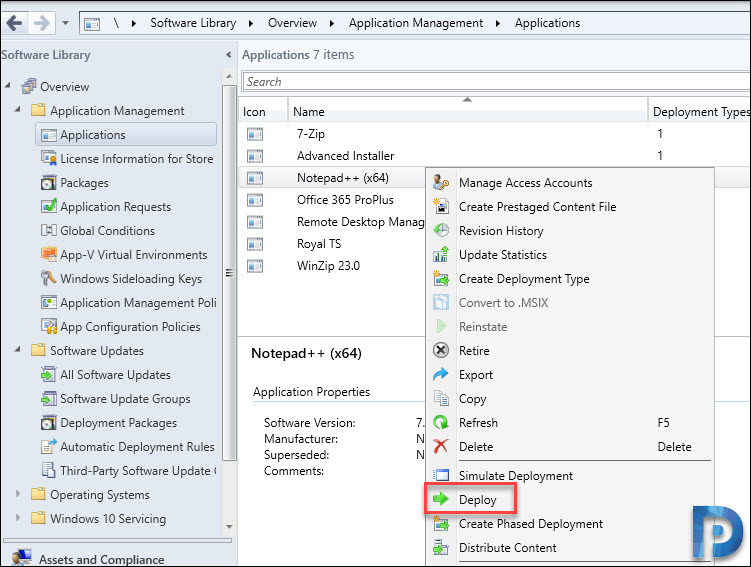
In the SCCM console, go to Application Management > Applications. You should see the application that you created using PCP in the list.
Right click the application and click Deploy. Select the device collections to which you want to deploy the application. Click Next for remaining steps and finally click Close on completion wizard.
On the client machine, you can install the Notepad++ application by opening the software center.

If you go back to SCCM console and check the application properties, the PCP not only creates the install command, it also specifies a detection method and even requirements.


Is there a way to automate the deployment of new 3rd party app updates? For example, when Notepad++ v8.8.8 is released, I want my devices which already have it installed to be updated as soon as possible. I tried creating Automatic Deployment Rules but when i get to the end, it’s asking about M365 and Windows Update. I don’t understand. I just want to update 3rd party with SCCM, not Windows.
What is the cost of PCP?
Hi Sanoj, you must contact the ManageEngine support team for this.