


This post covers the steps to deploy Adobe Creative Cloud using SCCM. We will download, package and deploy Adobe Creative cloud using SCCM or ConfigMgr.
You may deploy Adobe CC using other third-party tools. But for deploying Creative Cloud for enterprise systems, Configuration Manager is the best tool.
What is Adobe Creative Cloud
Creative Cloud is a collection of 20+ desktop and mobile apps and services for photography, design, video, web, UX and more. Some of the popular apps include Adobe Photoshop, Illustrator, InDesign, Spark and XD.

When you install Creative cloud desktop application, you can download and install the apps that you are licensed for. Applications are installed and run on your desktop, just like any other desktop application.
Suppose you download any of the individual creative apps, you automatically download Creative Cloud for your desktop.
Post then you use the Creative Cloud desktop app to access, download, and update any of the individual creative apps.
So let’s get started.
Download Adobe Creative Cloud Packager
Adobe Creative Cloud Packager makes it easy for you to create packages that contain Adobe Creative Cloud products and updates. These packages can then be deployed to the client machines in your organization.
Creative Cloud Packager provides workflows for both Creative Cloud for teams and Creative Cloud for enterprise.
Using Creative Cloud Packager, you create either Windows or macOS packages (MSI or PKG files). Using Configuration Manager you can deploy the application to client machines.
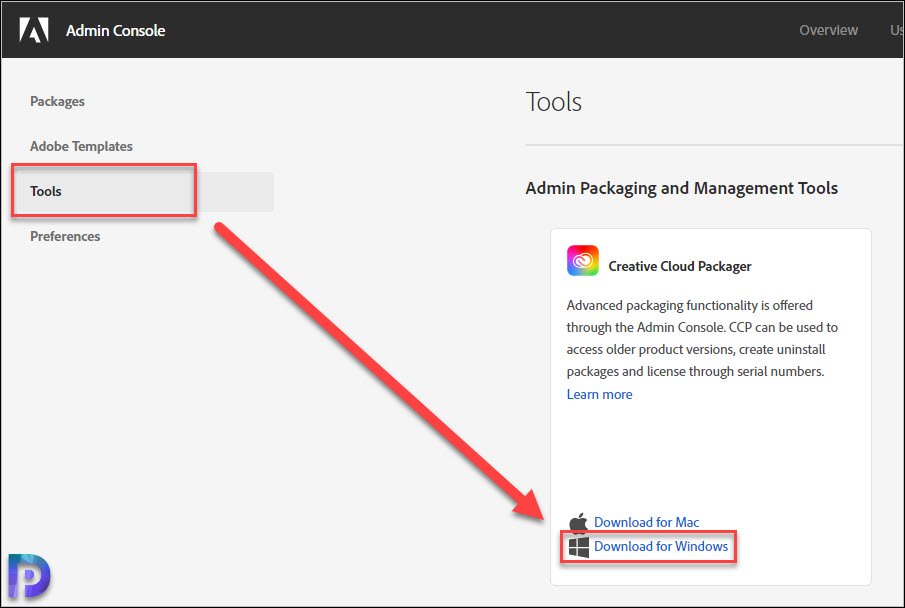
Use the following link to login to Adobe Admin Console – https://adminconsole.adobe.com/. Sign-in with your registered ID and password. On the Menu click Packages and in the left pane click Tools.
On the right hand side, look for Creative Cloud Packager. Click Download for Windows.
Note – If you don’t see Creative Cloud Packager option in Admin console, contact your administrator.
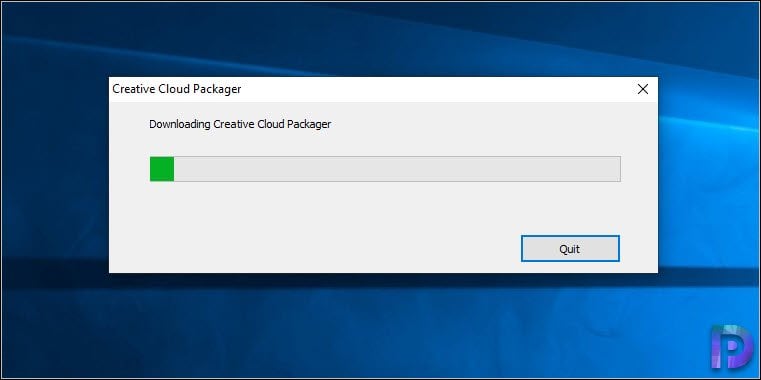
Wait while the Creative Cloud Packager downloads.
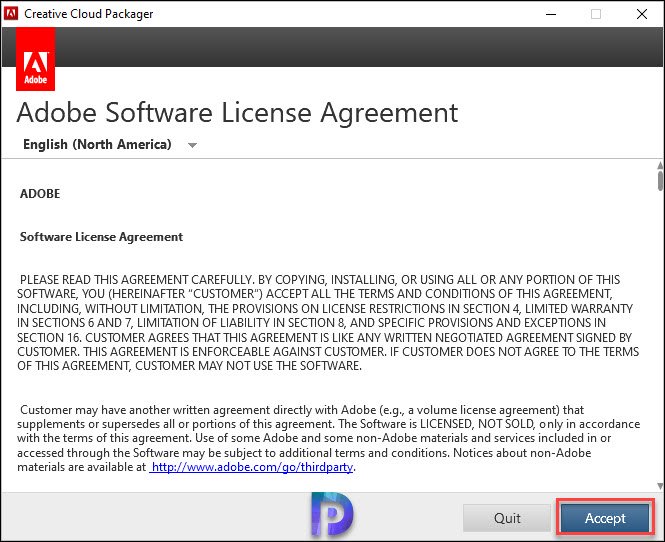
Install Adobe Creative Cloud (CC) Application
Installing Adobe CC application is pretty easy. All you need to do is Accept the license terms. When you do that application gets installed in the background.
Create Package using Creative Cloud Packager
Now we come to the very interesting part which is creating the Adobe Creative cloud package using Creative Cloud Packager.
Before you deploy the package using SCCM, it is important that you download the setup files.
First of all launch Creative Cloud Packager app. Since our goal is to deploy Creative Cloud for enterprise, select the correct option.

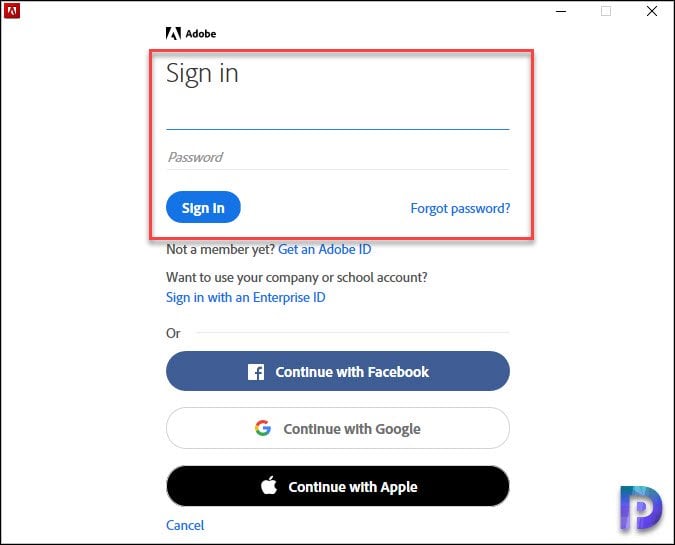
You will be asked to sign in to Adobe. Enter the credentials and sign-in.
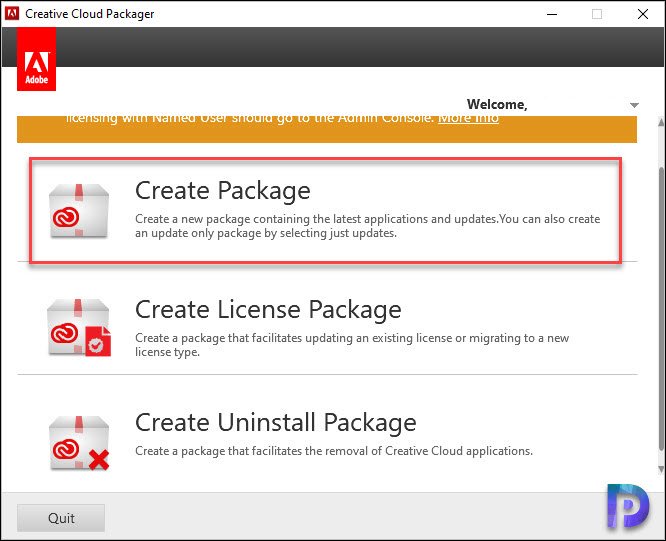
Once your account is authenticated, you can create package. In addition, you can also create a license package or an uninstall package.
To create a new Adobe Creative cloud package, click Create Package.
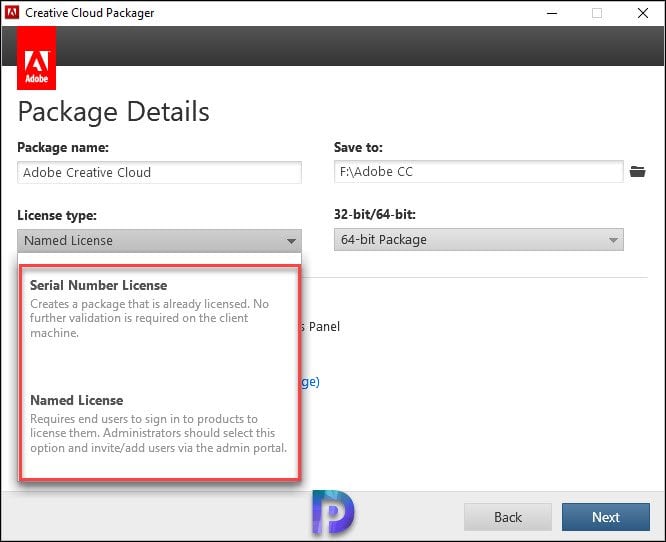
On the Package Details page, specify the following.
- Package Name
- Save to (destination folder)
- License Type – I am selecting Named License.
- 32-bit/64-bit Package
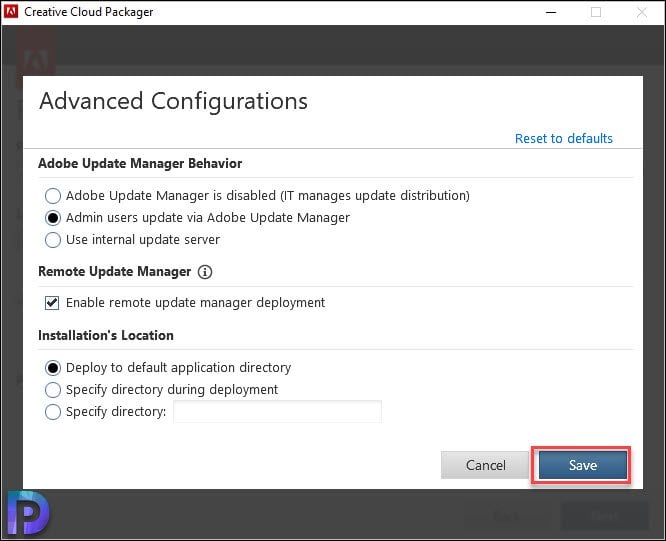
You get some additional settings that you can configure on Advanced Configurations box. I will be using the default options. Click Save.
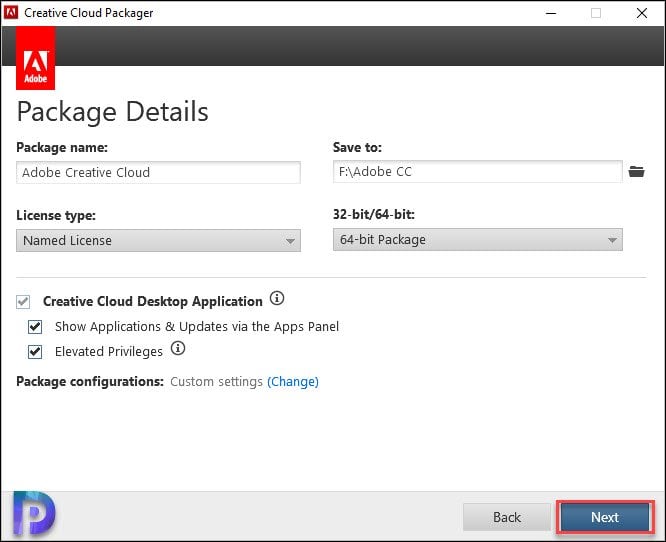
All the package details are specified, click Next.
On the Applications & Updates box, select the apps that you want to deploy. You can also select the product language.
In this case I will not select any apps, only Creative Cloud will be installed. Click Build.

The entire Adobe CC package weighs approx. 803MB in size. Let the download complete.

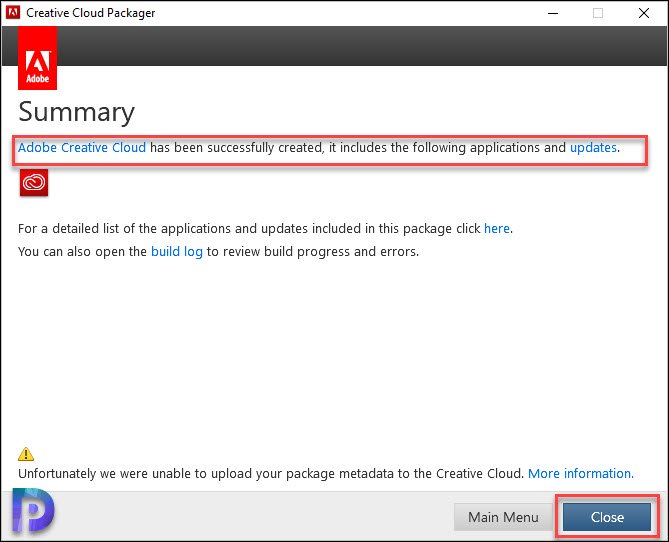
On the Summary page, click Close.
Adobe CC Package Contents
In the above step you downloaded the Adobe Creative cloud install package. However let me show you what gets downloaded.
If you go to the downloads folder, you will find Build and Exceptions folders.
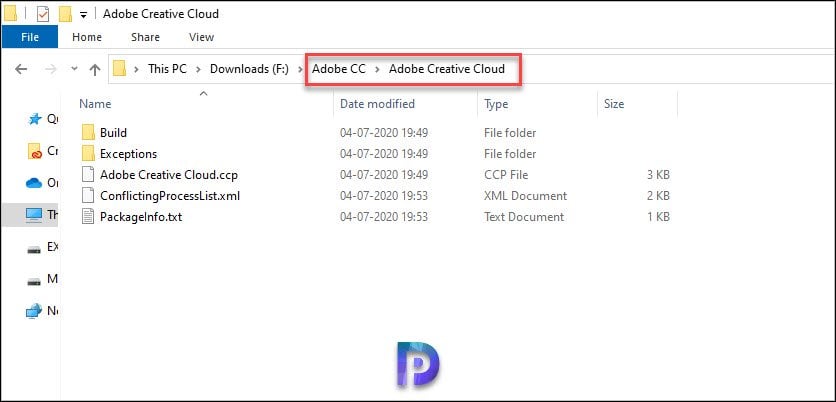
Out of those two folders, the Build folder actually contains the Setup file and Adobe Creative Cloud .msi installer.
I have copied the entire folder on to SCCM machine. I will be using this folder as Content Source during application creation.

Deploy Adobe Creative Cloud using SCCM
Before we deploy Adobe Creative Cloud using SCCM, we will first create Adobe Creative Cloud Application.
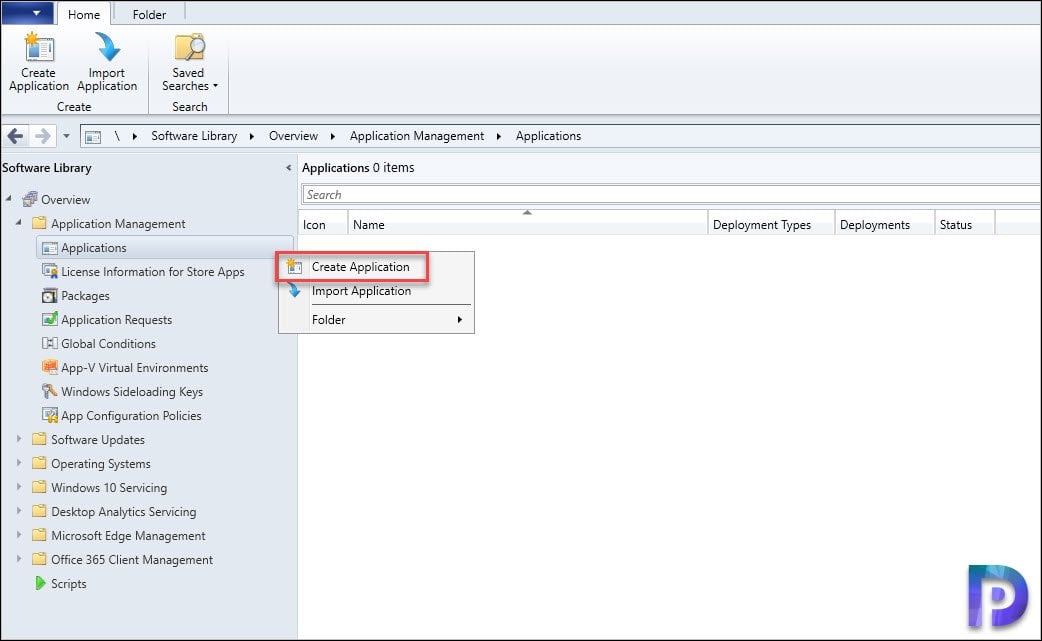
- Launch Configuration Manager console.
- Navigate to Software Library > Application Management > Applications.
- Right click Applications and click Create Application.
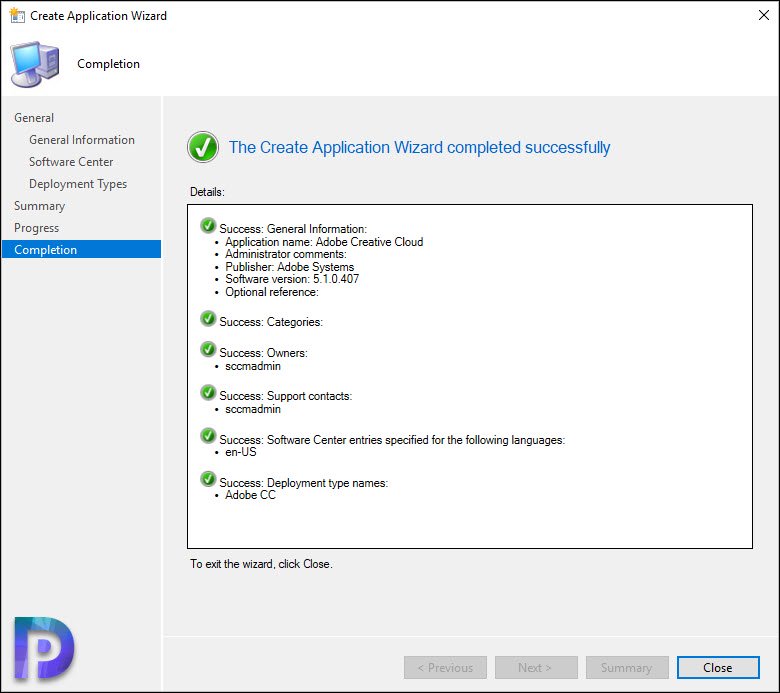
- We will use the Create Application Wizard to create Adobe Creative Cloud Application.
On the General page, select Manually specify the application information. Click Next.

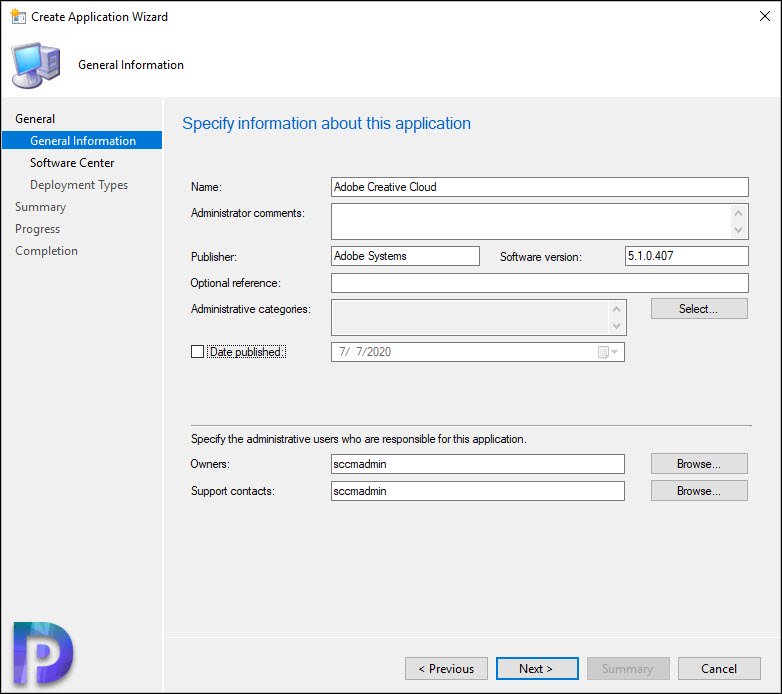
Specify the application details such as Name, version, publisher etc. Click Next.
On the Software Center page, you may specify creative cloud icon. Click Next.

In the next step, click Add button to create a new deployment Type.
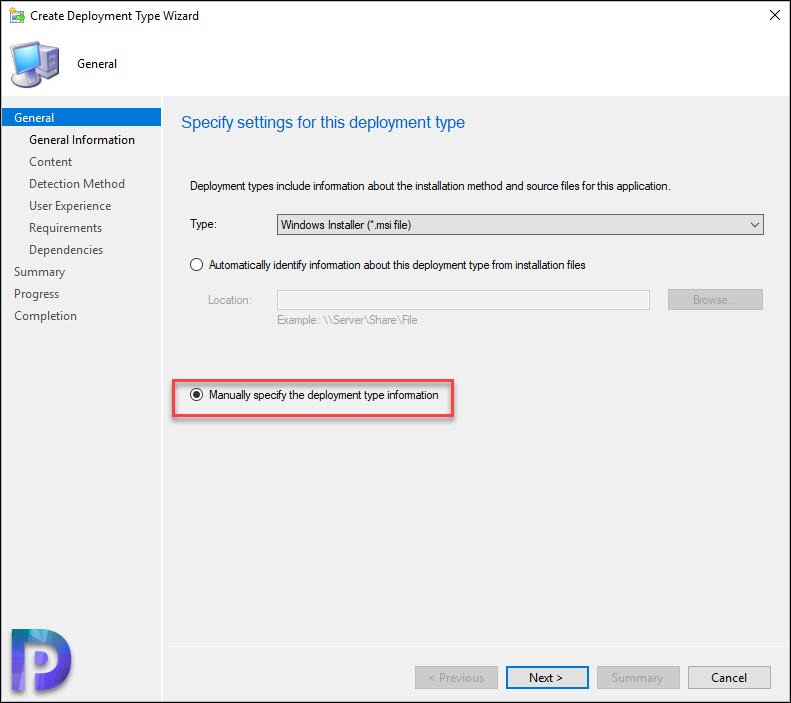
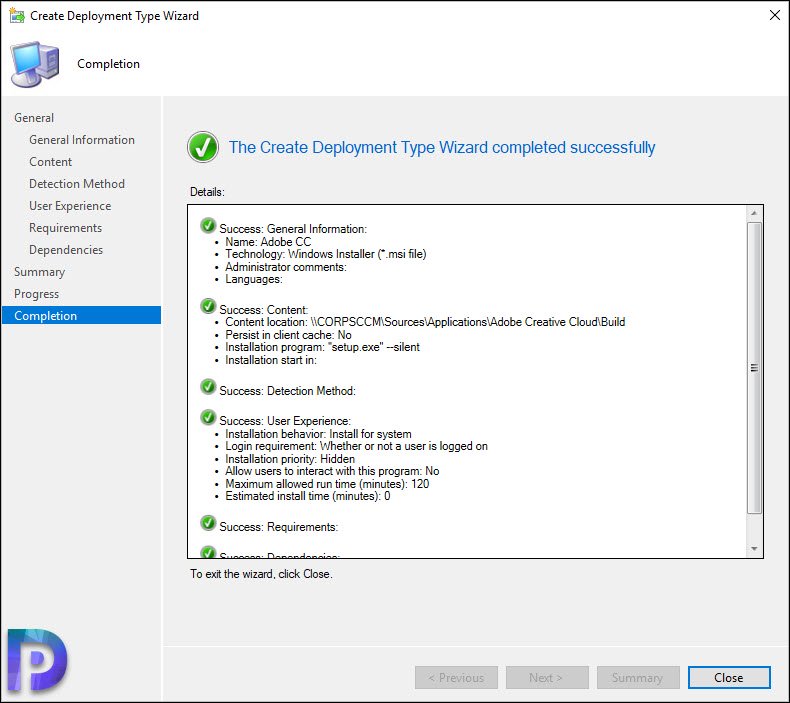
Select Manually specify the deployment information. Click Next.
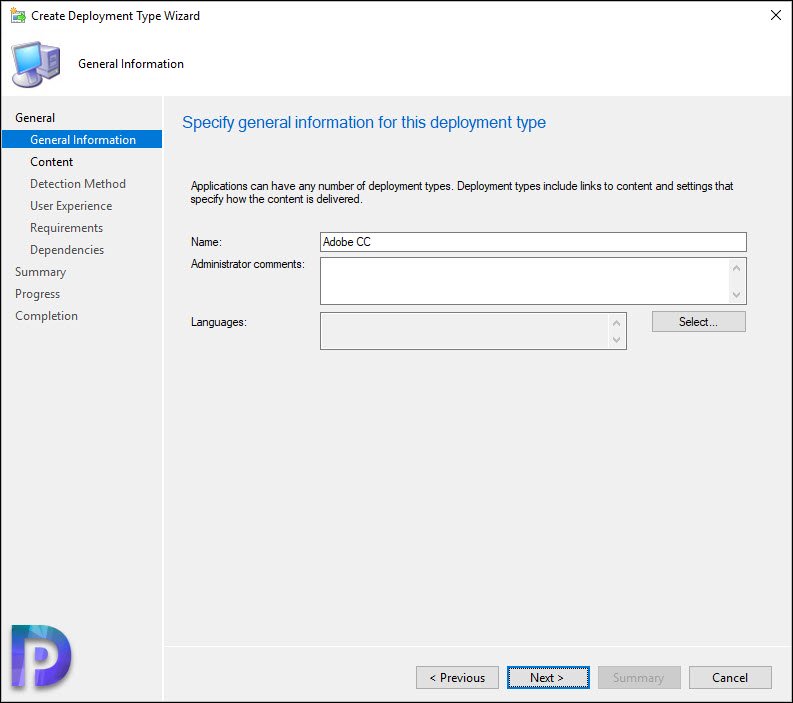
Specify the details about the application deployment type. Click Next.
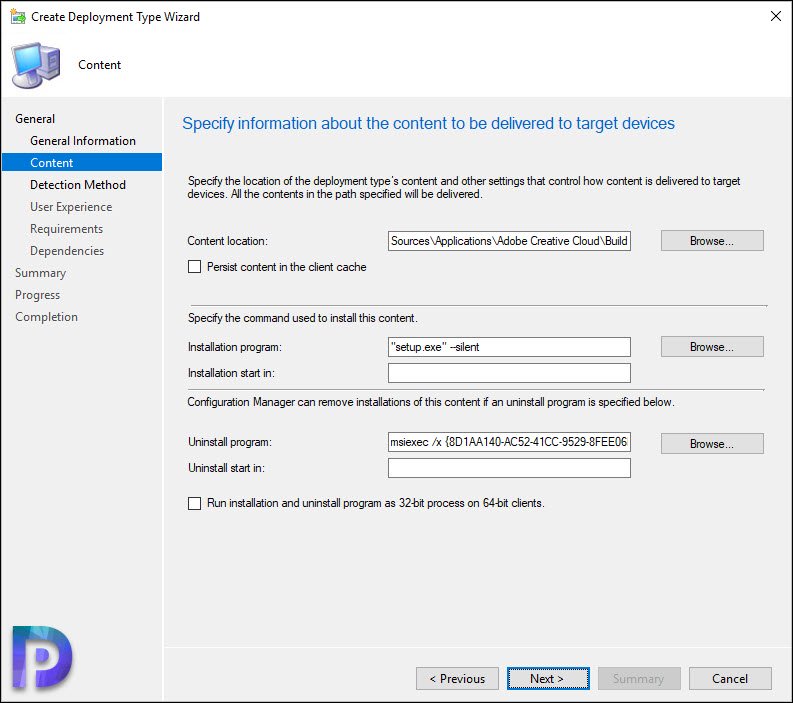
On the Content page, specify the content location of Adobe Creative Cloud App.
Install Program as – “setup.exe” –silent
Uninstall Program – msiexec /x {8D1AA140-AC52-41CC-9529-8FEE06EA9E84} /q
Note – The product code varies, so ensure you first determine the product code and then specify it. Click Next.
Add a new Detection Rule. Select the Setting Type as Windows Installer and use the product code – {8D1AA140-AC52-41CC-9529-8FEE06EA9E84}. Click OK.

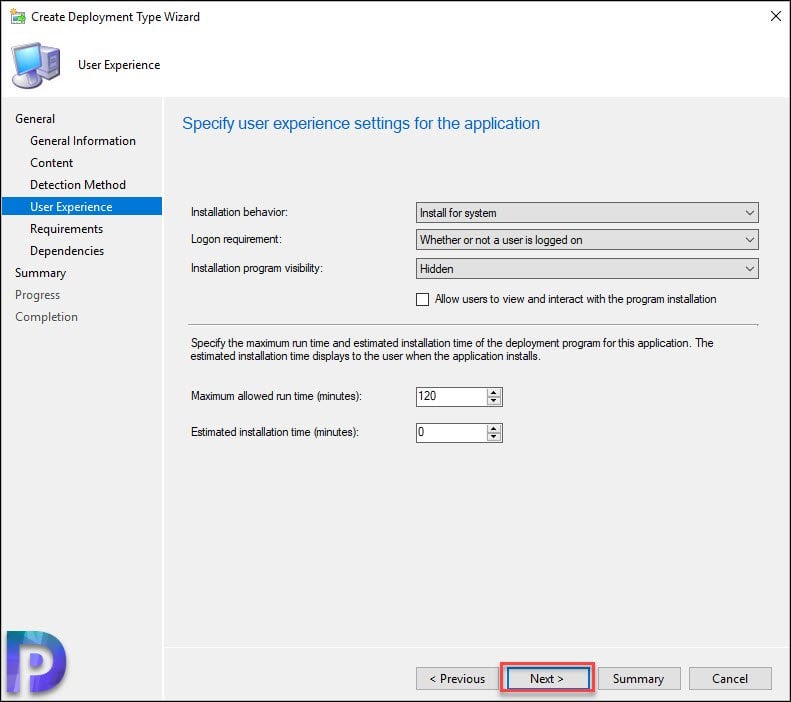
On the User Experience page, select the settings as per your requirements. Click Next.
On the remaining pages, click Next and on Completion page click Close.
Finally close the Create Application wizard. In the next step we will deploy Adobe Creative Cloud using SCCM.
Test the Adobe Creative Cloud App Install
Distribute the application content to all distribution points. Deploy Adobe Creative Cloud using SCCM to your client machines.
On the client computer, launch Software Center. Select Adobe Creative Cloud and click Install.
Tip – Open the Appenforce.log file to monitor the installation process.
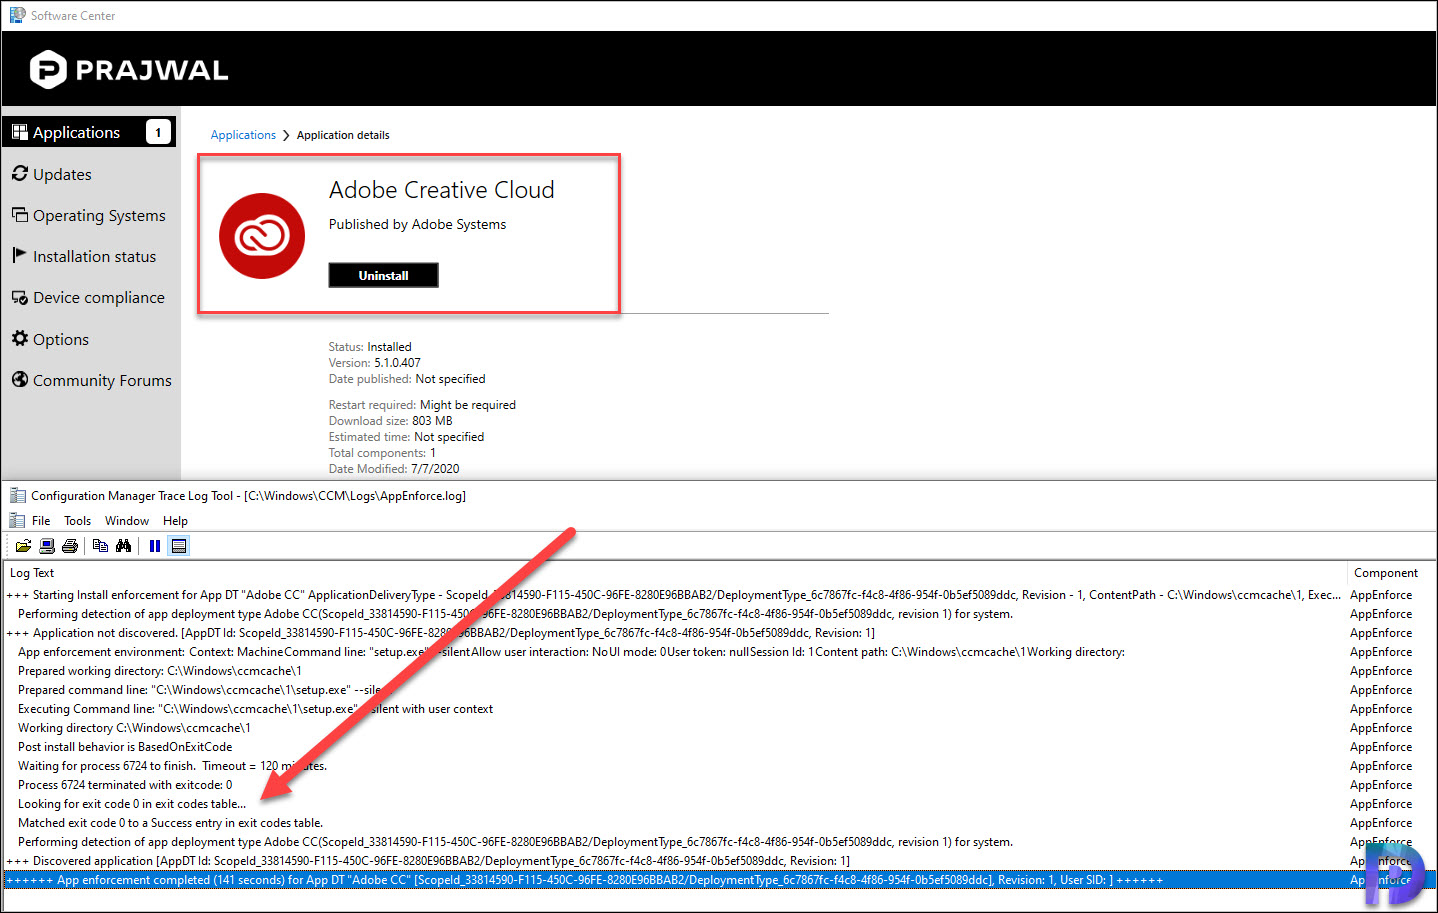
I have tested the app uninstall and it works well.


I can see the main page for the admin console because it says “You don’t seem to have access to the Adobe Admin Console”
Help please
It hits my Software Center but then I am getting The software change returned error code 0x87D00607(-2016410105) error
To reply to my own commnet: my bad. i was pointing to wrong folder on server. Now it downloads to software center and installs but ….is STILL installing?!?! 30 mins and counting?
Hi
Does this method will element the need to an internet connection on the client pc ?
Coz our computers have limited internet connection
Thank u
I have configured the Adobe PRO following the exact same steps. The process is taking very long time and installation never happens. What intrigues me is the command “setup.exe” -silent. Is it ONE dash or Two dash?
How do I uninstall previous versions of Adobe PRO if present? Your valuable help is highly appreciated.
How do you find the product code the Uninstall and Detection rules or can we just use the one from your instructions?
Typically, I use registry for that.
Download orca to get the info you need.
My install keeps timing out, I cant figure out what is wrong, it looks the same as the guide:
Context: Machine
Command line: “setup.exe” -silent
Allow user interaction: No
UI mode: 2
User token: null
Session Id: 1
Content path: C:\WINDOWS\ccmcache\30
Working directory: ]LOG]!>
<![LOG[ App enforcement environment:
The command “setup.exe” –silent needs two hypens
“setup.exe” –silent
Thanks for the simple detailed guide, just a small question, does this deployment work as an update? meaning if adobe CC is already installed on client machine, will this update the application?
The guide covers only the steps to deploy Adobe Creative cloud using SCCM. This will help you to deploy the application for the first time to your PC’s. But if you want to update there is a different procedure.
Could you please share the procedure to update the Adobe Creative Cloud and its apps using SCCM.
Hello Sir
Why do you not use the Adobe Online package builder?
I wondered that too and found that the online package builder actually gives you the latest creative cloud client too.
One of our main issues has been that we have so many different configurations and each one had to be packaged individually which took up so much space on our DP. We have one package for one user that is just Acrobat Pro which we had to download as that user and when we tried to push it to other users we received mixed results. We have another user that has 3 of the apps and another that has 4 of the apps, and so on. On top of that we had to increase our ccm client cache setting to 20GB to accommodate Adobe’s huge packages. Even after doing all that we didn’t have any consistency in getting them to install properly.
For anyone users needing anything beyond Acrobat, have you considered just installing Creative Cloud and letting the users install? You are spot on about the ridiculous amount of storage space that this requires so we just create a few base packages for shared PCs and install CC for users that can install and update the apps that they need.
We pretty much do the same. Simply install the adobe creative cloud and let the users install the applications.
Do you experience issues where the users receive elevation prompts to install updates?
please help me share link download software because account not admin console
You don’t seem to have access to the Adobe Admin Console. If you think you should, please contact your system administrator.
Go back
Sign out
The software can be downloaded only by the users who have got access to admin console. Even though you somehow get the software, you still need to sign in to Adobe before you create package.