


In this post I will show you how to enable and configure password writeback in your Azure AD hybrid environment. By enabling password writeback feature you can synchronize password changes in Azure Active Directory back to your on-premises Active Directory environment.
To enable password writeback feature, we use Azure AD Connect tool to that provides secure mechanism to send password changes back to an existing on-premises directory from Azure AD. To know how the password writeback feature works, read this article.
Most of all ensure you always have the latest version of Azure AD Connect running. That’s an important point because the password writeback feature will stop working for Azure AD Connect versions 1.0.8641.0 and older than that.

So what happens when a user resets the password and what about password complexity ?. When a user resets the password, it is checked to ensure it meets your on-premises Active Directory policy before committing it to that directory. That includes the complexity, age, password filters that has been defined in local Active Directory.
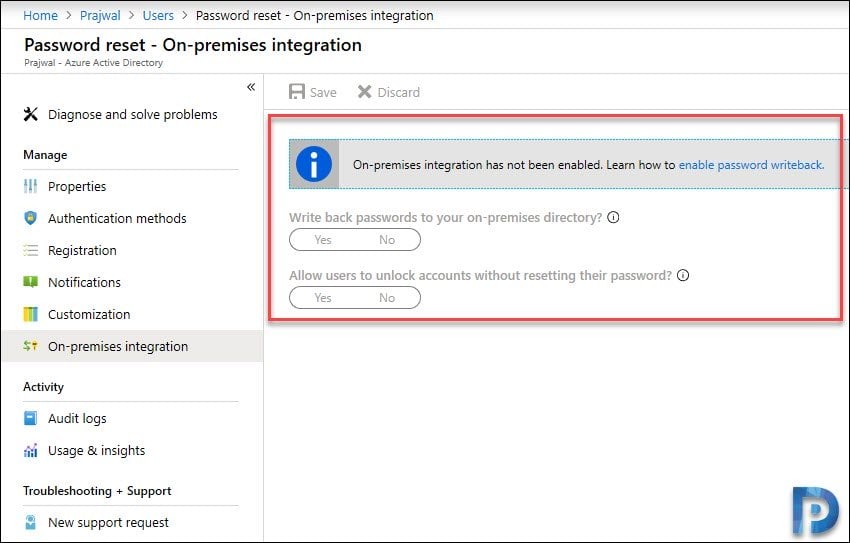
If you haven’t enabled password writeback in Azure AD, you will see something similar shown in the below screenshot. When you click password reset – On-premises integration, it shows On-premises integration has not been enabled yet.
Azure AD Password Writeback Prerequisites
To use password writeback, you must have one of the following licenses assigned on your tenant.
- Azure AD Premium P1
- Azure AD Premium P2
- Enterprise Mobility + Security E3 or A3
- Enterprise Mobility + Security E5 or A5
- Microsoft 365 E3 or A3, Microsoft 365 E5 or A5, Microsoft 365 F1
- Microsoft 365 Business
Configure Password Writeback in Azure AD
First of all to configure password writeback, sign in to your Azure AD Connect server. Start the Azure AD Connect configuration wizard. On the Welcome page, select Configure.

Next on the Additional tasks page, select Customize synchronization options.

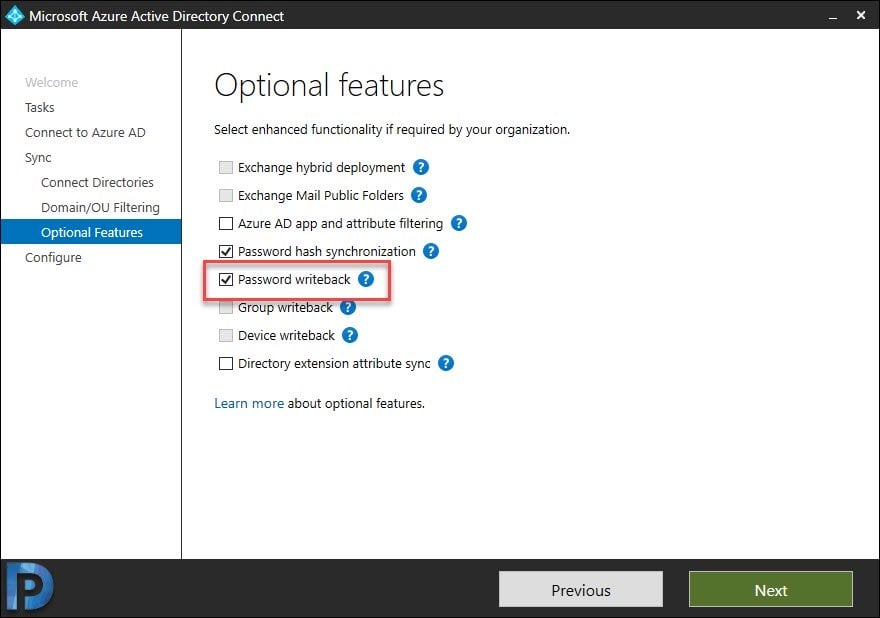
On the Connect to Azure AD page, enter a global administrator credential, and then select Next. Click Next on the Connect directories and Domain/OU filtering pages. On the Optional features page, enable Password writeback and select Next.
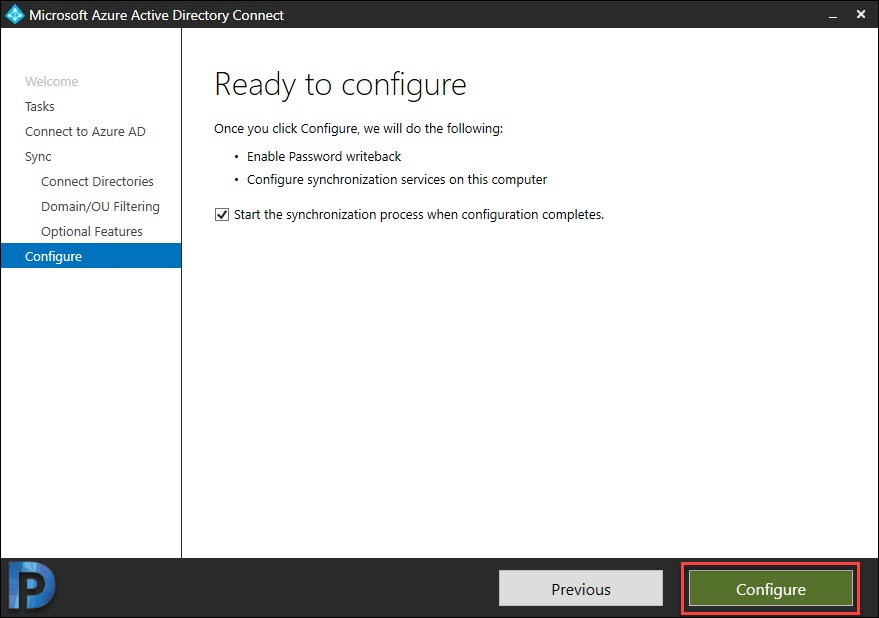
Click Configure.
The Configuration is complete. You also see the message Azure AD connect configuration succeeded. The synchronization process has been initiated.
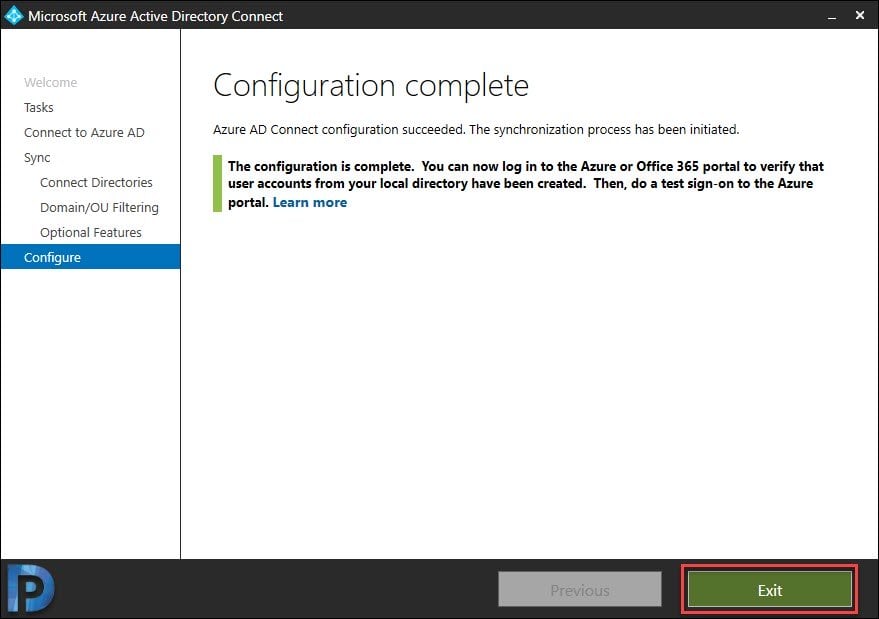
In the above steps you enabled the password writeback in Azure AD. In the next step we will enable password writeback option in SSPR.
Enable password writeback option in SSPR
- Open the Azure portal and sign in with a Global Administrator account.
- Go to Azure Active Directory and click on Password Reset.
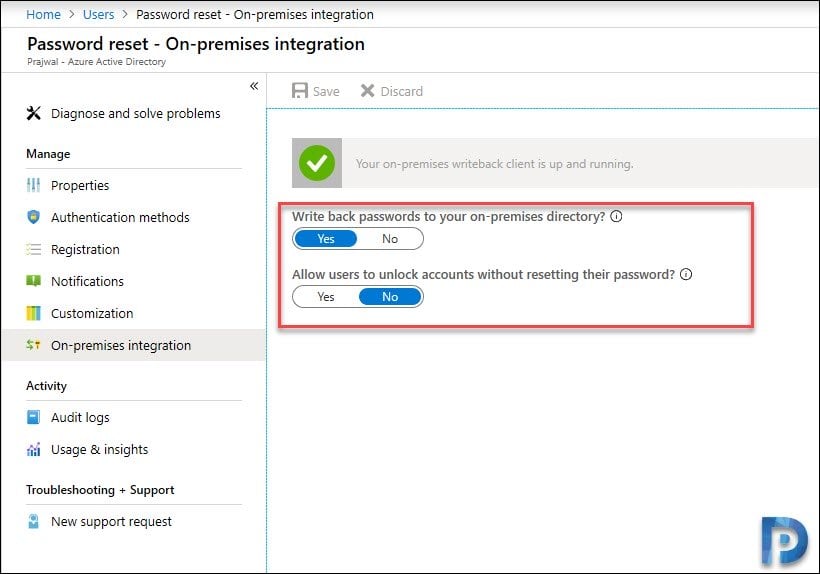
- From the left pane, select On-premises integration.
- Set the option for Write back passwords to your on-premises directory to Yes.
- You can also set Allow users to unlock accounts without resetting their password to Yes.
- Finally click Save.

Does password writeback work when password hash sync not enable?
Hello!
I migrated AD Connect to a new server (2019 from 201R2) and everything looked fine in the Synchronization Service. But I just discovered from the event logs that it is not working.
31034 Relay must be created at this address before using the binding with IsDynamic set to false
And in Azure>Password Rest>On-Premises Intregration: “No agents have been detected. Install a sync agent and set up your sync engine before enabling password writeback.”
Do you have any ideas?
How endpoint sync the password without company network in hybrid AD environment after enabling the password write back.
I am having issues with turning on the option in Azure . I have configured the options in the prem AD and then in the cloud agent. It will still not allow me to turn on the two options. I have found this info about the license and we have E1 and E3 for our users.
Hybrid user password change or reset with on-Prem writeback
When a user in Azure AD that’s synchronized from an on-premises directory using Azure AD Connect wants to change or reset their password and also write the new password back to on-prem.” This was from that article you sent and it says that this is available for Microsoft 365 Business Premium. Enterprise E1 and E3 which we have are a step up from Business Premium so it seems that we would also have that functionality.
Write back passwords to your on-premises directory?
Yes
No
Allow users to unlock accounts without resetting their password?
Yes
No
Please advise
Hi, how to match/Sync users while users are exists with same name on Azure-AD and On-Prem AD while doing first time AAD Sync what are the options i have to select so that duplicate users will not be created on Azure AD.
Hi, does anyone know how this works with an initial sync from an On-Prem AD to an existing user base in Azure AD? Ideally id want to sync users, match with existing cloud accounts and have the cloud password become THE user password rather than be overwritten with the On-Prem AD password.
Hi,
I receive error messages with the description “ADAdminActionRequired” in the password reset logs when trying to reset from Azure AD. I have double checked the permissions and they are correct, and have disabled all on-prem password policy GPOs. Is there anything else I can check?
I don’t think it’s a licensing issue. My Azure AD tenant shows Azure AD Premium P1 for its license, and the Licensed Features section lists password writeback as available.
Many thanks
Can you send me the logs and screenshots using my contact form ?.
I am having the same problem and also with this error OnPremisesAdminActionRequired. did you find a solution?
Hy,
I’m very confuse wit licence to manage it.
Today i have several license :
Office 365 Enterprise E3
Office 365 Business Premium
Office 365 Business Essentials
It seems not working because i haven’t the appropriate licence.
Does i need to buy AD premium P1 for each users or only one to activate this functionnlity?
Thanks in advance for your answer.
Yes, u need to by p1
I have been using password hash with AAD write back for awhile now. Still having trouble with password expiration in local AD and AAD expiring together. Users can still access email on cloud apps but cannot access apps that use LDAP for authentication since the password expired maybe need some type of notification
Accorind to MS:
If there are synchronized users that only interact with Azure AD integrated services and must also comply with a password expiration policy, you can force them to comply with your Azure AD password expiration policy by enabling the EnforceCloudPasswordPolicyForPasswordSyncedUsers feature.