


In this post, you will learn how to add custom domain name in Azure AD (Azure Active Directory). We will also see how to set it as the primary Active Directory.
A domain name is an important identifier of many Azure Active Directory resources. If you have a custom domain name and want to associate that with resources, you need to first add it in Azure AD.
Note that before you can add a custom domain name, create your domain name with a domain registrar. This is a very basic step and most people are aware of this. By default the person who creates the tenant automatically becomes the Global administrator for that tenant. Only the Global administrator can add additional administrators to the tenant.

The steps to add custom domain name to Azure active directory is very simple. However one has to understand why you need to add custom domain name in Azure AD. Assume that your organization signs up for Intune, a Microsoft cloud-based service. You get domain name hosted in Azure Active Directory (AD) that looks like domainname.onmicrosoft.com.
Every Azure AD directory comes with an initial domain name in the form of domainname.onmicrosoft.com. So what if you don’t want to use the default domain and add custom domain ?. Yes, you can add custom domain name in Azure AD.
As of now you can add up to a maximum of 900 managed domain names. Most of the organizations use other domain names to build business. In such cases Azure AD allows you to assign user names in the directory that are familiar to your users.
Steps to add custom domain name to Azure AD
- First add your custom domain name to directory.
- Add DNS entry for domain name in domain registrar.
- Verify your custom domain name in Azure AD.
How to Add Custom Domain Name in Azure AD (Azure Active Directory)
The steps to add custom domain name in Azure AD (Azure Active Directory).
- First of all sign in to the Azure portal with a global admin account for the directory.
- To add a new custom domain name, in the left pane, click Custom domain names.
- To add a custom domain click Add custom domain.

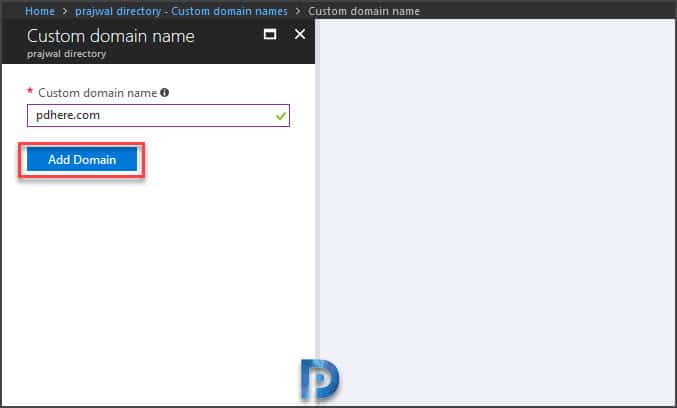
Enter the name of your custom domain in the box, and then click Add Domain.
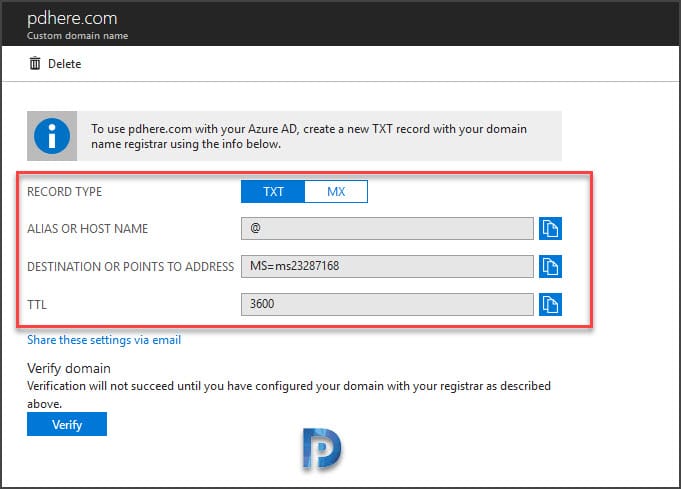
The next step is to add DNS entry for domain name in domain registrar. Once you add DNS entry, Azure AD can then verify that your organization owns the custom domain name.
Sign in to the domain name registrar for the domain. You can either use Cpanel or an interface that lists all the tools for your hosting. Go to DNS tool and update the DNS zone file for the domain by adding the DNS entry provided to you by Azure AD.
Set the time to live (TTL) to 3600 seconds (60 minutes), and then save the record.
Once the DNS records are propagated, your domain name is ready to get verified. Click Verify to start the process.
Finally on the right pane we see verification succeeded message which means that our custom domain has been verified. On this page you may also download Azure AD connect.


Hi Prajwal – Our SCCM CMG certificates seems expired coz there are not showing actual count added in that collection, earlier there was 5+ devices now oddly showing 300 devices.
Please let me know if we want to add new certificate in SCCM CMG or in Azure Portal?
if so please share us the location to add
Thank you in advance
Can I add 1 custom domain to 2 different Azure active directories?
It’s very detail and helpful
Thanks!
Thank you so much.