


In this tutorial, I’ll show you how to uninstall WSL and distros completely from Windows 11. Windows Subsystem for Linux lets developers run a GNU/Linux environment, including most command-line tools, utilities, and applications, directly on Windows without the overhead of a traditional virtual machine or dual-boot setup.
WSL (specifically WSL 2) has been supported on Windows 11 since its initial release in October 2021. Microsoft later separated WSL from the core operating system and made it available as a standalone app in the Microsoft Store. This move lets users get updates and new features much faster, without having to wait for major Windows updates.
If you have already installed WSL on your Windows 11 PC and if you no longer need it, there are several ways to uninstall it, depending on how completely you want to remove it.
Before you uninstall WSL completely
Before starting, I would like to mention that uninstalling WSL can mean different things, and I have listed all of them below.
- Remove a Linux distribution only: Uninstall Ubuntu but keep WSL installed.
- Unregister a distro: Deletes the distro and its filesystem.
- Remove the WSL app/package: Uninstalls the WSL application from Windows.
- Disable WSL platform features: Turns off the Windows components required for WSL.
- Fully uninstall WSL and its features: Deletes distros, WSL app, and disables all the related features.
Step 1: List Installed Linux Distros
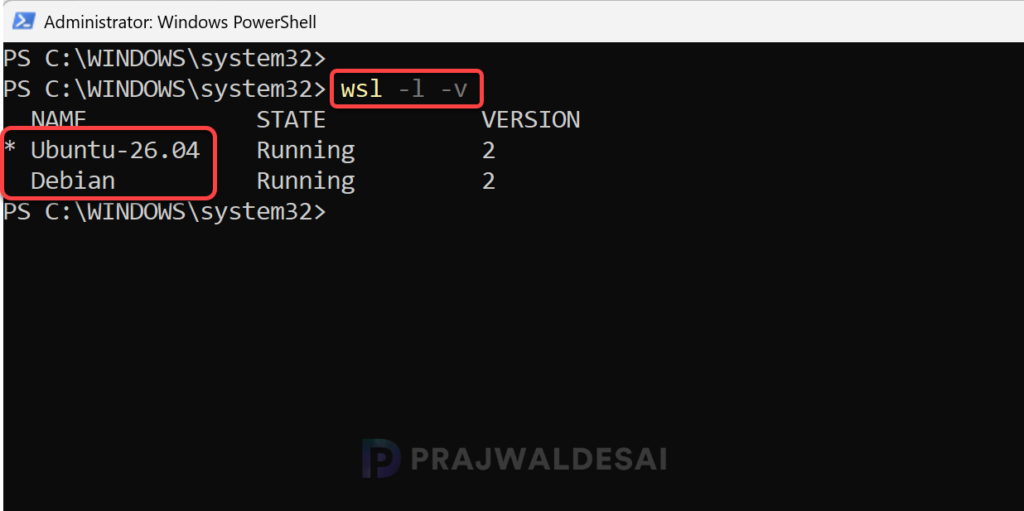
If you want to completely remove everything related to WSL, here’s the best way to do it. Start by finding out which Linux distros are installed on your Windows 11. To check, open PowerShell as an administrator and run the command below.
wsl -l -vYou may use the below command as well.
wsl --list --verboseIn the image below, running the above command reveals that two Linux distributions are installed: Ubuntu-26.04 and Debian.
Step 2: Back up your data
Before uninstalling any Linux distros, back up any important files. You can export a distro by executing the below command. You may repeat the same in case you’ve got multiple distros on your PC.
wsl --export Debian Debian-backup.tar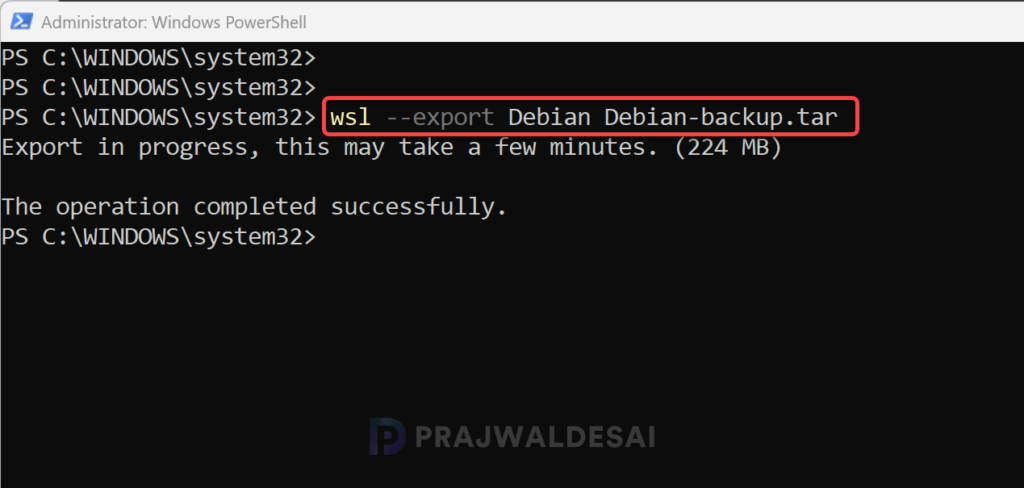
Step 3: Unregister each Linux distro
Next, run the below commands in the PowerShell window to unregister each Linux distro that’s installed on your Windows 11 PC.
wsl --unregister Ubuntu 26.04
wsl --unregister Debian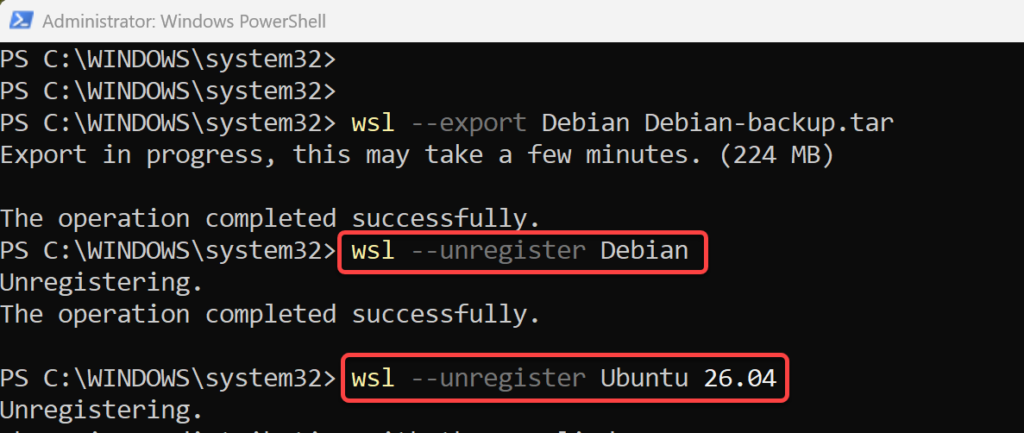
Step 4: Uninstall the WSL app from Settings
In newer Windows 11 builds, WSL may appear as an installed app. To uninstall it, open Settings, go to Apps > Installed apps. Search for Windows Subsystem for Linux. Click the three-dot menu to
Select Uninstall.
You may also manually remove the Windows Subsystem for Linux Update and Linux distributions installed from the Microsoft Store.
On modern Windows 11 systems, Microsoft provides a built-in uninstall command. Open PowerShell as Administrator and run:
wsl --uninstall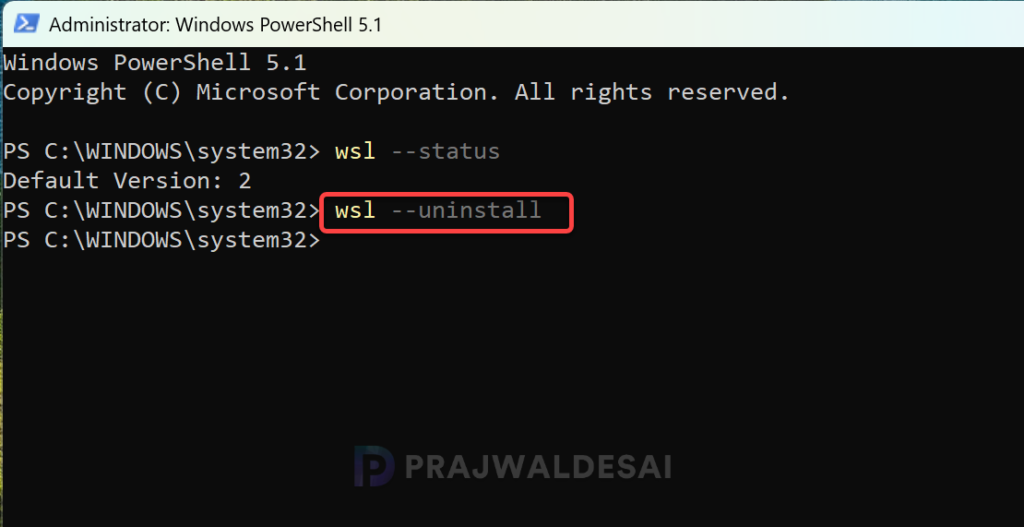
Step 5: Disable required Windows features via DISM/PowerShell
If you prefer command-line tools, you can disable the needed Windows features directly using DISM or PowerShell. Both of these are demonstrated below.
DISM
Open Command Prompt as Administrator and run the below command.
dism.exe /online /disable-feature /featurename:Microsoft-Windows-Subsystem-Linux /norestart
dism.exe /online /disable-feature /featurename:VirtualMachinePlatform /norestartPowerShell
Open PowerShell as Administrator and run the below command.
Disable-WindowsOptionalFeature -Online -FeatureName Microsoft-Windows-Subsystem-Linux -NoRestart
Disable-WindowsOptionalFeature -Online -FeatureName VirtualMachinePlatform -NoRestartStep 6: Restart Windows
A reboot is usually required to complete the removal of WSL and its associated features. Proceed to the next step to confirm WSL removal.
How to check whether WSL is fully removed
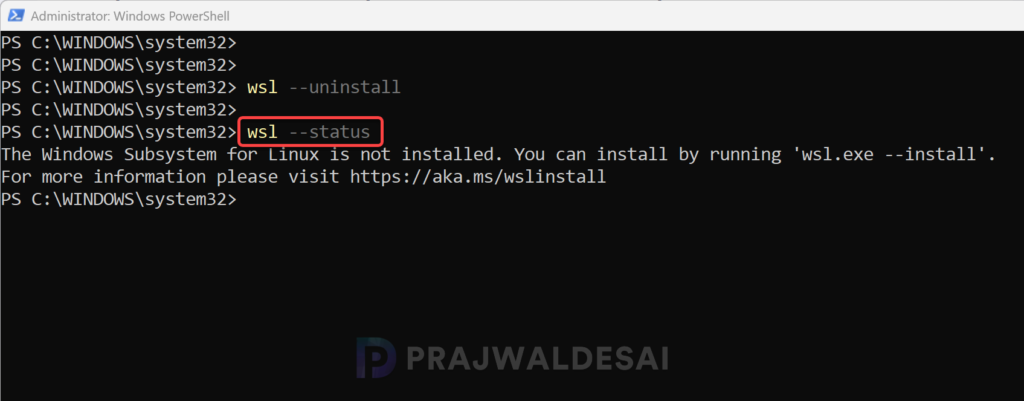
Run the below PowerShell command to check if WSL is completely uninstalled from your Windows 11 PC.
wsl --statusAfter running the above command, if you see the message “The Windows Subsystem for Linux is not installed. You can install by running ‘wsl.exe –install‘, it means the WSL is uninstalled from your Windows 11 device.
Conclusion
WSL is a great feature for developers, power users, and anyone who wants Linux tools on Windows 11. But when you no longer need it, Windows 11 gives you several ways to remove it. If you only want to get rid of one distro, uninstalling that distro is enough. If you want a complete reset, unregister distros, uninstall the WSL app, disable the required Windows features, and restart your PC. And if you would like to reclaim every bit of space, check for leftover files afterward.
