


In this post I will cover what is Desktop Analytics, how to setup SCCM Desktop Analytics and connect SCCM with desktop analytics. I will also cover the desktop analytics prerequisites and licensing info.
One of the topics that I wanted to explore after installing SCCM 1906 update was Desktop Analytics. Using the Desktop Analytics you can determine the best devices to put in a pilot group. Then use Configuration Manager to get current with Windows.
What is Desktop Analytics ?
In simple words the Desktop Analytics is a cloud-based service that integrates with Configuration Manager. Using the insights provided by Desktop Analytics service, you can easily find the update readiness of your Windows clients.

You might have several clients in your organization and you would want to know if they are ready to be upgraded to next eligible version of Windows 10. Desktop Analytics can help you here to find out the computers that are ready for upgrade.
In addition to the above point, the Desktop Analytics also combines the data from your organization with data aggregated from millions of devices connected to Microsoft cloud services.
While the Desktop Analytics is currently offered as an Office 365 service, it requires an Office 365 subscription in your Azure AD tenant. However as per Microsoft this may not be a requirement in the future.
To know more about desktop analytics start here – https://docs.microsoft.com/en-us/sccm/desktop-analytics/overview
Why Integrate SCCM and Desktop Analytics
Before we setup SCCM desktop analytics, let’s understand why Desktop Analytics should be integrated with SCCM. You can use Desktop Analytics with Configuration Manager to perform the following.
- You can create an inventory of applications running in your organization.
- Assess app compatibility with the latest Windows 10 feature updates.
- Identify compatibility issues, and receive mitigation suggestions based on cloud-enabled data insights.
- You can deploy Windows 10 to pilot and production-managed devices.
Difference between Windows Analytics and Desktop Analytics
The Desktop Analytics is a successor of Windows Analytics. In other words desktop analytics service has all the capabilities of Windows Analytics plus it can be tightly integrated with SCCM.
The Windows Analytics service includes :-
- Upgrade Readiness
- Update Compliance
- Device Health
The Desktop Analytics service includes :-
- All of these capabilities of Windows Analytics baked into Desktop Analytics service.
- Desktop Analytics also is more tightly integrated with Configuration Manager.
- Richer app and Office macro insights with App Health Analyzer and Readiness Toolkit for Office.
- Use single pane of glass for getting and staying current across Windows 10 and Office 365 ProPlus.
Desktop Analytics Prerequisites
Let us understand what’s required to integrate SCCM with Desktop Analytics. Ensure you read all the prerequisites before you start to use Desktop Analytics.
- Ensure you are using Configuration Manager version 1902 with update roll-up (4500571) or later.
- The account must be a full Administrator role in Configuration Manager.
- Devices requirements include Windows 7, Windows 8.1, or Windows 10. Ensure the clients are installed with latest updates.
- You must be running the latest version of SCCM client agent. The client agent version should be 5.00.8790.1025 and above.
- Check the network connectivity from devices to the Microsoft public cloud. The clients must send the diagnostic data and hence this is a requirement.
- You need an active Azure subscription, with Global Admin permissions.
- Log Analytics Contributor and User Access Administrator on the resource group to use an existing workspace or create a new workspace in an existing resource group.
- Owner or Contributor and User Access Administrator permissions on the subscription to create a workspace in a new resource group.
- Windows diagnostics data – Diagnostic data levels and Desktop Analytics privacy.
Licensing Info for Desktop Analytics
In order to use the Desktop Analytics, it requires one of the following license subscriptions :-
- Windows 10 Enterprise E3 or E5 or Microsoft 365 F1, E3, or E5.
- Windows 10 Education A3 or A5 or Microsoft 365 A3 or A5.
- Virtual desktop access E3 or E5.
If you have any of the above license subscription, there’s no additional cost for using Desktop Analytics.
Setup SCCM Desktop Analytics in the Azure portal
To setup SCCM Desktop Analytics in Azure portal, follow the below steps.
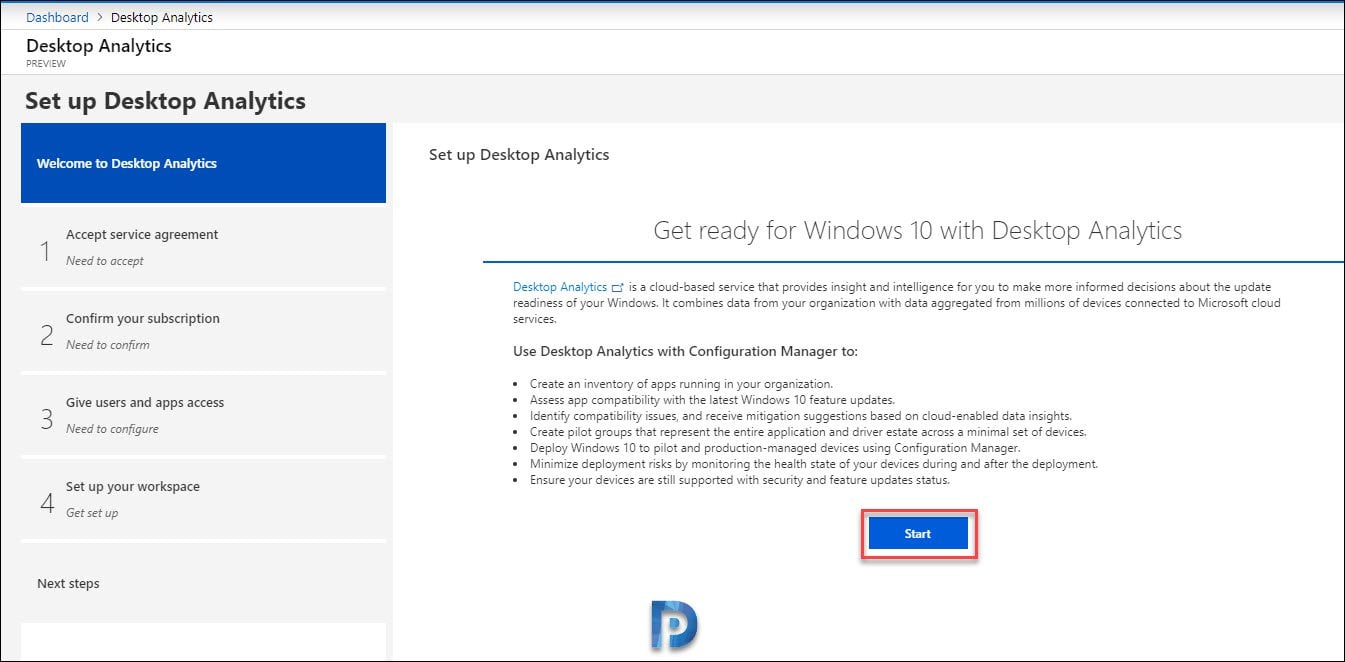
- First of all login to Desktop Analytics portal with a global admin account.
- On Welcome to Desktop Analytics screen, click Start.
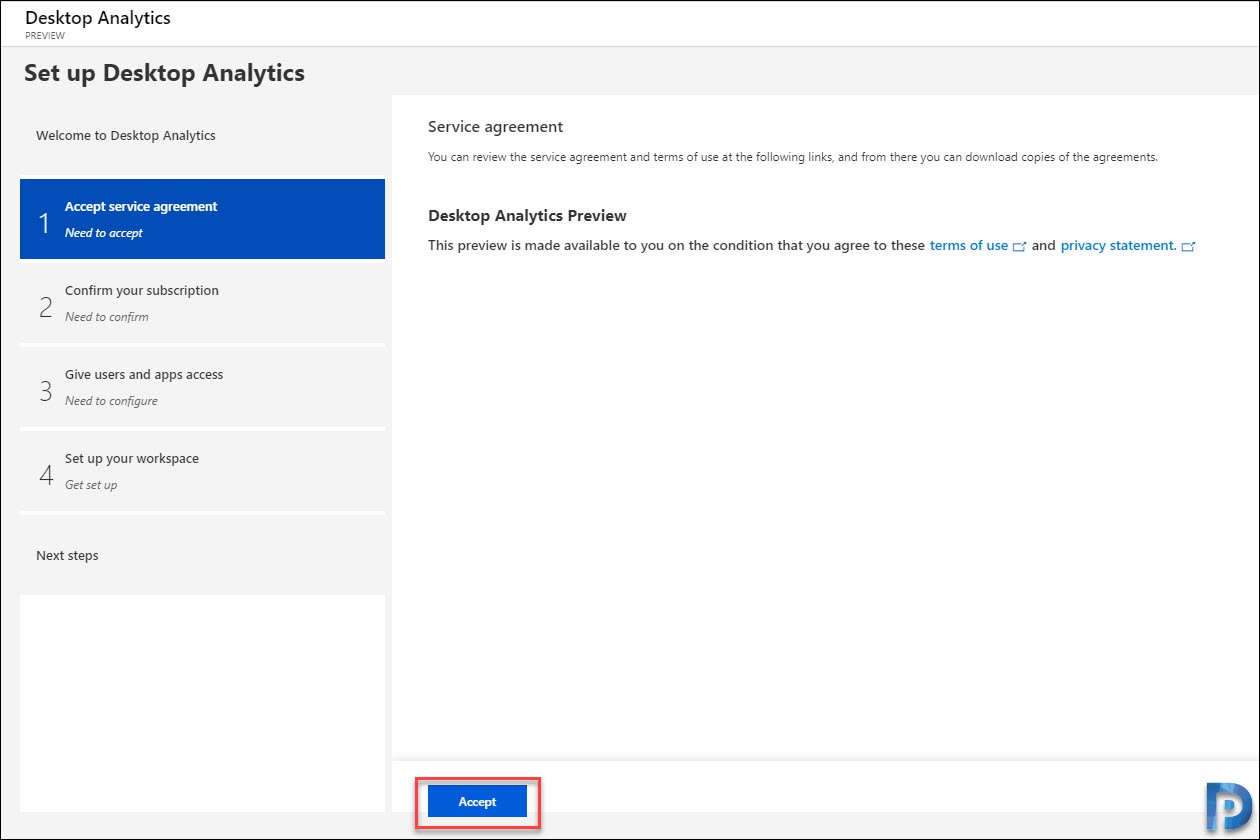
On the Accept service agreement screen, click Next.
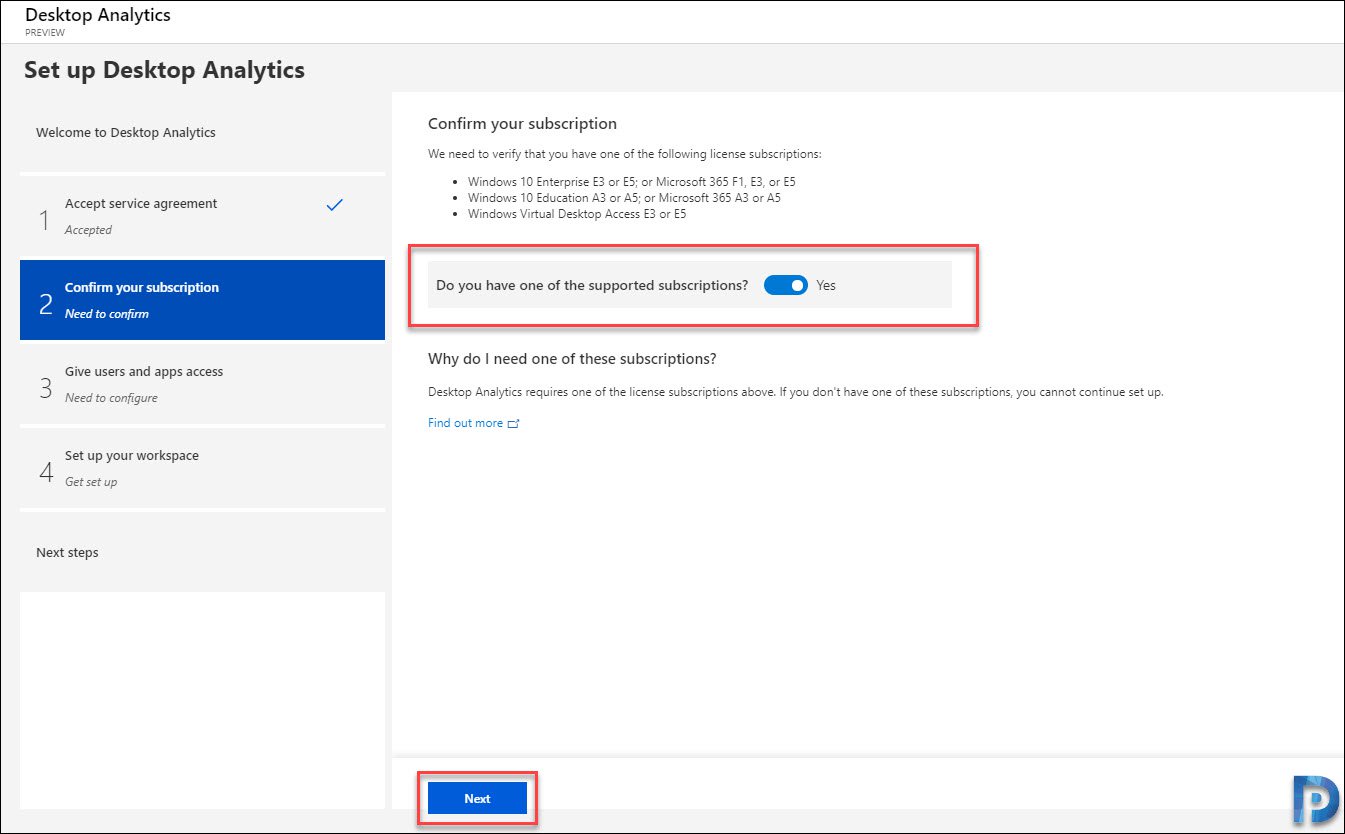
In this step you must confirm your subscription. I had listed them under Desktop Analytics prerequisites. Move the slider to right to see Yes and thereby confirming your subscription. Click Next.
To allow the Desktop Analytics to manage directory roles on your behalf, move the slider to right (Yes). Under Workspace owners, you can add users who will have access to Log Analytics workspace with your Desktop Analytics portal.
Click Next.

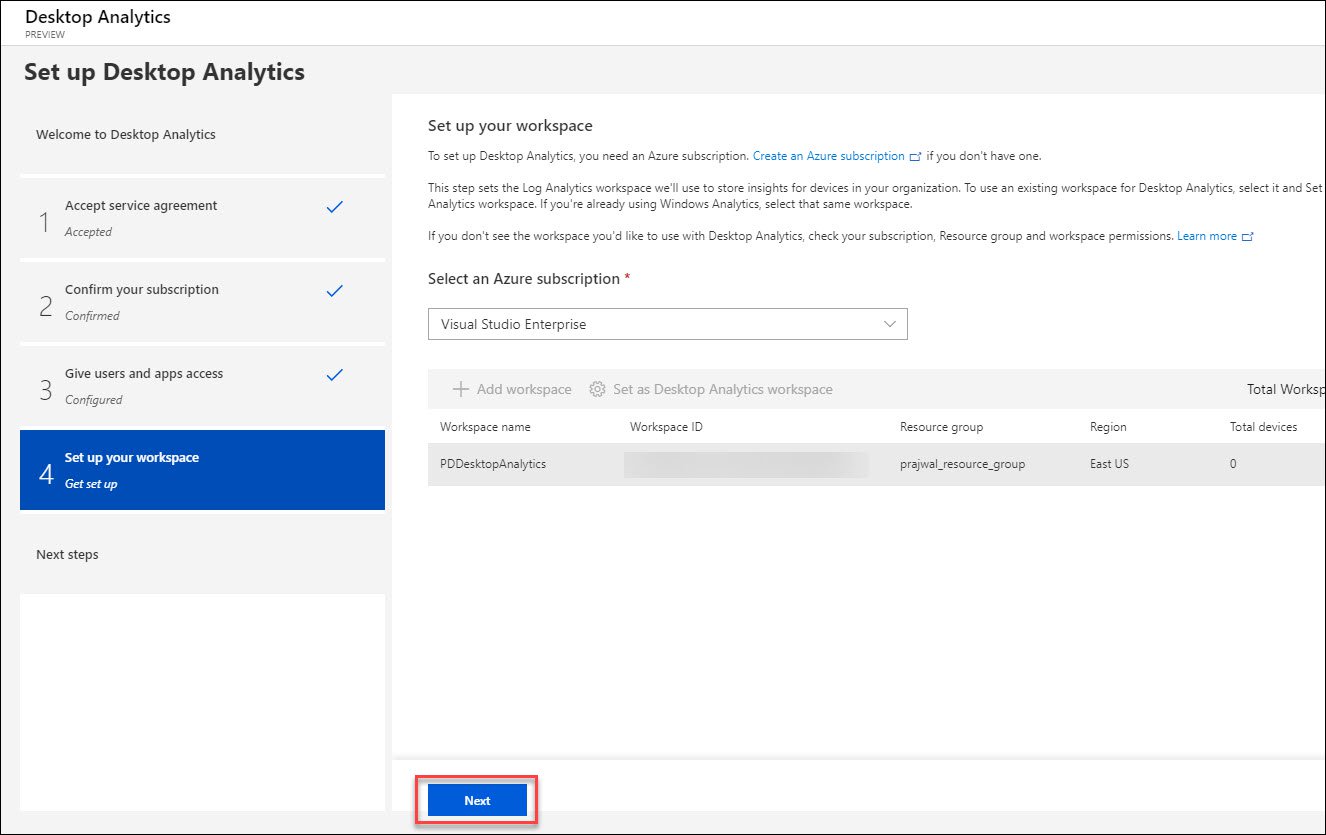
On Set up your workspace page, select your Azure Subscription. This should list any existing workspaces. If you wish to use any of those existing workspaces, click Set as Desktop Analytics workspace.
To create a new workspace click Add Workspace. Once you add the workspace click Set as Desktop Analytics workspace.

On the Confirm and grant access box, click Continue. When you click continues, a new tab will open which connects to Log Analytics. You must give the permissions to connect your data to this Log Analytics workspace.

When you successfully add the workspace, you will find the following details.
Workspace Name – This is name of workspace that you just created.
Workspace ID – A unique identifier for your workspace.
Commercial ID Key – ID to map information from user computers to your Azure workspace.
If you see the below screen, smile because you have successfully set up the Desktop Analytics. Click Go to Desktop Analytics button.
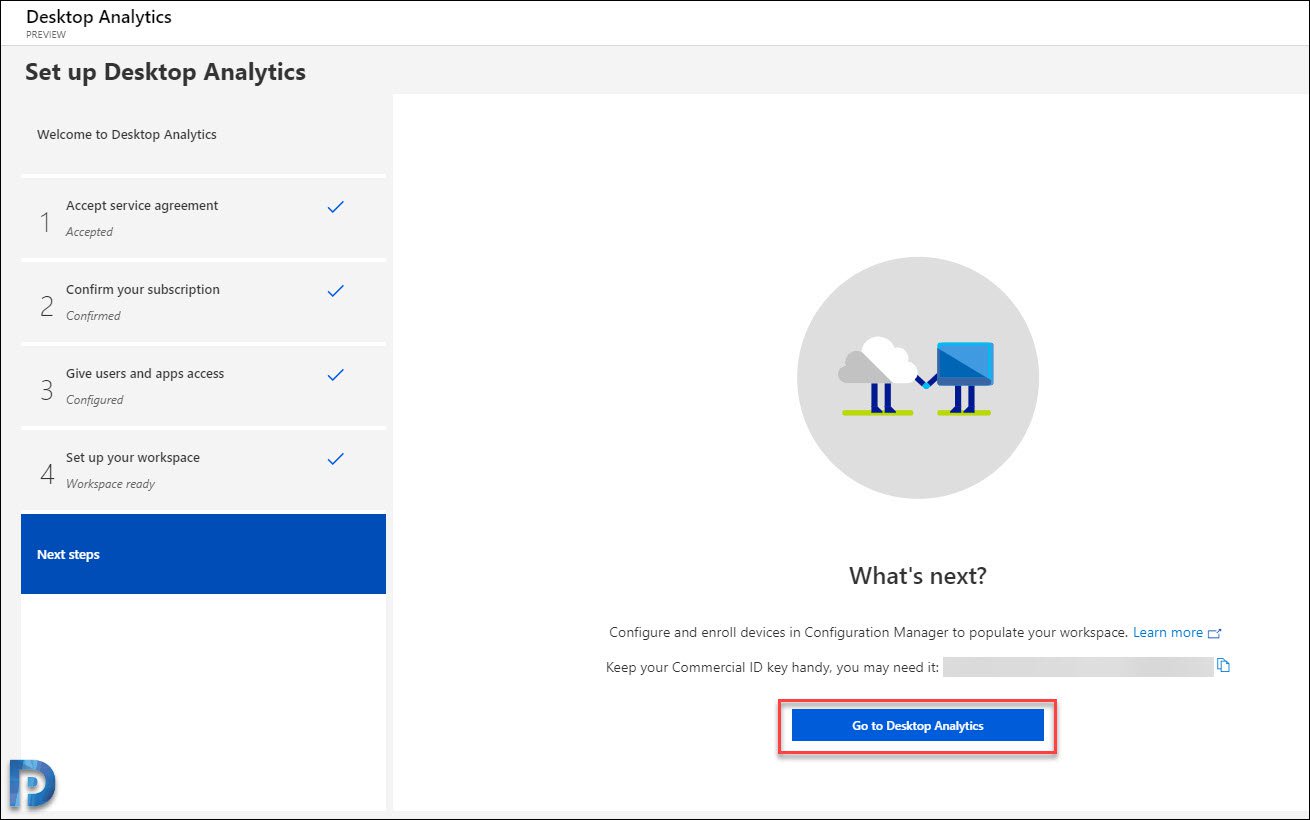
On the Desktop Analytics home screen, take a note of that message. It says We are still processing your data. It could take up to 72 hours. Anyone who sets up the Desktop Analytics for the first time will see this message.
Now you can either wait for 72 hours to process the data or connect SCCM with Desktop Analytics.

Connect SCCM with Desktop Analytics
We come to an important section where we now connect SCCM with Desktop Analytics.
- Launch SCCM console.
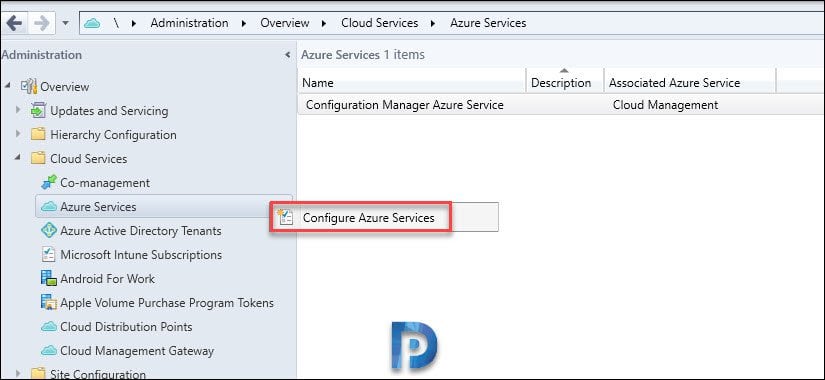
- Navigate to Administration > Overview > Cloud Services > Azure Services.
- Right click Azure Services and click Configure Azure Services.
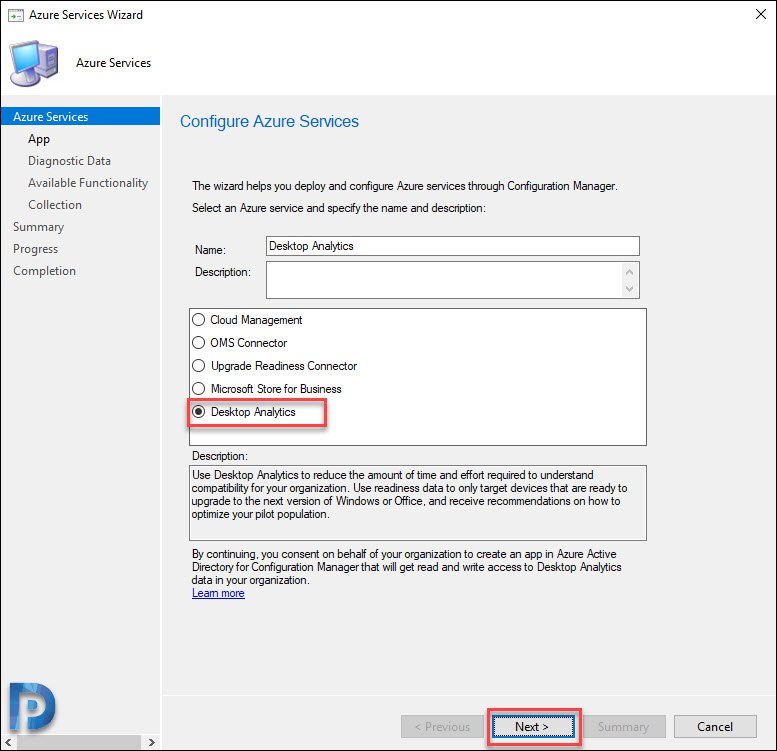
Specify a name and select the Azure Service as Desktop Analytics. Click Next.
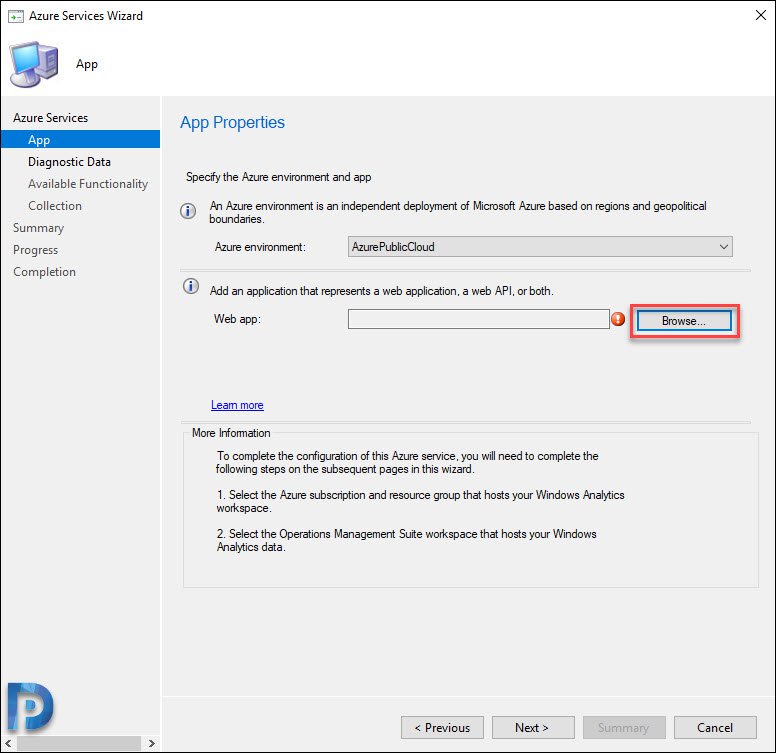
Select the Azure environment which is AzurePublicCloud in my case. You must add an application that represents a web app. Click Browse.
On the Server app window, click Create.

Specify the application name. The HomePage URl and App ID URI is set to https://ConfigMgrService. However I got the error that Another object with same value for property identifierUris already exists.

If you see this error, go to Azure portal and search App Registrations. Click App registrations and verify if you have registered another app with same Home page URL.
In my case I had setup a server app while setting up cloud management gateway. Since the Home Page URL matched, i got the error identifierUris already exists.
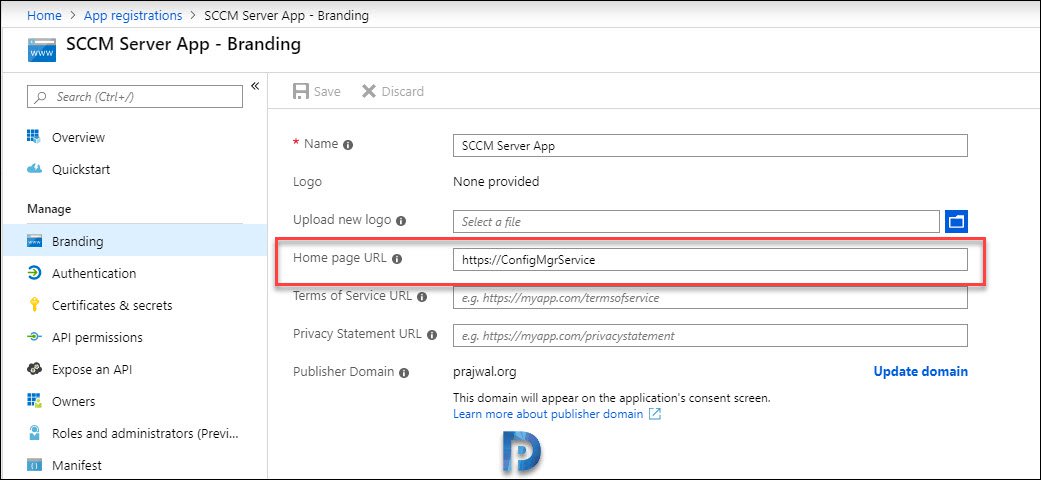
So I changed my HomePage URL and App ID URI to https://SCCMService which was unique. I could sign-in successfully and app was created. Click OK.

Click Next.

Configure Windows Diagnostic Data
On the Diagnostic Data page, make a note of Commercial ID.
Windows 10 diagnostic Data level – You will see four options when you click the drop-down for diagnostic data level. They are Basic, Enhanced (Limited), Enhanced and full. I will cover more about these options in a separate post.
For now select Enhanced (Limited) as the Windows 10 diagnostic data level. The Enhanced (Limited) level will only share the minimum required diagnostic data for Desktop Analytics.
Click Next.

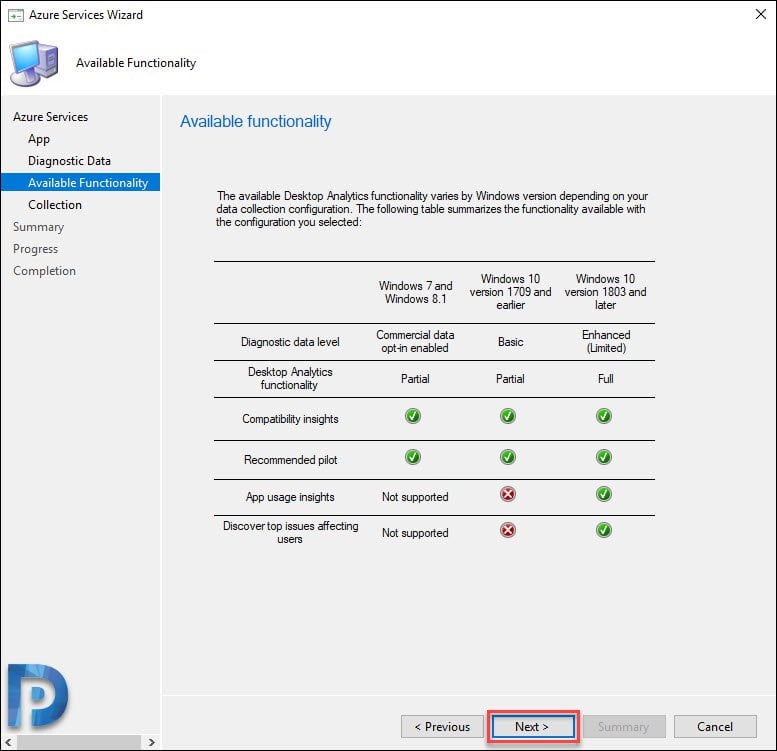
A table that summarizes the functionality available with configuration that you select. Click Next.
On this page select the collections to on-board to Desktop Analytics. In this case I am selecting a Windows 10 device collection. You can add additional collections to use with deployment plans by clicking Add button.
Click Next.

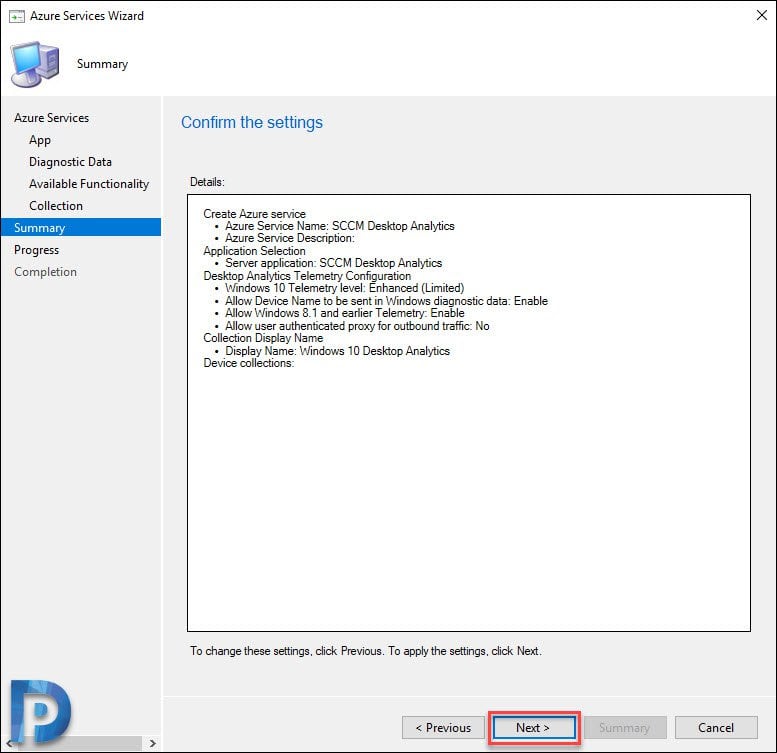
Verify all the settings on Summary page. Click Next.
Finally on Completion page, click Close.

Desktop Analytics Connection Health Monitoring
After you setup SCCM Desktop Analytics, you can monitor the enrollment of devices in Desktop Analytics. This can be done through your Configuration Manager console.
Navigate to Software Library > Overview > Desktop Analytics Servicing > Connection Health.
This dashboard is really cool. It shows the following data.
- Desktop Analytics connection details
- Last sync details
- Connection Health
- Most frequent enrollment blockers and configuration alerts.
In my case there are 4 clients and the connection health status is Awaiting enrollment.

Log Files – The desktop analytics related log files are located under %ProgramFiles%\Configuration Manager\Logs\. The log files on the Configuration Manager client are in the following directory: %WinDir%\CCM\logs.
That’s all for now. I hope this post helps you to setup SCCM desktop analytics and configure it. I will publish more posts on Desktop Analytics soon.

HI Prajwal,
I really like your content on SCCM, Intune and Desktop Analytics. I have followed your step by step guide on setting up desktop analytics. After setting up i can only see feature updates tab in the monitor section(missing security updates) on Desktop Analytics portal. It also doesn’t show upgrade readiness for Office apps. Diagnostic data level selected is “Enhanced limited”. Is there anything i have missed here?
Love your guides. Having a major issue with following this at Step 4 though – I am logged in as a Global Administrator but when I try to choose an Azure subscription, nothing happens – no drop down at all. Just the “Select an Azure subscription” text and the down arrow.
I’ve tried multiple browsers as well as different machines, just in case.
I’ve been unable to find any reason for this – any suggestions?
Thanks
Hi Prajwal, Great stuff and thank you! Is it possible to use Desktop Analytics without the SCCM integration? in our case, endpoints are being managed by Microsoft Endpoint Manager aka Intune. Thanks!
Hi Prajwal, I’m having issues with the Windows Diagnostic Endpoint Connection returning “Can’t connect to the Connected User Experience and Telemetry endpoint (Vortex). Check your network/proxy settings”. I’ve been through the troubleshooters but the URLs Microsoft need whitelisted, some seem to be invalid, returns error 404 (all my Windows 10 clients are either 1809 or 1903). I’ve tried that URL from home, guest wifi etc but it seems to be wrong. Did you have any issues like this?
Are you using any proxy server in your setup ?.
I too get the same issue as this. None of my devices can connect. We use no proxy, or any web filtering.
I too have the same issue. Did you guys manage to work out what this is?
Any solution?
same. Here. facing the same issues
The majority of my systems have Success status for Windows diagnostic endpoint connectivity. About 1/3 of them have this “Can’t connect to the Connected User Experience and Telemetry endpoint (Vortex). Check your network/proxy settings” error.
It does appear however that the systems that have this error don’t have it consistently. I checked the M365AHandler.log file on the clients showing this error and I see the error “CheckConnectivityDiagnosis failed. Exit code -532462766” occur at different times. But sometimes the error doesn’t occur and it looks like the data is sent. I chalk this down to intermittent Internet connectivity issues.
Prajwal, can you please suggest if we take SCCM config approach can we define different telemetry level each business group. Eg. total 10 machine, i want 2k with Enhanced and 8k with basic telemetry level.