This article covers the steps to install WSUS 3.0 SP2 on Windows Server. Windows Server Update Services 3.0 Service Pack 2 (WSUS 3.0 SP2) provides a comprehensive solution for managing updates to your network.
The installation of WSUS 3.0 SP2 is basic and can be completed quickly. Whats important is the WSUS configuration and managing the WSUS.
WSUS is a computer program developed by Microsoft that enables administrators to manage the distribution of updates and hotfixes released for Microsoft products to computers in a corporate environment.
WSUS downloads these updates from the Microsoft Update website and then distributes them to computers on a network. The WSUS infrastructure allows automatic downloads of updates, hotfixes, service packs, device drivers and feature packs to clients in an organization from a central server(s).
WSUS 3.0 SP2 Lab Setup
We will be installing WSUS role on a separate server. Our lab requirements are listed below :
The name of the domain will be PRAJWAL.LOCAL. The Domain controller AD.PRAJWAL.LOCAL will be running DNS service along with Active Directory Domain Services.
The WSUS role will be installed on WSUS.PRAJWAL.LOCAL machine. We will use an account named “wsusadmin” to install and configure WSUS. The WSUS installation and configuration will be performed using this account, the user account wsusadmin will be the member of domain admins group.
To log in to the client machine CLIENT.PRAJWAL.LOCAL, we will use a test user account.
For WSUS hardware requirements, database requirements and prerequisites, please refer to this link.
Installing WSUS 3.0 SP2 Prerequisites
We will now install all the prerequisites required for WSUS 3.0 SP2. Login to Windows Server and launch the Server Manager. Right click Features and select Add Features.
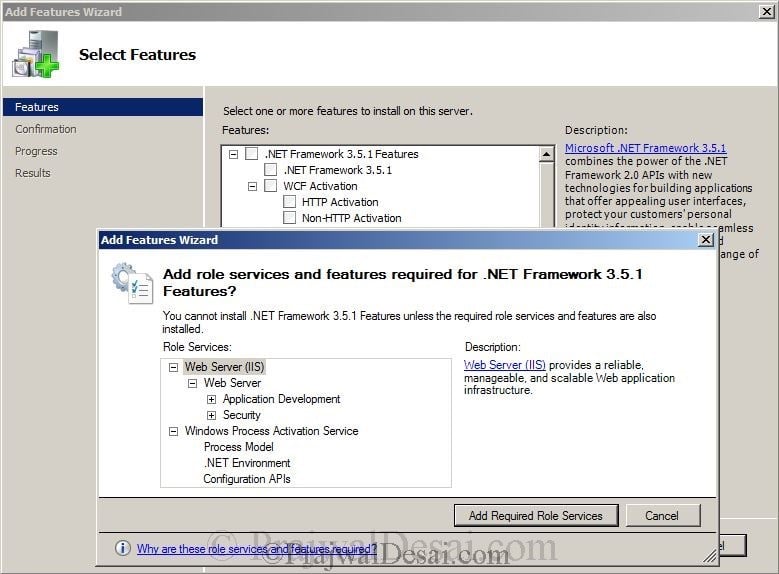
On the Select Features Page click .NET Framework 3.5.1 Features, a window pops up asking you to install additional role services, click on Add Required Role Services. Click Next.
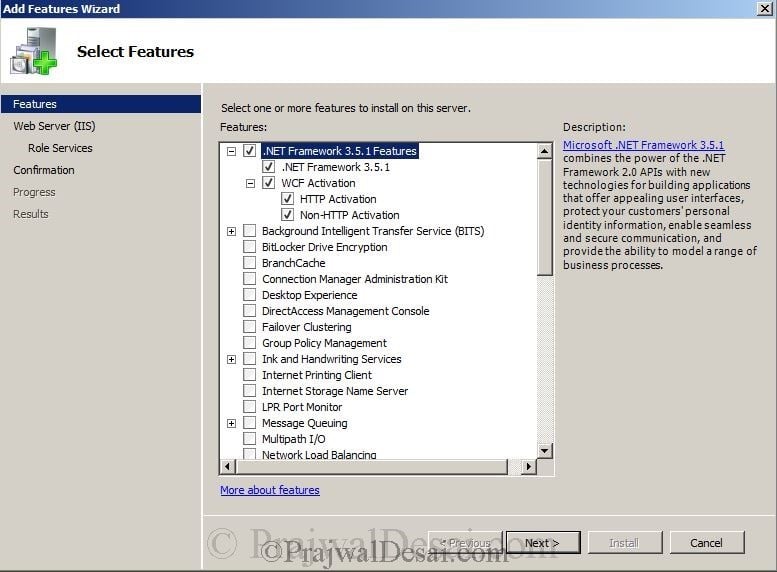
Once you have selected the required features, click Next.
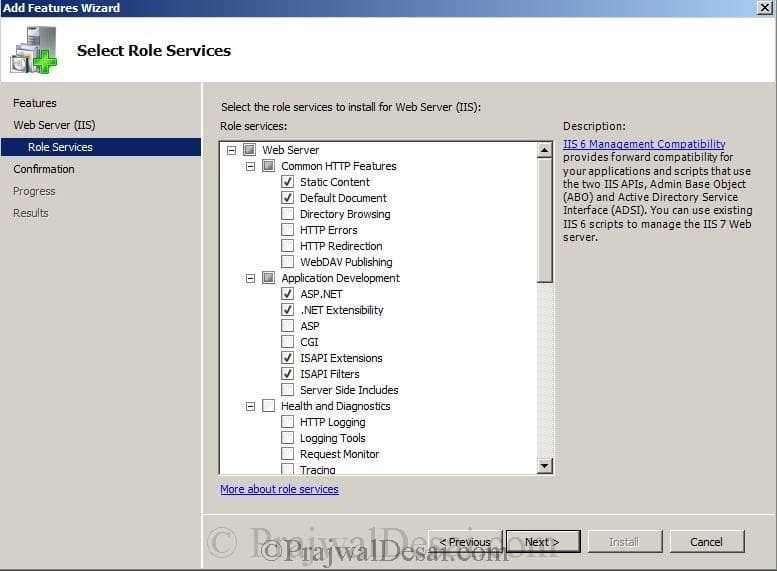
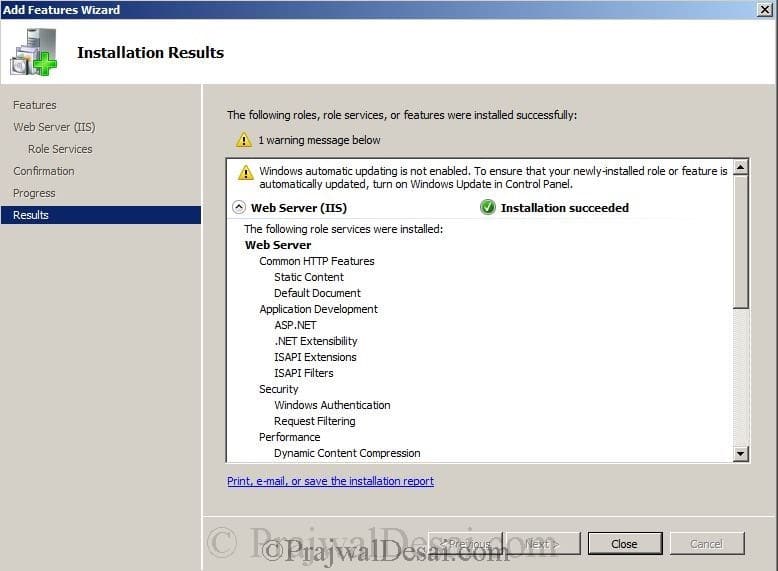
The following IIS services must be installed and running for WSUS to work:
- HTTP Static Content
- ASP.NET
- Windows authentication
- Dynamic content compression
- IIS Metabase Compatibility
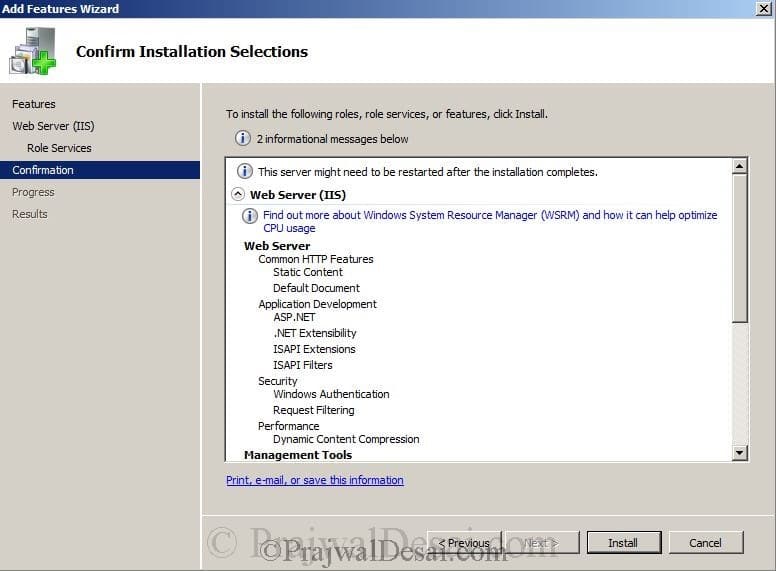
On the Confirmation window, click Install.
The selected services have been installed. Click Close.
Install Microsoft Report Viewer Redistributable 2008
Before we install WSUS 3.0 SP2 on our server, we require another software called Microsoft Report viewer redistributable 2008.
The Microsoft Report Viewer 2008 Redistributable Package includes Windows Forms and ASP.NET Web server controls for viewing reports designed using Microsoft reporting technology.
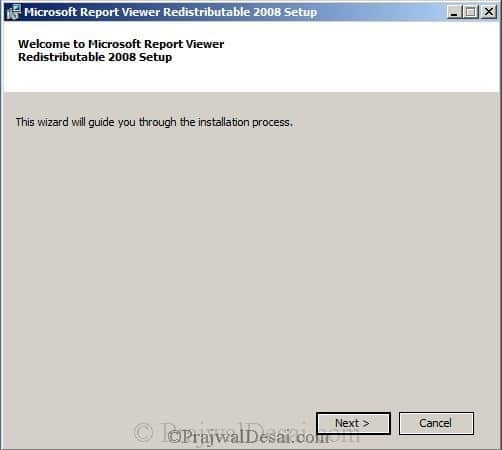
Run the report viewer setup file and click Next.
Accept the license terms and click Install.
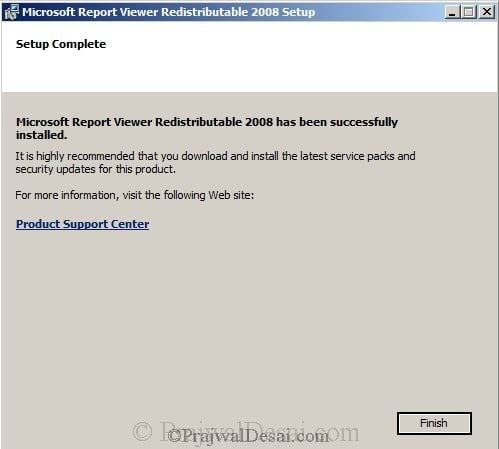
The Microsoft Report Viewer Redistributable 2008 setup is complete. Click Finish.
You may want to restart the server after installing the report viewer.
Install WSUS 3.0 SP2 on Windows Server
Let’s install WSUS 3.0 SP2 on Windows Server. You can install the WSUS 3.0 SP2 by launching the Server Manager > Roles > Add Roles > Windows Server Update Services.
Since we have already downloaded the setup file we will use the setup file to launch the installation of WSUS.
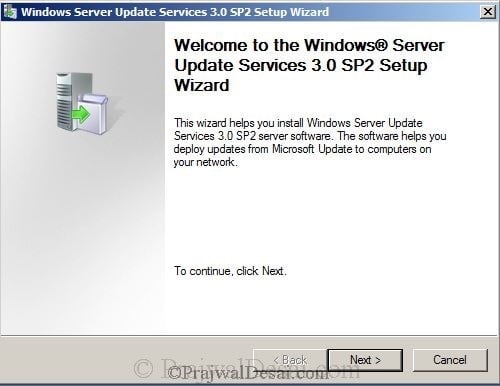
Right-click WSUS30-KB972455-x64.exe and run as administrator. On the Windows Server Update Services 3.0 SP2 Setup Wizard page click Next.
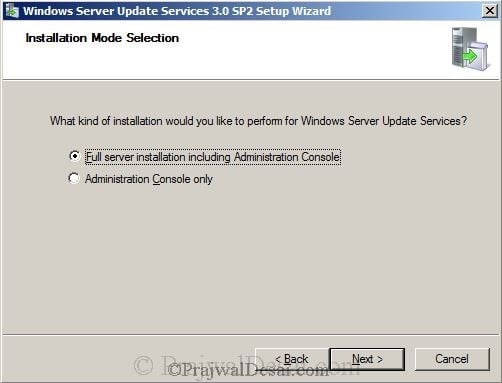
Select Full Server installation including Administrator Console. click Next.
Read the license terms and click on I accept the terms of the license agreement. Click Next.
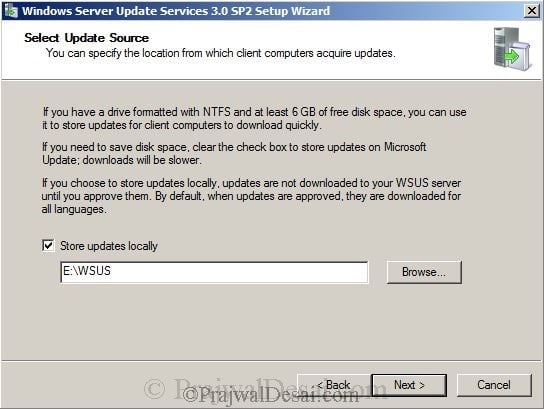
On the Select Update Source page, you must specify a location to store the WSUS updates. You can store the updates locally (on the same server) or choose a network location.
We will store the updates locally and the updates will store on other drive E. It’s not recommended to store the updates on C drive because if the OS crashes then the updates are also lost along with it. Click Next.
Click the first option, Use the existing IIS Default website (recommended). Click Next.
The WSUS 3.0 SP2 takes approximately. 2-3 minutes to complete installation. Once the installation is complete, click Finish.
This completes the steps to download and install WSUS 3.0 SP2 on Windows Server. Check out the next set of guides that you need to configure WSUS.






Hi i have wsus SERVER WITH 2012 r2 and service pack3.0 i need to upgrade the service pack to 4.0. kindly can you provide any docs to follow the steps.
And yet again it failed. “There is a problem with this Windows Installer package…Contact your support personnel or package vendor” Rolling back, hey ho. Log file shows error 1603. Web research shows wildly differing and possibly eccentric solutions. Yours?
Your screenshots for the required role services etc. consistently omit the lower half of the list. So I’m having to guess what further roles and services I might need to install. Perhaps you could update your otherwise good guide?
Hi Dakmus, Whatever roles and services that are enabled are listed below the screenshots. In some screenshots I couldn’t cover it because it requires scrolling and taking another screenshot. If you need the exact list of roles and services to be installed, let me know, I will send you the screenshots.
Hi
same steps are required to follow to configure WSUS on Server 2008 std? I have installed server 2008 std on one of the server machine but ‘Add Feature’ and ‘Remove Feature’ are disable. what could be the reason. how to enable?
Thanks.
To install WSUS 3.0 SP2 on windows server 2008 make sure that you have Windows Server 2008 with SP2 or Windows Server 2008 with Service Pack 1 (SP1) installed. Also with what account have you logged in and does the account have enough permissions to add or remove features ?
hi
thank you for post
But i have a question. i have two wsus server.
one of them has internet connection but another has not.
And i want to download updates to first server(that has internet connection),
and export updates from this server, import updates to another server.
So i installed wsus to server has internet connection.
But i failed to install another server.
Because, in Configuration wizard, in Choose upstream server page, I cannot select microsoft update or other option.
So, what can i do for this trouble?
Please help
Why did the installation fail ? Also make sure that both the servers can communicate..if possible send the screenshots using my contact form.
the servers cannot communicate each other. They are in seperate network.
I want to download updates to server that has connection. And then, i must copy and move updates with removable device(like usb). And import updates to another server. So, I cannot select any option in upstream server selection page with configuration wizard. Here is the problem.
Excellent post. I was checking constantly this weblog and I’m inspired! Very helpful info particularly the last phase 🙂 Thank you and best of luck.
Thank You Endler.