


In this blog post, I’ll walk you through the steps to export PIM role assignments in Entra ID. If you’re an administrator looking to analyze role assignments, generate compliance reports, or maintain an audit trail, this guide is for you.
The Privileged Identity Management (PIM) enables organizations to manage just-in-time (JIT) access to critical resources to privileged roles, ensuring that users only have elevated access when absolutely necessary. The resources include Microsoft Entra ID, Azure, and other Microsoft Online Services such as Microsoft 365 or Microsoft Intune.
There are two ways to export Entra ID PIM role assignments: Entra Admin center and PowerShell. With Powershell you can individually export eligible and assigned PIM role assignments while with Entra admin center, you can export all the PIM assignments at once.

Exporting Entra PIM role assignments to a CSV file allows you to analyze which users have been granted privileged roles. Administrators can utilize this report to identify users assigned with PIM roles that may no longer be necessary.
Why Export Entra ID PIM Role Assignments?
From an organization’s security standpoint, regularly auditing role assignments in Entra ID is crucial to ensure that permissions are appropriately granted to the right users, groups, or applications. Exporting PIM roles proves valuable in various scenarios:
- Compliance and Reporting: Many organizations are required to provide access reports for audits.
- Access Reviews: When you export PIM role assignments, it helps to identify users with unnecessary or excessive permissions.
- Governance: Ensures that privileged accounts are managed in line with organizational policies.
Prerequisites
- Entra ID Global Administrator
- Install the latest Microsoft Graph PowerShell module
- PowerShell version 7 or newer
- Microsoft Excel app to view the CSV file data
Export PIM Role Assignments from Entra Admin Center
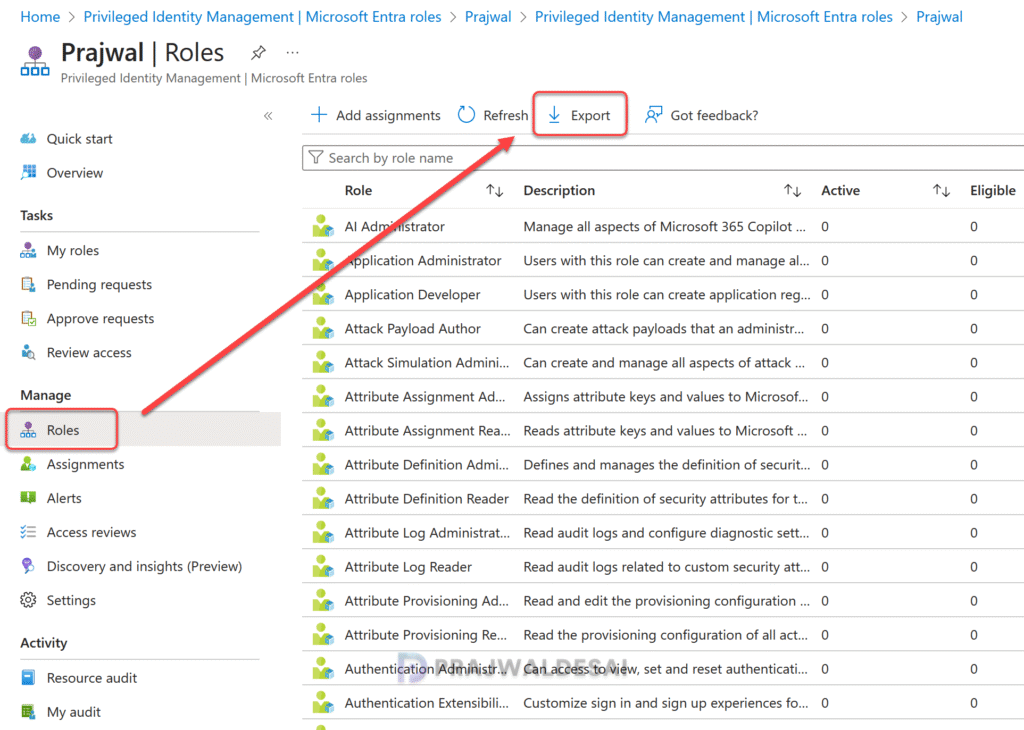
The easiest way to export all the PIM role assignments is from Microsoft Entra Admin center. First, sign in to the Microsoft Entra Admin Center. Navigate to ID Governance > Privileged Identity Management > Microsoft Entra Roles.

Under Manage, select Roles. Now you should see all the PIM roles listed on the right-hand side. Click on Export option.
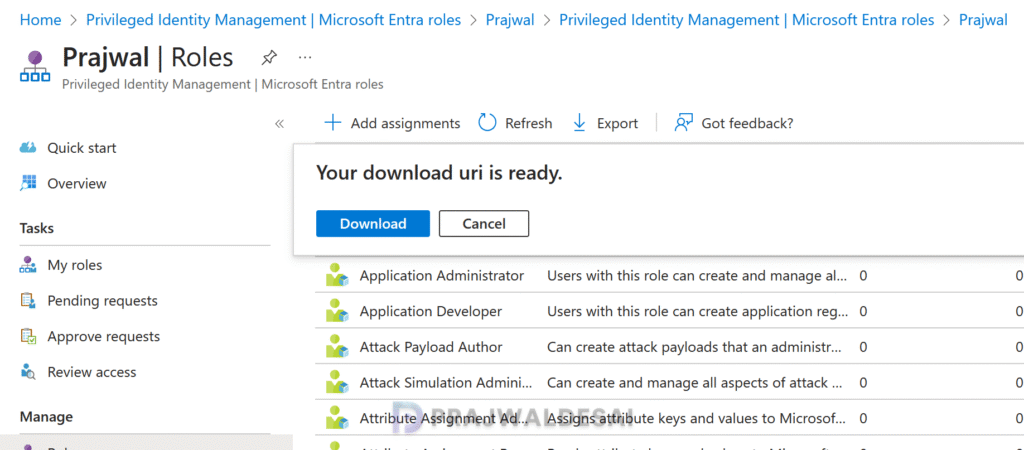
The file will be prepared for the download. Click on the Download button and your browser downloads ‘RoleAssignments.csv‘ file that contains all the Entra ID PIM role assignments.
Open the PIM role assignment report (RoleAssignments.csv) with an Excel app. It includes the following information:
- Assignment State
- User Group Name
- Role Name
- Principal Name
- Member Type
- Assignment Start Time
- Assignment End Time
Through this file, you can find out users that are assigned with privileged roles and conduct access reviews to ensure users still need roles.
From my experience, I can tell you that PIM assignments can be permanent, but they are more often time-bound. This enables administrators to carry out tasks on a just-in-time basis without requiring their accounts to have continuously elevated permissions.

Export Entra ID PIM Assignments using PowerShell
In this method, I will show you how to export PIM role assignments to a CSV file using PowerShell. Although this approach is slightly more complex than the previously discussed method, it retrieves the data much faster and more effortlessly.
Note: GitHub offers various scripts that can generate a CSV report combining eligible and assigned PIM roles. However, during my testing, I found that some scripts were outdated and non-functional, while others required minor adjustments to work effectively.
Step 1: Install the Microsoft Graph Module
Ensure you have the Microsoft Graph module installed. Run the following commands to install and import the module:
Install-Module Microsoft.Graph -Scope AllUsers -Repository PSGallery -Force
Step 2: Connect to Microsoft Entra ID
Next, run the following command to authenticate and connect to Entra ID. In the below example, I have authenticated using an Entra ID Global Administrator account.
Connect-MgGraph -Scopes "RoleManagement.Read.All"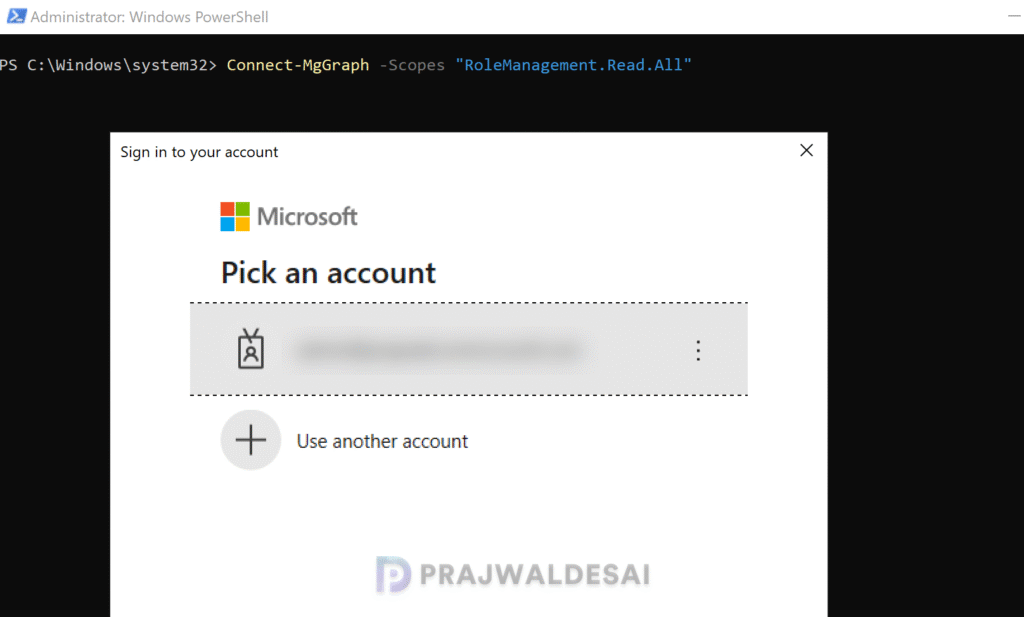
Step 3: Export Eligible PIM role assignments
The Get-MgRoleManagementDirectoryRoleEligibilitySchedule retrieves the schedule for a role eligibility operation. Run the below command to retrieve all the eligible PIM role assignments and export it to a file named “EligiblePIMRoles.csv“.
Get-MgRoleManagementDirectoryRoleEligibilitySchedule | Export-Csv -Path "C:\EligiblePIMRoles.csv"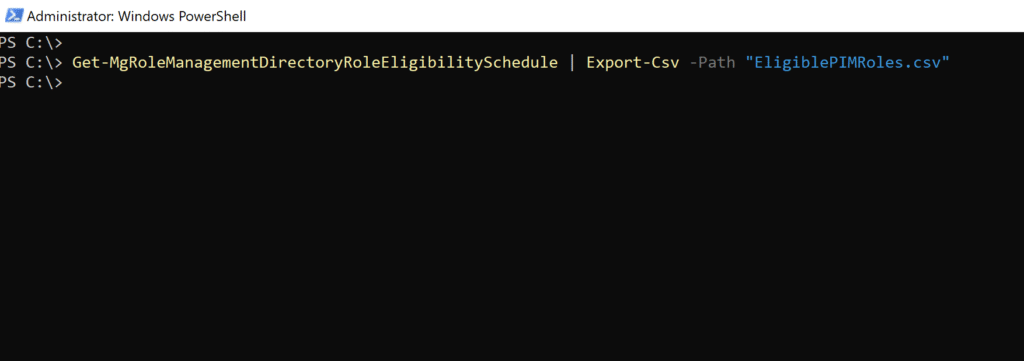
Step 4: Export Assigned PIM role assignments
The Get-MgRoleManagementDirectoryRoleAssignmentSchedule retrieves the schedule for a role eligibility operation. Run the below command to retrieve all the assigned PIM role assignments and export it to a file named “AssignedPIMRoles.csv“.
Get-MgRoleManagementDirectoryRoleAssignmentSchedule | Export-Csv -Path "C:\AssignedPIMRoles.csv"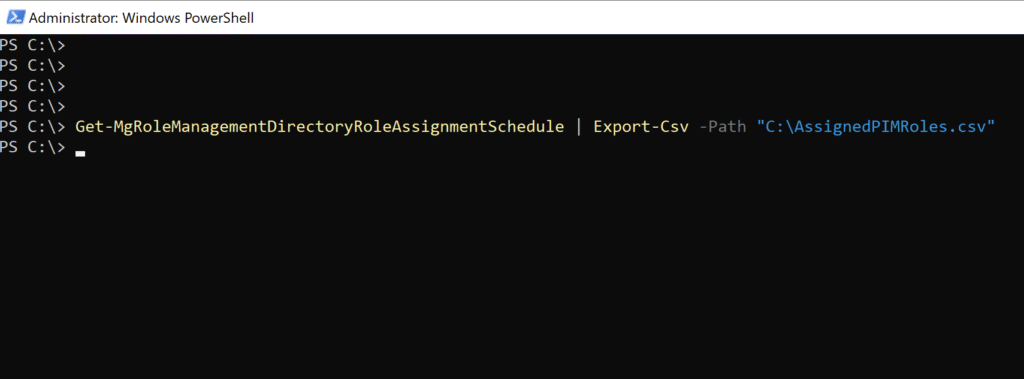
That’s all I wanted to cover in this guide. If you need any clarification or suggestions related to this post, please let me know in the comments section.
