

This post shows the steps to deploy Sophos endpoint protection agent using SCCM. For a big organization protecting computers is the major task. While there are lot of anti-virus solutions out there, Sophos is also in the top list of AV’s. Sophos also allows security admins to manage all Sophos products from a single, cloud-based console. Sophos provides different methods for automating the deployment of software to Windows computers. SCCM makes it easier to deploy Sophos central installer to multiple window computers. If you have access to Sophos central and looking to deploy agents across your organization, this post should help you.
Sophos Endpoint Protection Command line switches
Sophos provides few command line switches to install endpoint protection agent. The below switches applies to Sophos Cloud Managed Endpoint, Central Endpoint Standard and Endpoint Advanced. Sophos cloud installer switches include:-
| Switch | What it does |
| -q | Installs Sophos agent with no user interface. |
| -tps detect/ignore/remove | detect – Stops the installation if Sophos finds another security software.
ignore – Ignore the existing security software and install Sophos protection software. remove – removes existing security software and then installs Sophos agent. |
Deploy Sophos Endpoint Protection Agent using SCCM
Let’s look at steps to deploy Sophos endpoint protection agent using SCCM. Login to Sophos Central console and click on Protected Devices. Under Endpoint Protection, click Download Complete Windows Installer. Save the installer and copy it to sources drive or any shared path. This path should be accessible by configuration manager.

 Open Configuration Manager console, click Application Management. Right click Applications and create a new application. Click Manually specify the application information.
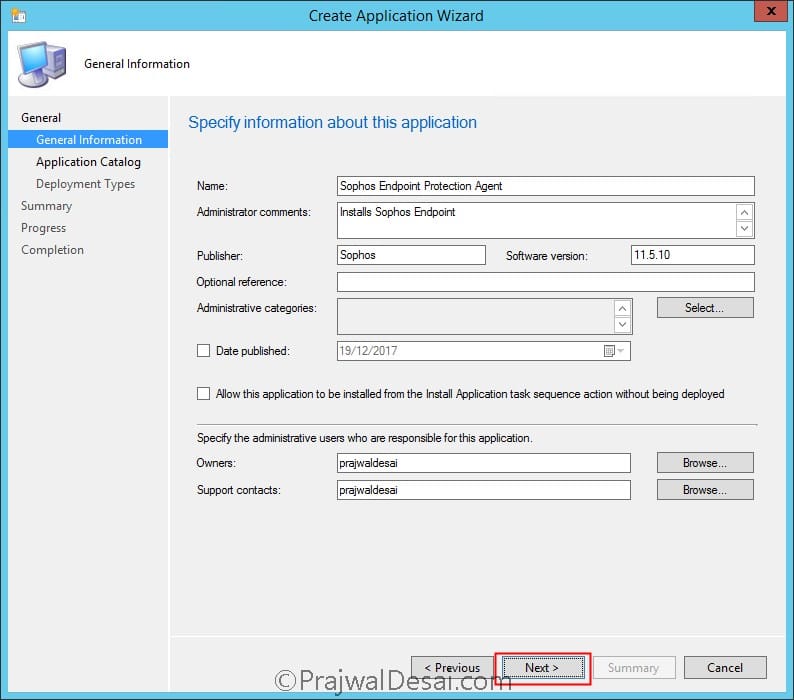
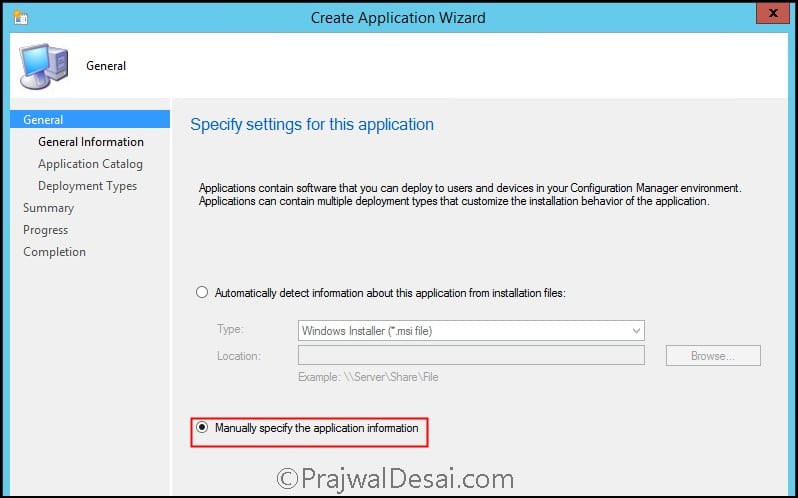 Add information about the application and click Next.
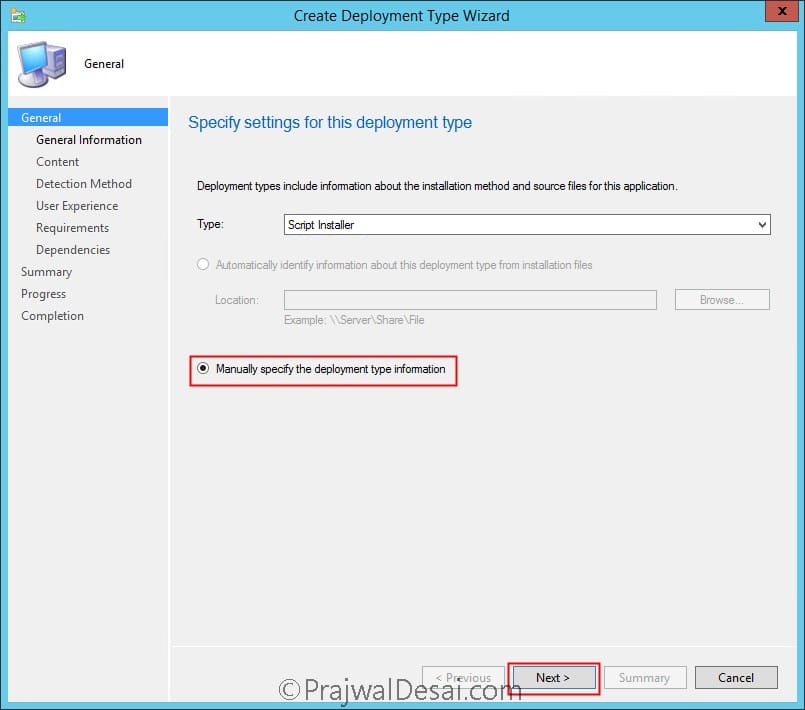
 Add a new deployment type and select Manually specify the deployment type information. Click Next.
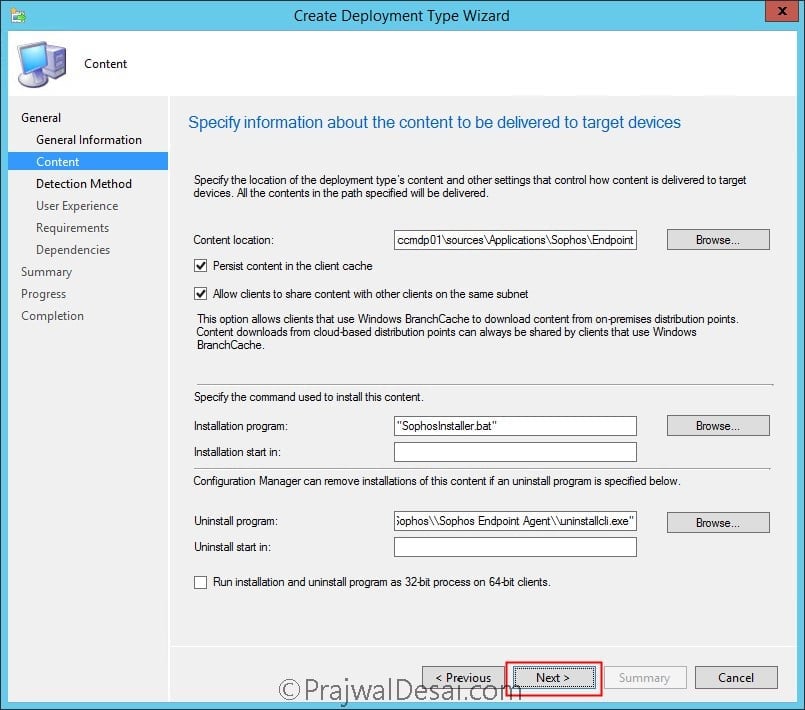
 Specify Content location (path where content is located). In the next step specify install and uninstall commands as shown below. The sophos installer batch file contains the code to install Sophos cloud endpoint. The code is available here. Copy the code into notepad, you need to replace line pushd \\servername\share with the location of the installer package on your network. Save it as a batch file and use it as installation program.
Installation program - "Sophosinstaller.bat"

Uninstall program - "C:\\Program Files\\Sophos\\Sophos Endpoint Agent\\uninstallcli.exe"
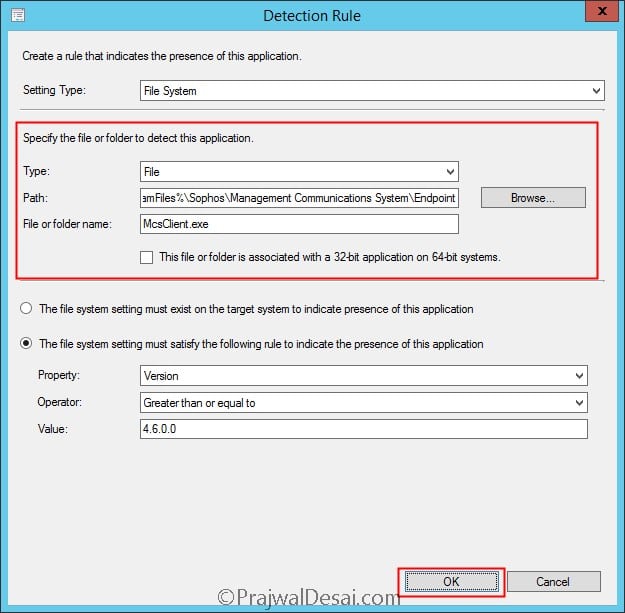
 Let’s add detection method to detect the presence of this application. We will define 2 detection methods here. Click Add Clause and configure the following.
Setting Type  - File System

Type - File

Path - %ProgramFiles(x86)%\Sophos\Management Communications System\Endpoint

File or folder name - McsClient.exe
Select The file system must satisfy the following rule to indicate the presence of this application.
Property - Version

Operator - Greater than or equal to

Value - 4.6.0.0

For second detection rule add the following.
Setting Type - File System

Type - File

Path - %ProgramFiles(x86)%\Sophos\Management Communications System\Endpoint

File or folder name - McsClient.exe

Property - Version

Operator - Greater than or equal to

Value - 4.6.0.0
 Under connector specify Or and click Next.
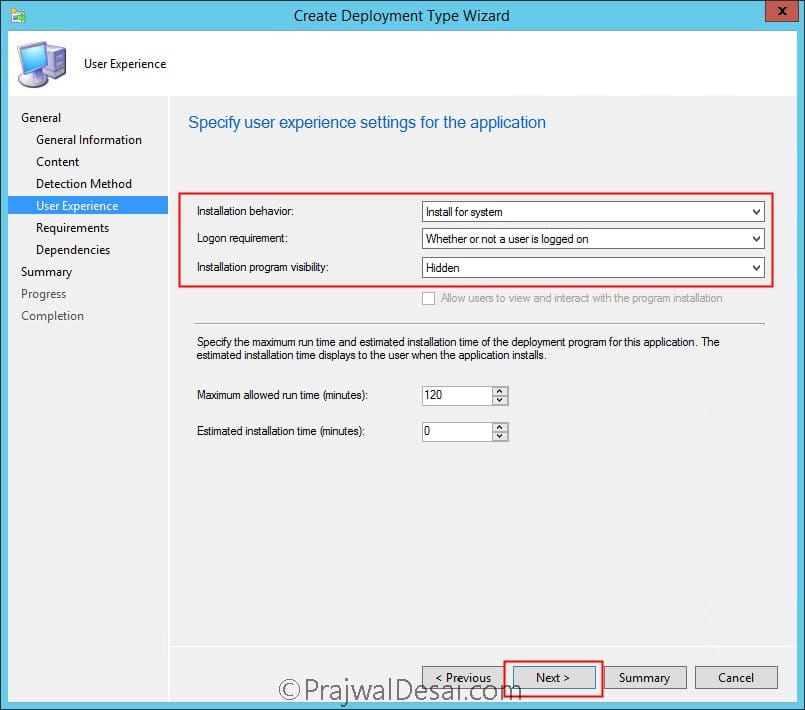
 Specify the app the install for system. Set logon requirement to Whether or not a user is logged on. Specify installation program visibility to hidden. Click Next.
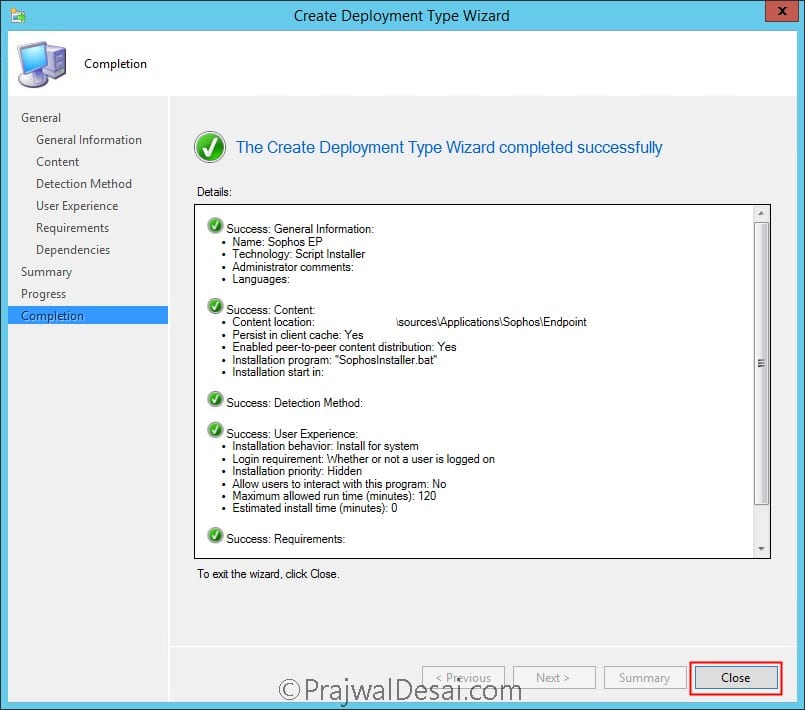
 Finally on completion page click Close.
 The next steps are simple to perform. Distribute the app to distribution points and deploy this app to device collection. The client computers will need internet connectivity to complete the installation of Sophos endpoint protection agent.

So sorry for the wrong pic in previous post. This pic is correct
Thank you
Hello Mr.Prajwal
I deployed Sophos Endpoint to my PC but got error when installing this package. Via SCCM, I got the error as pic1.
I tried to install directly the .exe file on my PC but got error as pic 2.
I could access Sophos Central and confused about the notification that installer cannot connect to Sophos Central.
Please help me to install this package via SCCM. Thank you a lot!
Hi Great post, but I am being dumb where does the batch file go ?
Inside the sophos folder with the app ?
Hello all,
We are using the Task Sequence for new machines to deploy an OS.
We have specified what programs we would like to be installed during the OSD including Sophos (one package and different programs as we have multiple offices in many countries).
My question is:
Is there any chance to specify in the MDT Custom Settings.ini file a parameter that will check if the machine that we are pushing the OSD is laptop or not? If laptop to send programA and if not to send programB.
Thank you in advance
Hi,
This looks great. What are the benefits of using the batch file over using the command line switches for the Sophos installer?
and will this same method work for the window server installer?
and in addition, how can a quiet install and remove tps be invoked, when using the bath file, rather than command line switches? I’m unsure which method is best to use and I see guides on your site for both, either of which would presumably do the trick nicely. I just don’t know which to go for.
Using the batch file is the easiest method according to me. If you visit Sophos, they even recommend using the batch file and deploy it via GPO.
I’ve tried the command line version and it doesn’t seem to work due to the new Sophos thin installer. SophosSetup.exe runs and extracts Sophos.exe, leaving both exe files running in task manager, but neither finishes and the deployment fails. I imagine this will happen with the batch file method, too. Do you have any advice? thanks 🙂
Hi Paul, the batch file provided by Sophos works. Just follow the instructions that are listed in this post and let me know if you see any issues with deployments.
Using batch files is the method suggested by Sophos. What command line switches are you referring to ?.
How did you determine the software version for Endpoint?
Under the endpoint folder right click mcsclient and check details. That should provide the version.
How do you force sophos to apply the policy or run an update after restart on client?
Hi, on your second detection rule, you repeated the “%ProgramFiles(x86)%” text, when your screenshot shows “%ProgramFiles%”
Sorry about that, please ignore and I will try to find the correct screenshot.
did you ever find the correct screen shot for the 2nd detection method?
Hello,
Love the website and thank you for the guide – it really helped. I do have a question though that I was wondering if you could help with?
We are going to be rolling out Sophos Endpoint Protection in my organisation in the next couple of weeks and on the POC we are currently doing testing out Sophos we have encounted an issue. After Installing Sophos, SCEP is removed but once the PC restarts it comes back on again.
I have tried multiple things on SCCM like custom Client Settings and custom anti-malware policies but it just keeps on reinstalling. Just wondered if you had this issue yourself and if you were about to fix it?
Thanks in advance.
Rich