

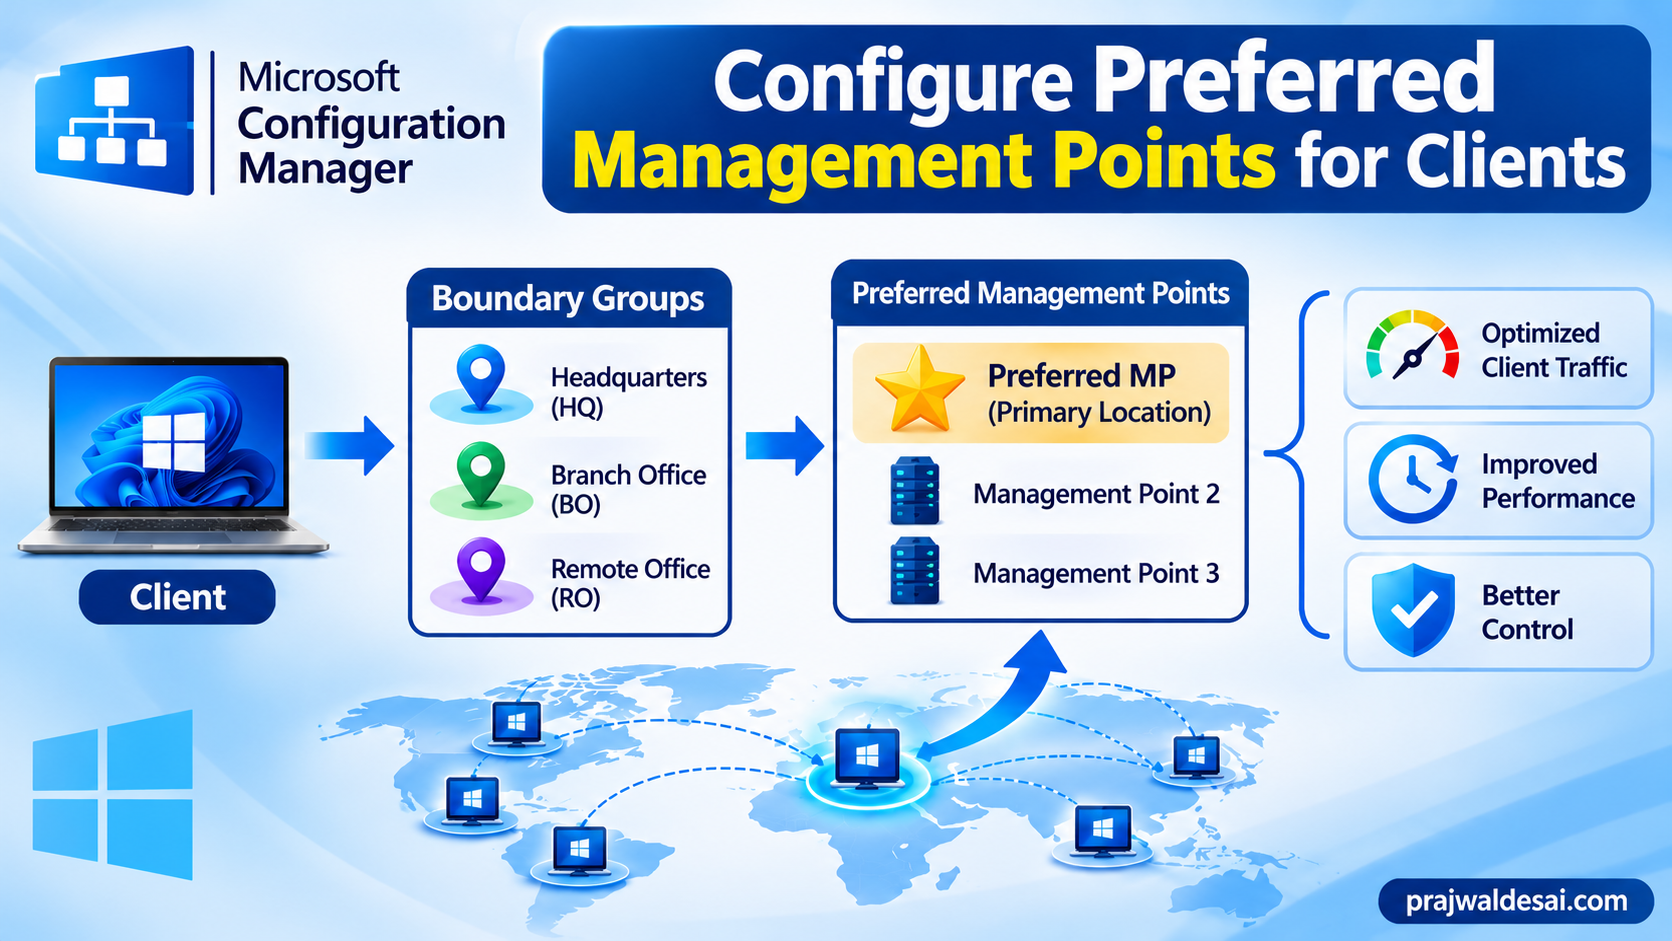
In this post, I will demonstrate how to configure SCCM preferred management points for your clients. When you enable the option “Clients prefer to use management points specified in boundary groups“, Configuration Manager uses the boundary group functionality for the assigned management point.
In the past, I have audited several organizations that had distributed configuration manager environments. In such setups, it is important that clients communicate with the closest or most optimal Management Point (MP) to download policies and upload status data.
What’s interesting is, by default, SCCM clients dynamically select any management point within their assigned site. However, this can lead to WAN traffic issues if a client in a remote branch office connects to an MP across a slow network link. Furthermore, if you have set a shorter interval for client policy polling, this can cause increased traffic in the setup.
To solve this, you can enable Preferred Management Points in your site hierarchy settings. This feature allows you to associate management points with specific boundary groups, ensuring that SCCM clients preferentially communicate with the MPs closest to them.
Prerequisites
Before you begin, ensure your environment meets the following requirements:
- Always use the latest supported current branch version in your setup. Refer to the end-of-life dates for Configuration Manager versions.
- You need an administrative account with the Full Administrator or Infrastructure Administrator role in SCCM.
- Ensure you have more than one management point installed and operational across your infrastructure.
- Boundaries and boundary groups must already be defined for your network locations.
- Preferred Management Points apply primarily to intranet-connected clients. Internet-based clients will continue to use CMG as configured.
Configure SCCM Preferred Management Points for Clients
By default, the Preferred Management Points feature is disabled globally. You can enable it under the hierarchy settings using the following steps.
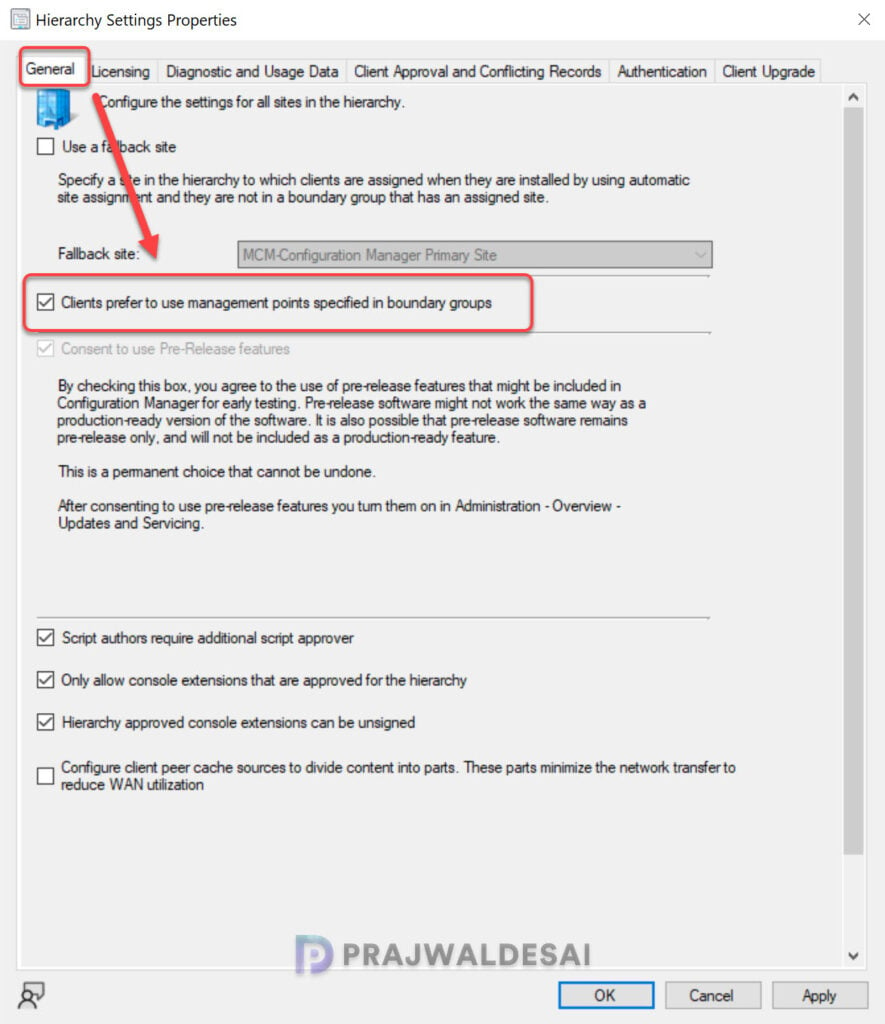
Step 1: Turn on preferred management points for clients
- Open the Configuration Manager Console.
- Navigate to the Administration > Site Configuration > Sites. In the top ribbon, click on Hierarchy Settings.
- In the Hierarchy Settings Properties window, select the General tab.
- Check the box next to ‘Clients prefer to use Management Points specified in Boundary Groups‘. Click Apply and then OK.
Step 2: Associate Management Points with Boundary Groups
Once enabled globally, you must assign your specific management points to the appropriate boundary groups so clients know which servers are “preferred” for their network location.
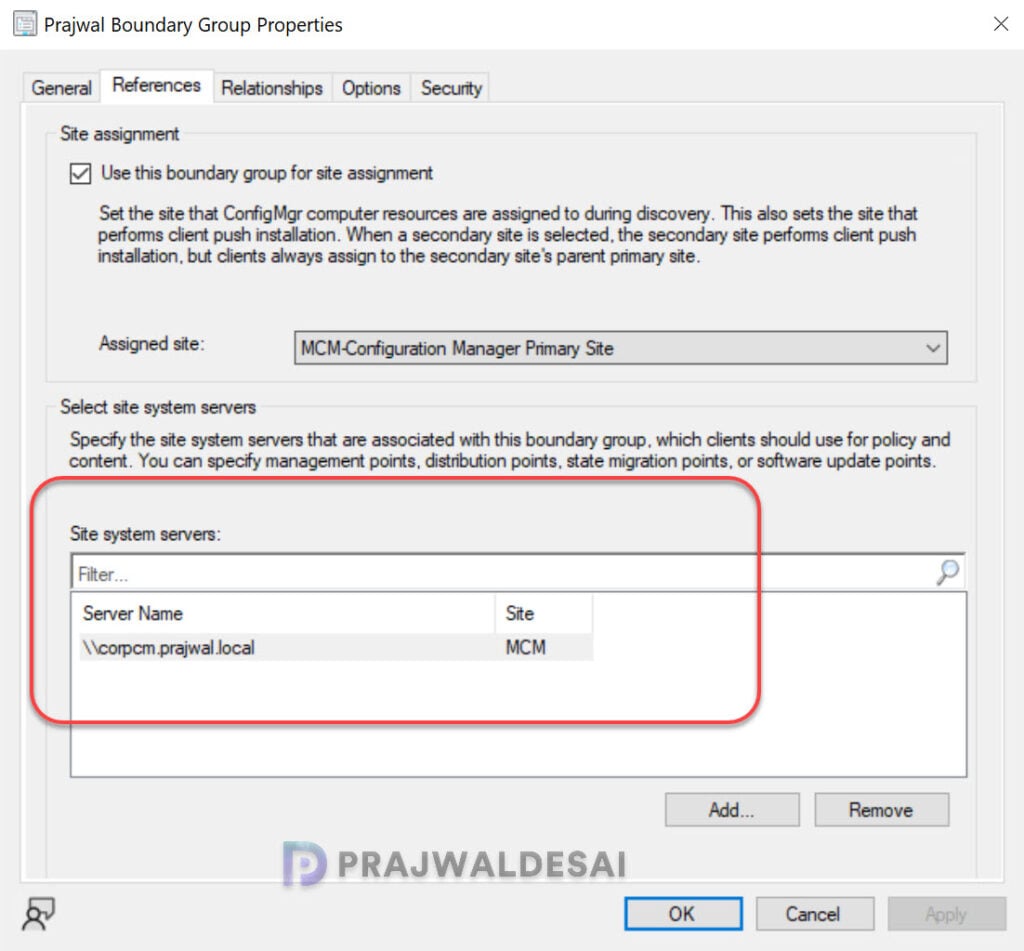
- In the console, go to Administration\Hierarchy Configuration\Boundary Groups.
- Right-click the Boundary Group that represents the network region or branch office and select Properties.
- Switch to the References tab. Under the Site system servers section at the bottom, click the Add button.
- Add the preferred management points and click OK to close the selection window.
- Click Apply and then OK to save the Boundary Group changes.
Step 3: Verify the Configuration on the SCCM Client
After the server-side configuration, you should verify that the SCCM clients are correctly identifying and using their designated Preferred Management Point.
Method 1: Verify via the Configuration Manager Applet
Once the client policy is updated on the end device, admins can verify if the preferred management point is visible under the ConfigMgr applet properties. Log in to a client computer that resides within the modified Boundary Group. Launch the Control Panel and open the Configuration Manager applet. On the General tab, look at the Management Point field. It should display the FQDN of the preferred MP you assigned in the above step.
Method 2: Review Client Log Files
Log files record most of the changes made to the settings in the Configuration Manager. On the client computer, open the LocationServices.log (typically located in C:\Windows\CCM\Logs\) and look for the below entries.
Discover Default MP	ClientLocation
Site Code is MCM; Management Point is https://corpcm.prajwal.local; MP HTTPS enabled = 1	ClientLocation
Setting current Management Point as https://corpmp1.prajwal.local	ClientLocation