


In this article, I will show you two ways to repair and update Adobe Acrobat installation on your Windows PC. If the Adobe Acrobat refusing to open PDF files or if the Adobe setup files are corrupted, you can repair the installation and update it to latest version.
The most frequent problem with Adobe Acrobat is its inability to open PDF files. The Adobe Reader frequently fails to open PDF files, and this issue occurs every time a PDF file is opened. The installation of Adobe Acrobat itself is the issue here, not the PDF itself.
The Adobe Acrobat Reader and Adobe Acrobat DC both support the repair installation option. Users can repair the installation of Adobe Reader on their own whenever there is a need. If the “Repair Installation” for Adobe Acrobat is disabled the user will not have the option (Help Menu) or ability to repair an Adobe Acrobat Pro DC install. In this case, you must contact your administrator to enable the repair option.

Recommended Article: Customize and Deploy Adobe Acrobat using SCCM
Repair Adobe Acrobat Installation
When you are encountering issues with Adobe Acrobat such as unable to open PDF files, errors etc. you can repair the installation. The repair option will fix corrupt files and reinstall any missing files. To repair Adobe Acrobat, follow these steps:
Step 1: Close all the PDF files that are currently open in the Adobe Acrobat application on your computer. The repair option will not work if the PDF files are open in the Adobe Acrobat Reader DC. Any PDF files you are working on should be saved to a location on your hard drive.
Step 2: Open the Adobe Acrobat DC application on your computer. Navigate to the Help tab and click on Repair Installation.

Step 3: A pop-up window appears asking “Are you sure you want to repair the current installation?“. Select Yes to begin the repair of Adobe Acrobat DC application.

Step 4: The Adobe Acrobat installation repair begins now. The missing files are downloaded and installed and existing issues with the application are also resolved.

Also Read: Deploy Adobe Acrobat Updates using SCCM
Repair Adobe Acrobat using Control Panel
There is another way to repair the Adobe Acrobat DC or Reader application using control panel. If you are unable to launch the Adobe Acrobat application due to errors, you can use this method to repair the installation.
Step 1: Launch the control panel on your Windows PC by clicking on Start and typing the Control Panel in the search box. From the search results, select Control Panel and click Open.

Step 2: In the Control Panel window, select Programs and then select Programs and Features. This should now list all the programs installed on your computer. From the list of installed Programs, right-click Adobe Acrobat DC program and select Change.

Step 3: On the Adobe Acrobat DC Application Maintenance window, click Next.

Step 4: The Program Maintenance wizard offers the following options for end users.
- Modify: Choose this option to change the installed features.
- Repair: This option repairs the installation errors in the program. In addition, it fixes missing or corrupt files, shortcuts, and registry entries.
- Remove: Select this option to uninstall or remove Acrobat DC from your computer.
From the list of options, select Repair option and click Next.

Step 5: The wizard repairs and even updates the installation. To repair and update Adobe Acrobat installation, click Update.

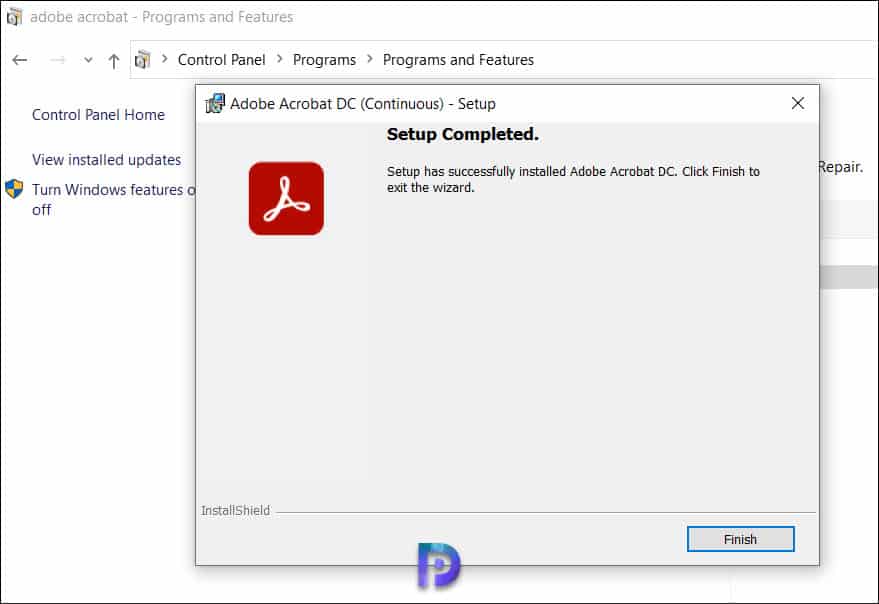
Step 6: In the below screenshot we see the Adobe Acrobat repair has been completed successfully. Click Finish to close the repair wizard.
How to Update Adobe Acrobat to Latest Version
If the problem persists after repairing the software, you must check for any available updates. Adobe releases regular security updates for Reader and Acrobat. It’s likely that the latest update patch can fix a conflict with your system or browser. An outdated version of Adobe Acrobat may result in issues and prevent PDF files from opening.
To update Adobe Acrobat DC to the latest version, launch Adobe Acrobat program and navigate to Help > Check for Updates. Adobe will take some time to check for updates, and you can update to the latest version if it is available.

If the updates are available, they will be downloaded and installed. The Adobe Acrobat version will be updated after the updates are installed.

