In this post I will cover the steps to deploy Yammer using SCCM. Yammer is an enterprise social networking service used for private communication within organizations. Yammer is available for both Windows and Mac OS. Since Yammer is an enterprise service, you will need an Office 365 account to sign in. Furthermore if your organization supports SSO (single sign on), you’ll be signed in automatically after launching the app.
As per Microsoft, “The Yammer collaboration platform allows you to integrate business applications via Open Graph. Bring people, conversations, and data from your favorite business apps into Yammer, making information discoverable, meaningful, and actionable“.
You can either download executable file or msi installer file. Recently one of the user asked me about deploying 32-bit app to 32 bit OS and 64 bit app to 64 bit OS. This can achieved by adding a deploying type and specifying the requirements. When you add the requirements, configuration manager verifies these requirements. If the requirements are met, the app is deployed else it won’t be deployed. To download the latest version of Yammer, visit this link. In the same link, you also have an option to download Yammer mobile app for android and apple.
System and User Requirements – Yammer
Yammer application is available for both Windows and Mac OS. Below are the system and user requirements for installing Yammer.
- Windows 7 or later.
- Mac OS 10.9 or later.
- Yammer account using Office 365 identity.
How to deploy Yammer using SCCM
The steps to deploy Yammer using SCCM are fairly simple. I will be adding two deployment methods this time. One for 32-bit and another for 64-bit app. By specifying the OS requirement, appropriate version of app will be deployed. In the SCCM console. navigate to Software Library > Overview > Application Management > Applications. Create an Application and you will see create application wizard.
On General page, click Manually specify the application information. Click Next.
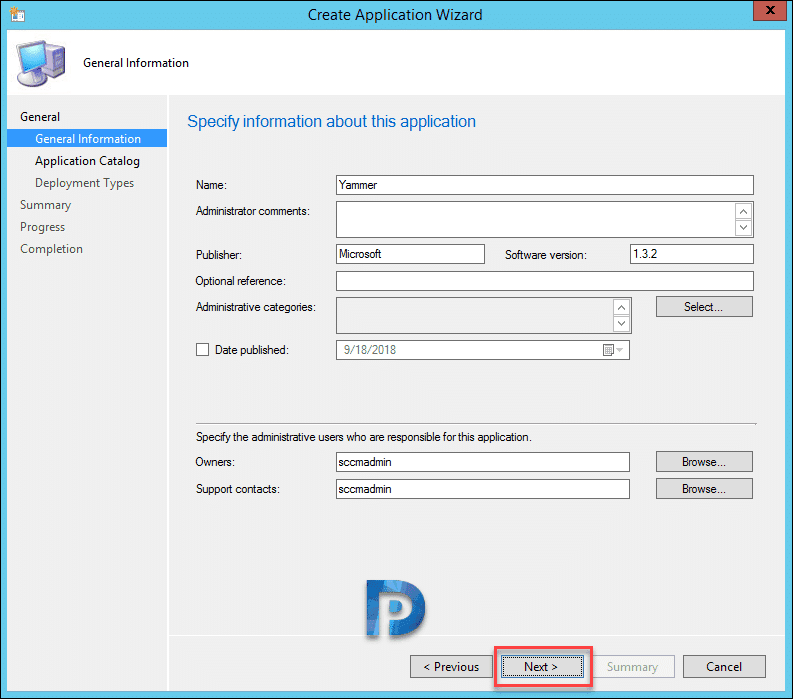
Add some app details. Click Next.
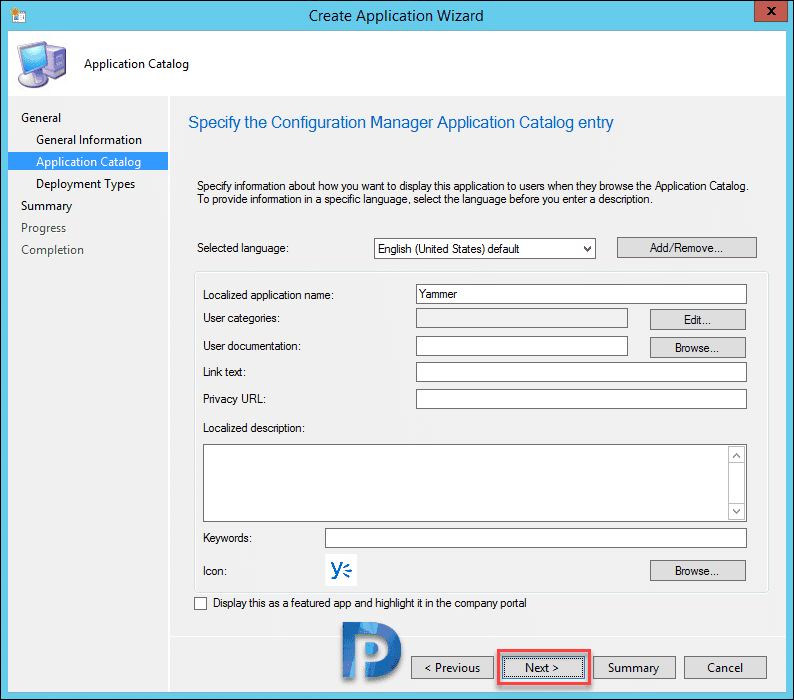
Add some more info and click Next.
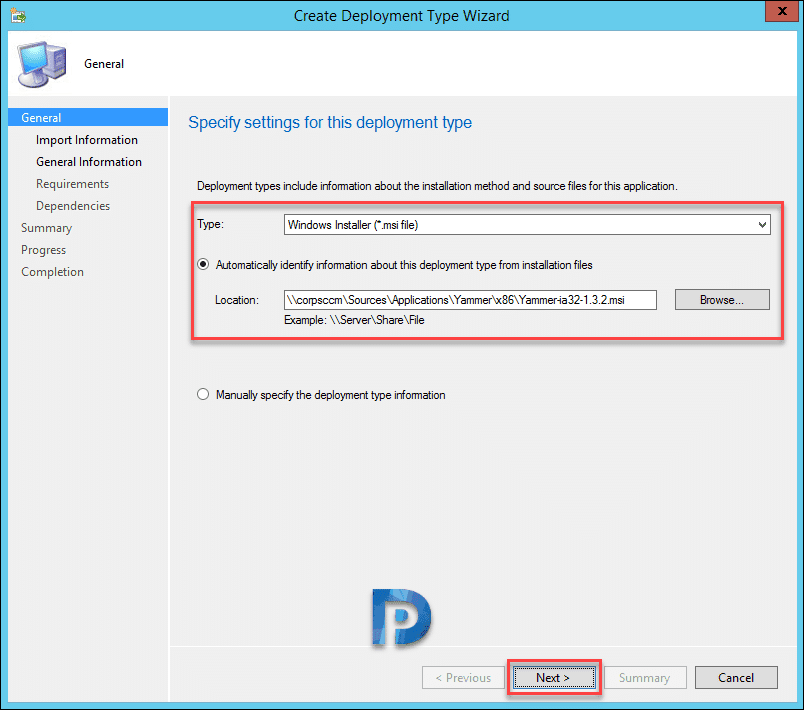
Deployment Types – You need to add a deployment by clicking Add button. You will see create deployment type wizard. On the General page, choose the type as Windows Installer (*.msi file) and specify the 32-bit location of Yammer msi app.
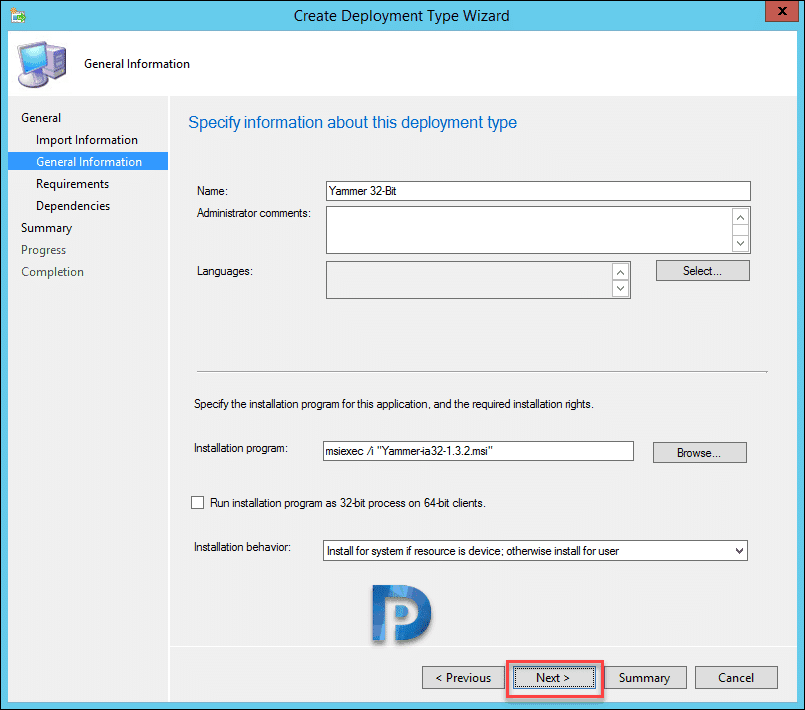
Add the details about the 32-bit yammer app. Click Next.
Configuring Requirements
Requirements – We will now add the requirements by specifying OS as requirement type. Most of all we want to deploy 32-bit app to x86 based OS. So click Add button. You will now see create requirement box. Configure the settings as per below info.
- Category – Device
- Condition – Operating System
- Rule Type – Value
- Operator – One of
Now for Windows 7 and above client OS, check the box which reads All Windows OS 32-bit up-to Windows 10. Click Next.
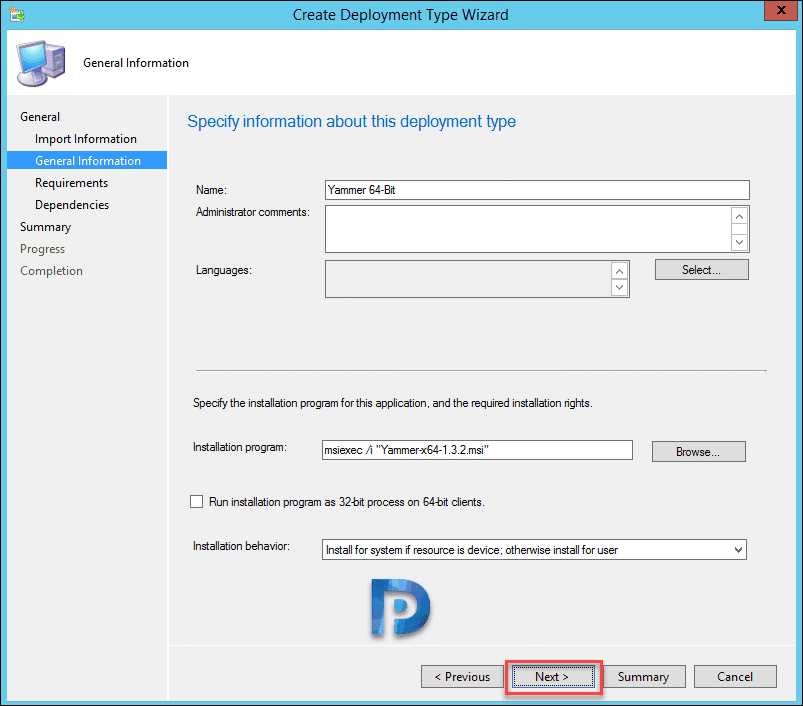
We just added one deployment type for 32-bit Yammer app. We will add another deployment type for 64-bit Yammer app. This is quite similar to what we did above, so click Add button and specify the 64-bit msi file. Click Next.
Click Next.
Once again specify the requirement type for 64 bit OS and click Next. Complete the remaining steps.
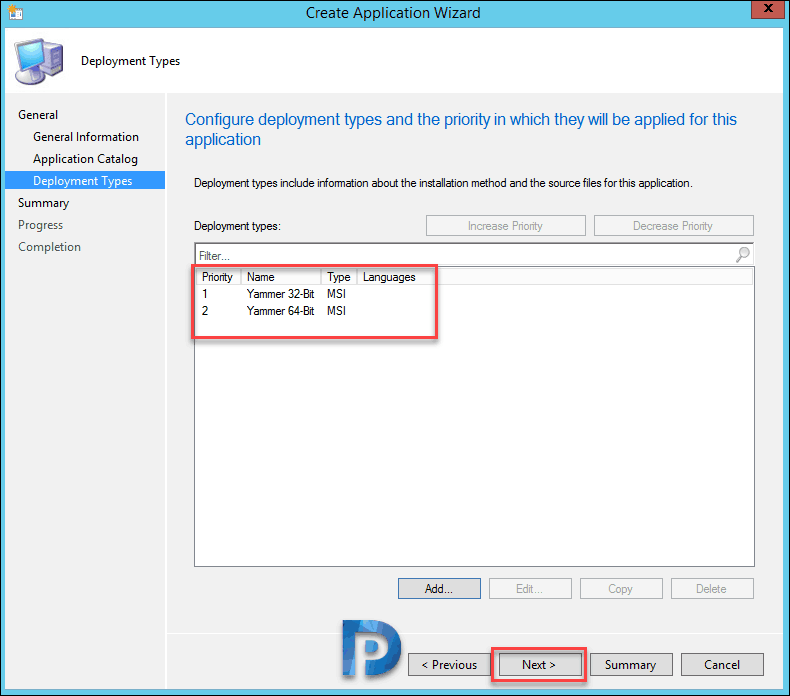
Notice that we have now added two deployment types. Click Next. Complete the remaining steps. Deploy the Yammer app to desired device collection.
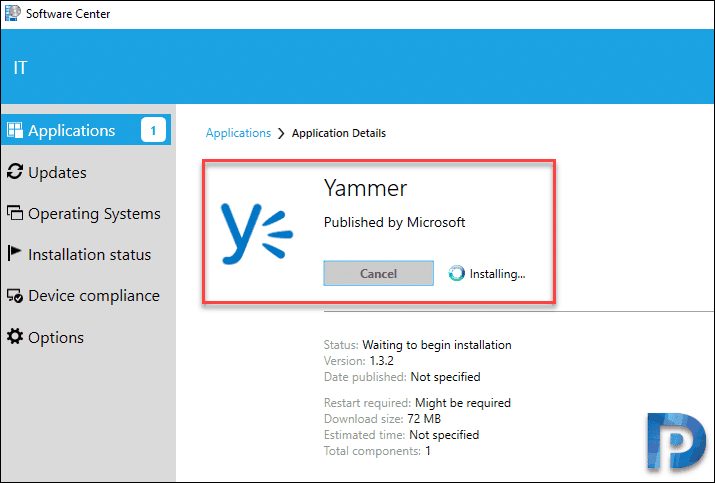
On one of the client machine, i tested the app install and uninstall. It worked well because msi deployment is always easy and chances of app install failures are less.
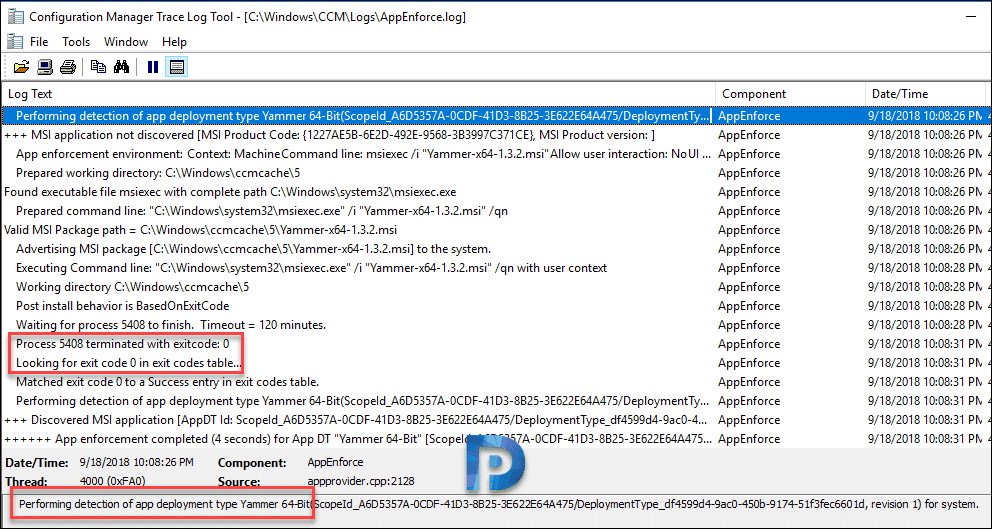
Notice that when the application is installed, the OS requirements are determined by SCCM first. If the OS is 64-bit, the yammer 64-bit app is installed. If the OS is 32-bit, you will see yammer 32-bit installed.







Hi Prajwal
How can we uninstall yammer via SCCM
HI Prajwal
thanks for yammer deployment post
i have got error message on next day of installation
Yammerdesktopapp.exe installation has failed
Check the log files on the client machine to see why the app installation is failing.